
We did Section 8 (Anti-Servo tab) a bit out of order (most would do the Rudder first) – mostly because of an “oops” I describe in the final assembly of the rudder.
The “difficult” parts of putting the anti-servo tab together are discussed in a previous post – final assembly is relatively easy! The final assembly of the anti-servo tab was completed on March 24, 2019 with Lauren (a friend), Kelsey, and Steven.
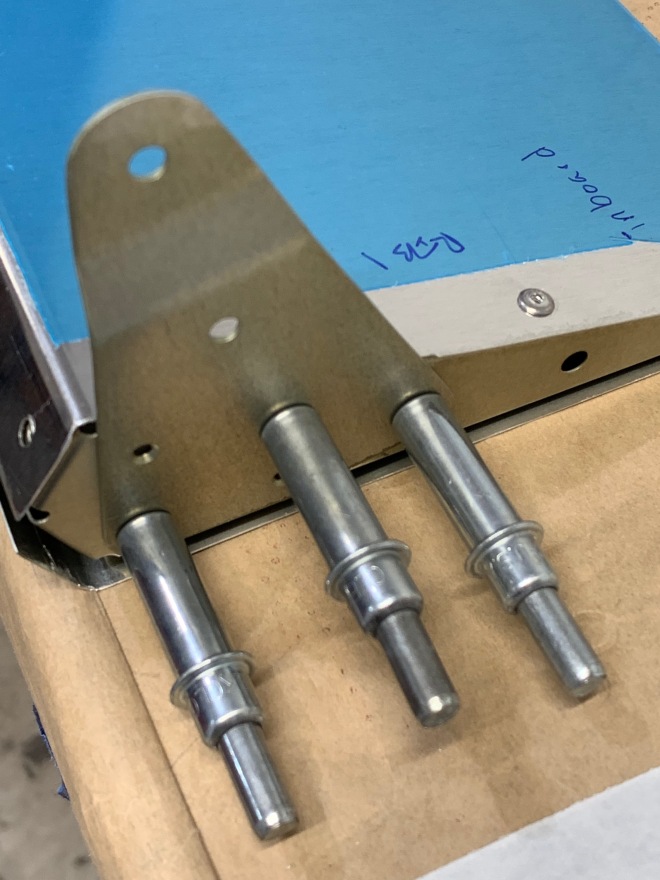
In what feels like a strange move, the first step in riveting is to fasten the ribs to the top portion of the anti-servo tab skin. Immediately following (picture below), is the riveting the control horn to the inboard rib. This requires bending the bottom skin downward to insert a rivet squeezer. It’s a little awkward at best – and makes me wonder if the skin interferes with riveting to the rib. The only concern here was the aft most rivet seemed to pull the control horns a bit away from the rib – and we ended up with a .010-inch gap at the aft edge of the control horn. The forward portion is flush. One of the control horns ended up with a gap more severe during riveting – so we drilled it out and replaced the rivet. Still ended up with the .010-inch gap at the aft edge. I
tried to get pictures, but they just don’t do the situation justice. Build it and fly, as they say…
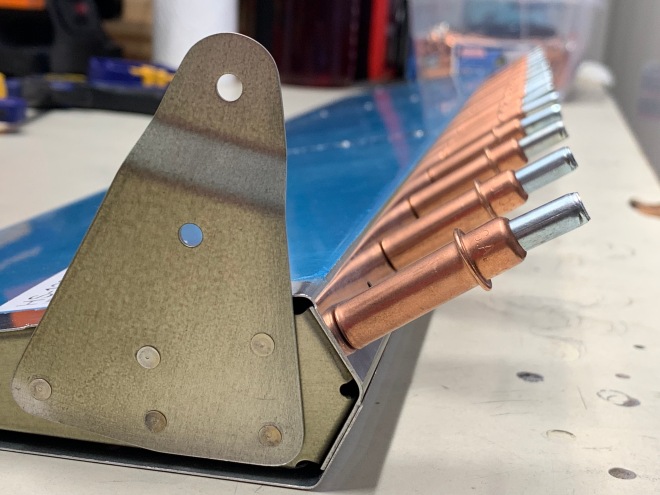
For the non-builder: the control horn is the piece sticking upward in the photo below – it’s what attaches to other pieces to move this anti-servo tab.
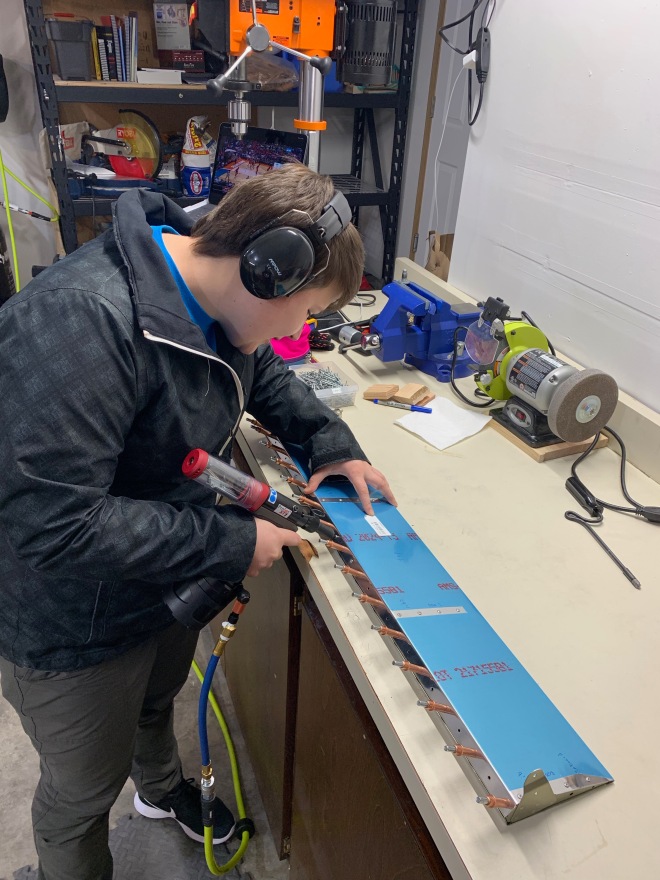
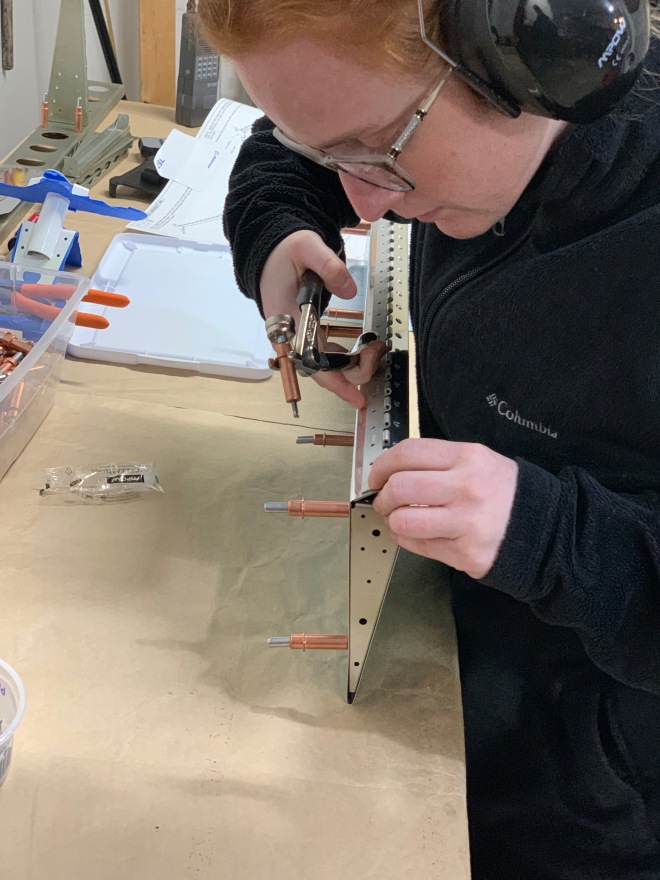
The rest of the anti-servo tab is super easy. Pop rivets all the way. Not even worth describing to you, so here are some action photos:
 And that’s it, really! You end up with two anti-servo tabs. Each built as a mirror of the other.

