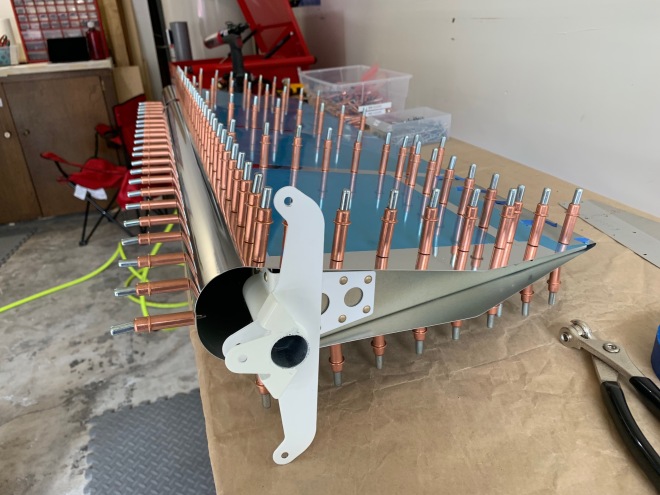
Much like the anti-servo tab – rudder assembly is straightforward. A few larger solid rivets make life a little more difficult – unless you have a friend with a pneumatic squeezer.
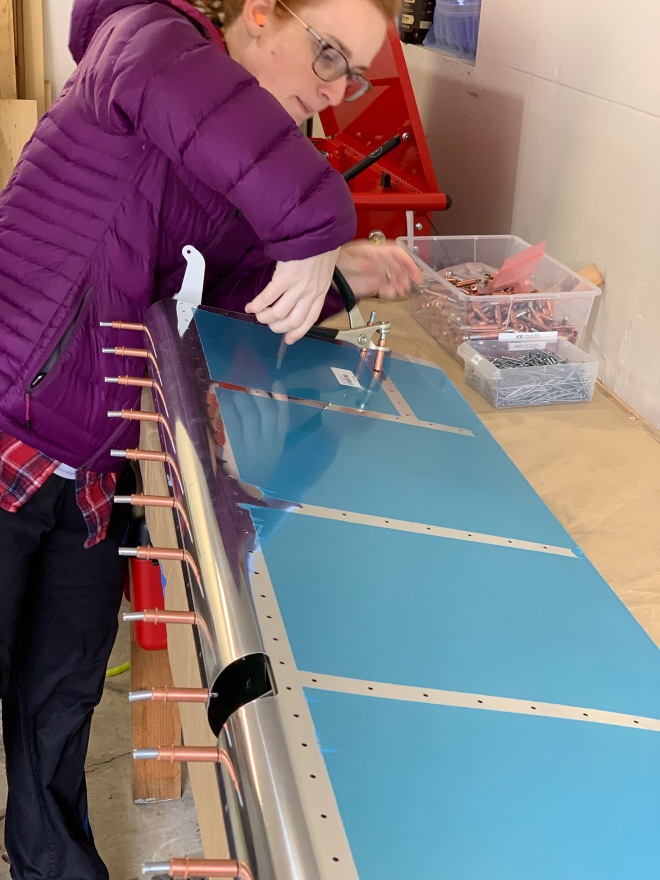
No pictures of the skeleton, but here we are fastening the skin to the internal structure:
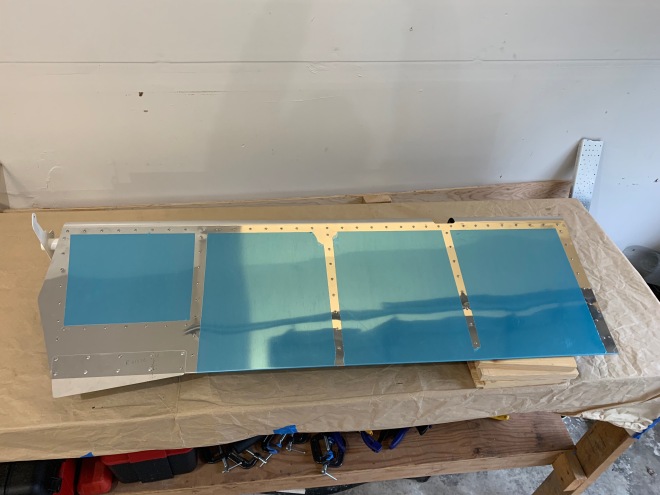
Ta-Da! Rudder done.
One thing I initially overlooked was the state of the powder-coated WD-1205 control horn. It’s a powder-coated part that Van’s says is ready to install, but there is a bit of it inside that isn’t really covered with much of anything. Other powder-coated parts have similar sections that end up not being covered. Advice for what to do is scattered in forums, but a quick consult with Axsys Air (thanks, Glenn!) convinced me to give priming the inside a shot since we’re already priming other things. I gave the inside a wipe-down with acetone and shot it with NAPA 7220 self-etching primer (spray can). Better than nothing, and adds just a little peace of mind for the steel part since we’re already doing the work of priming everything else.
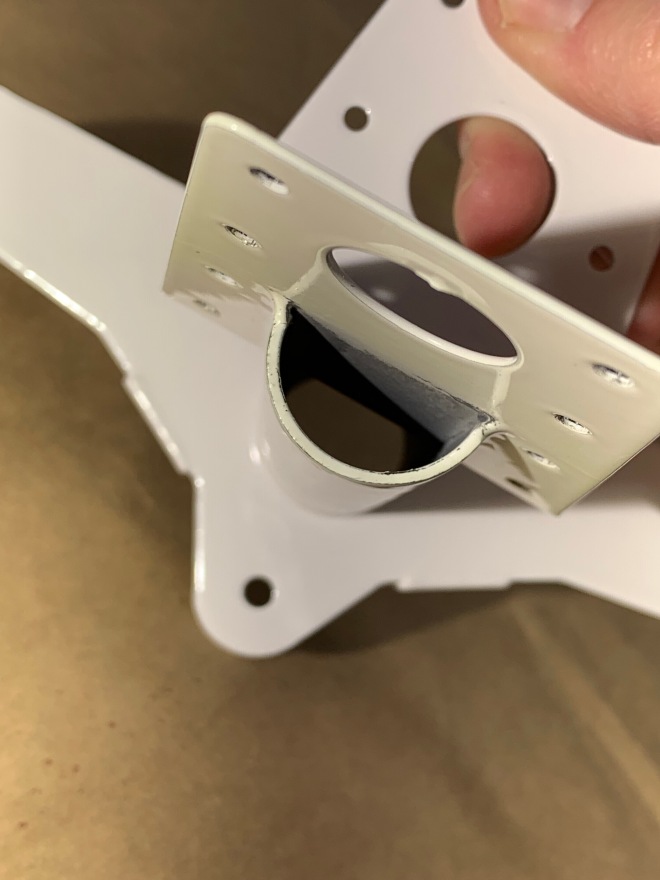
Turns out that Glenn also said to be careful with the acetone. Of course, this important fact somehow slipped my mind when I noticed I got too much NAPA 7220 on the control horn in places I didn’t mask off very well. So what would one do? Wipe it down with acetone? NO! You shouldn’t. That will happily remove the finish and discolor the top of the nice white powder coat. You can actually see the yellow discoloration in the photo above. Of course, you may not see this until the next day when you’re ready to assemble everything…!
We double-checked that the powder coat still seemed intact and secure and searched for solutions. I decided to sand, clean with alcohol, let dry, and then use Dupli-Color multipurpose white and Dupli-Color clear coat. I practiced on some scrap – came out just fine. Not as hard as the original powder coat finish – but it will suffice for this fix.
