Where the heck have we been?
It is unfortunate that I’m both posing and answering this question again. Work took its toll in the last year and we did not get a lot of building done (some overtime though, which is always good for the airplane fund!) . The delays and much slower than expected build in the last year or so set us back behind our originally planned build timeline but has made the “financial” schedule slightly easier to meet. Now it’s time to recoup momentum and get going!
2019 Stabilator Build Progress & Workshop Upgrade Summary
This is a bit of a catch-up post covers that about 50 hours of work between me, Kelsey and my parents (Greg and Denise) on the Horizontal Stabilator. We worked on and off (mostly off) from March to the end of September 2019. My parents were especially helpful in some improvements to the garage workspace! We built two new EAA Chapter 1000 workbenches(with slight height modifications) in April, which you will see below. Then they returned in June and helped us work on the stabilator a bit. Thanks for the help, mom and dad!
I started the initial deburring of the Horizontal Stabilator spar box components in late February 2019. The spar box carries the lift load for the horizontal tail. Here’s a close-up of a the nice shiny aft spar the day before priming: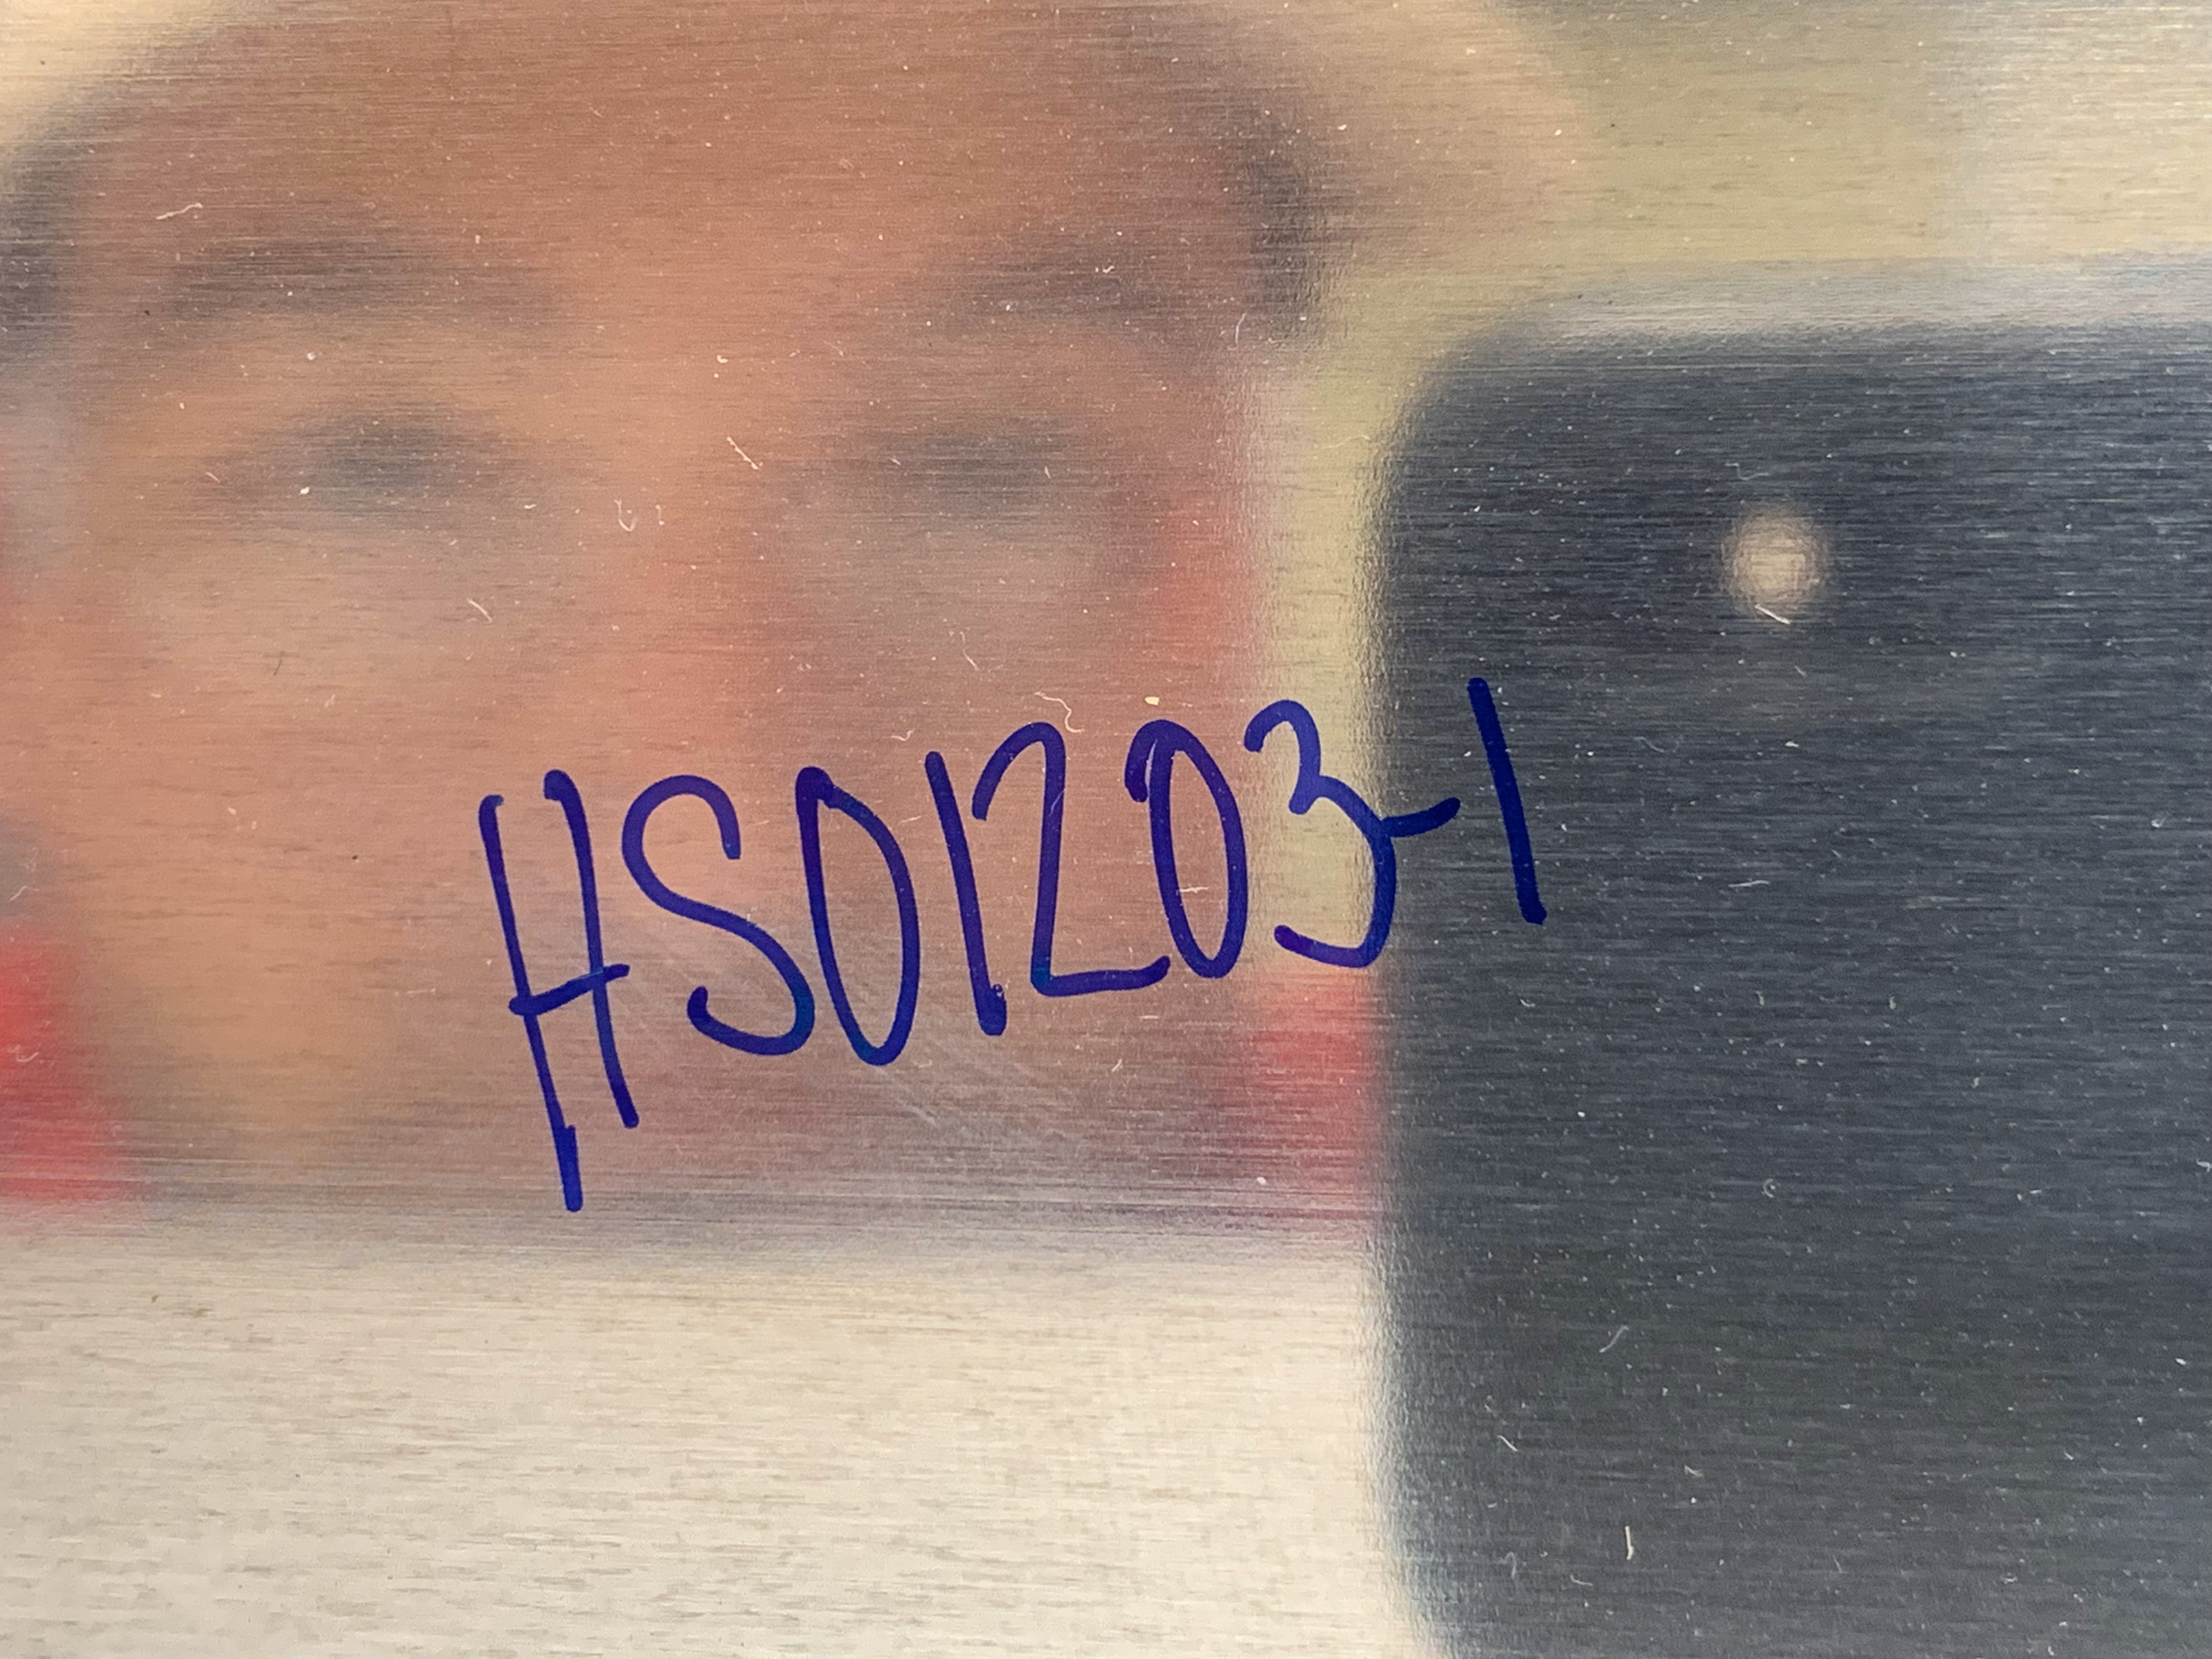
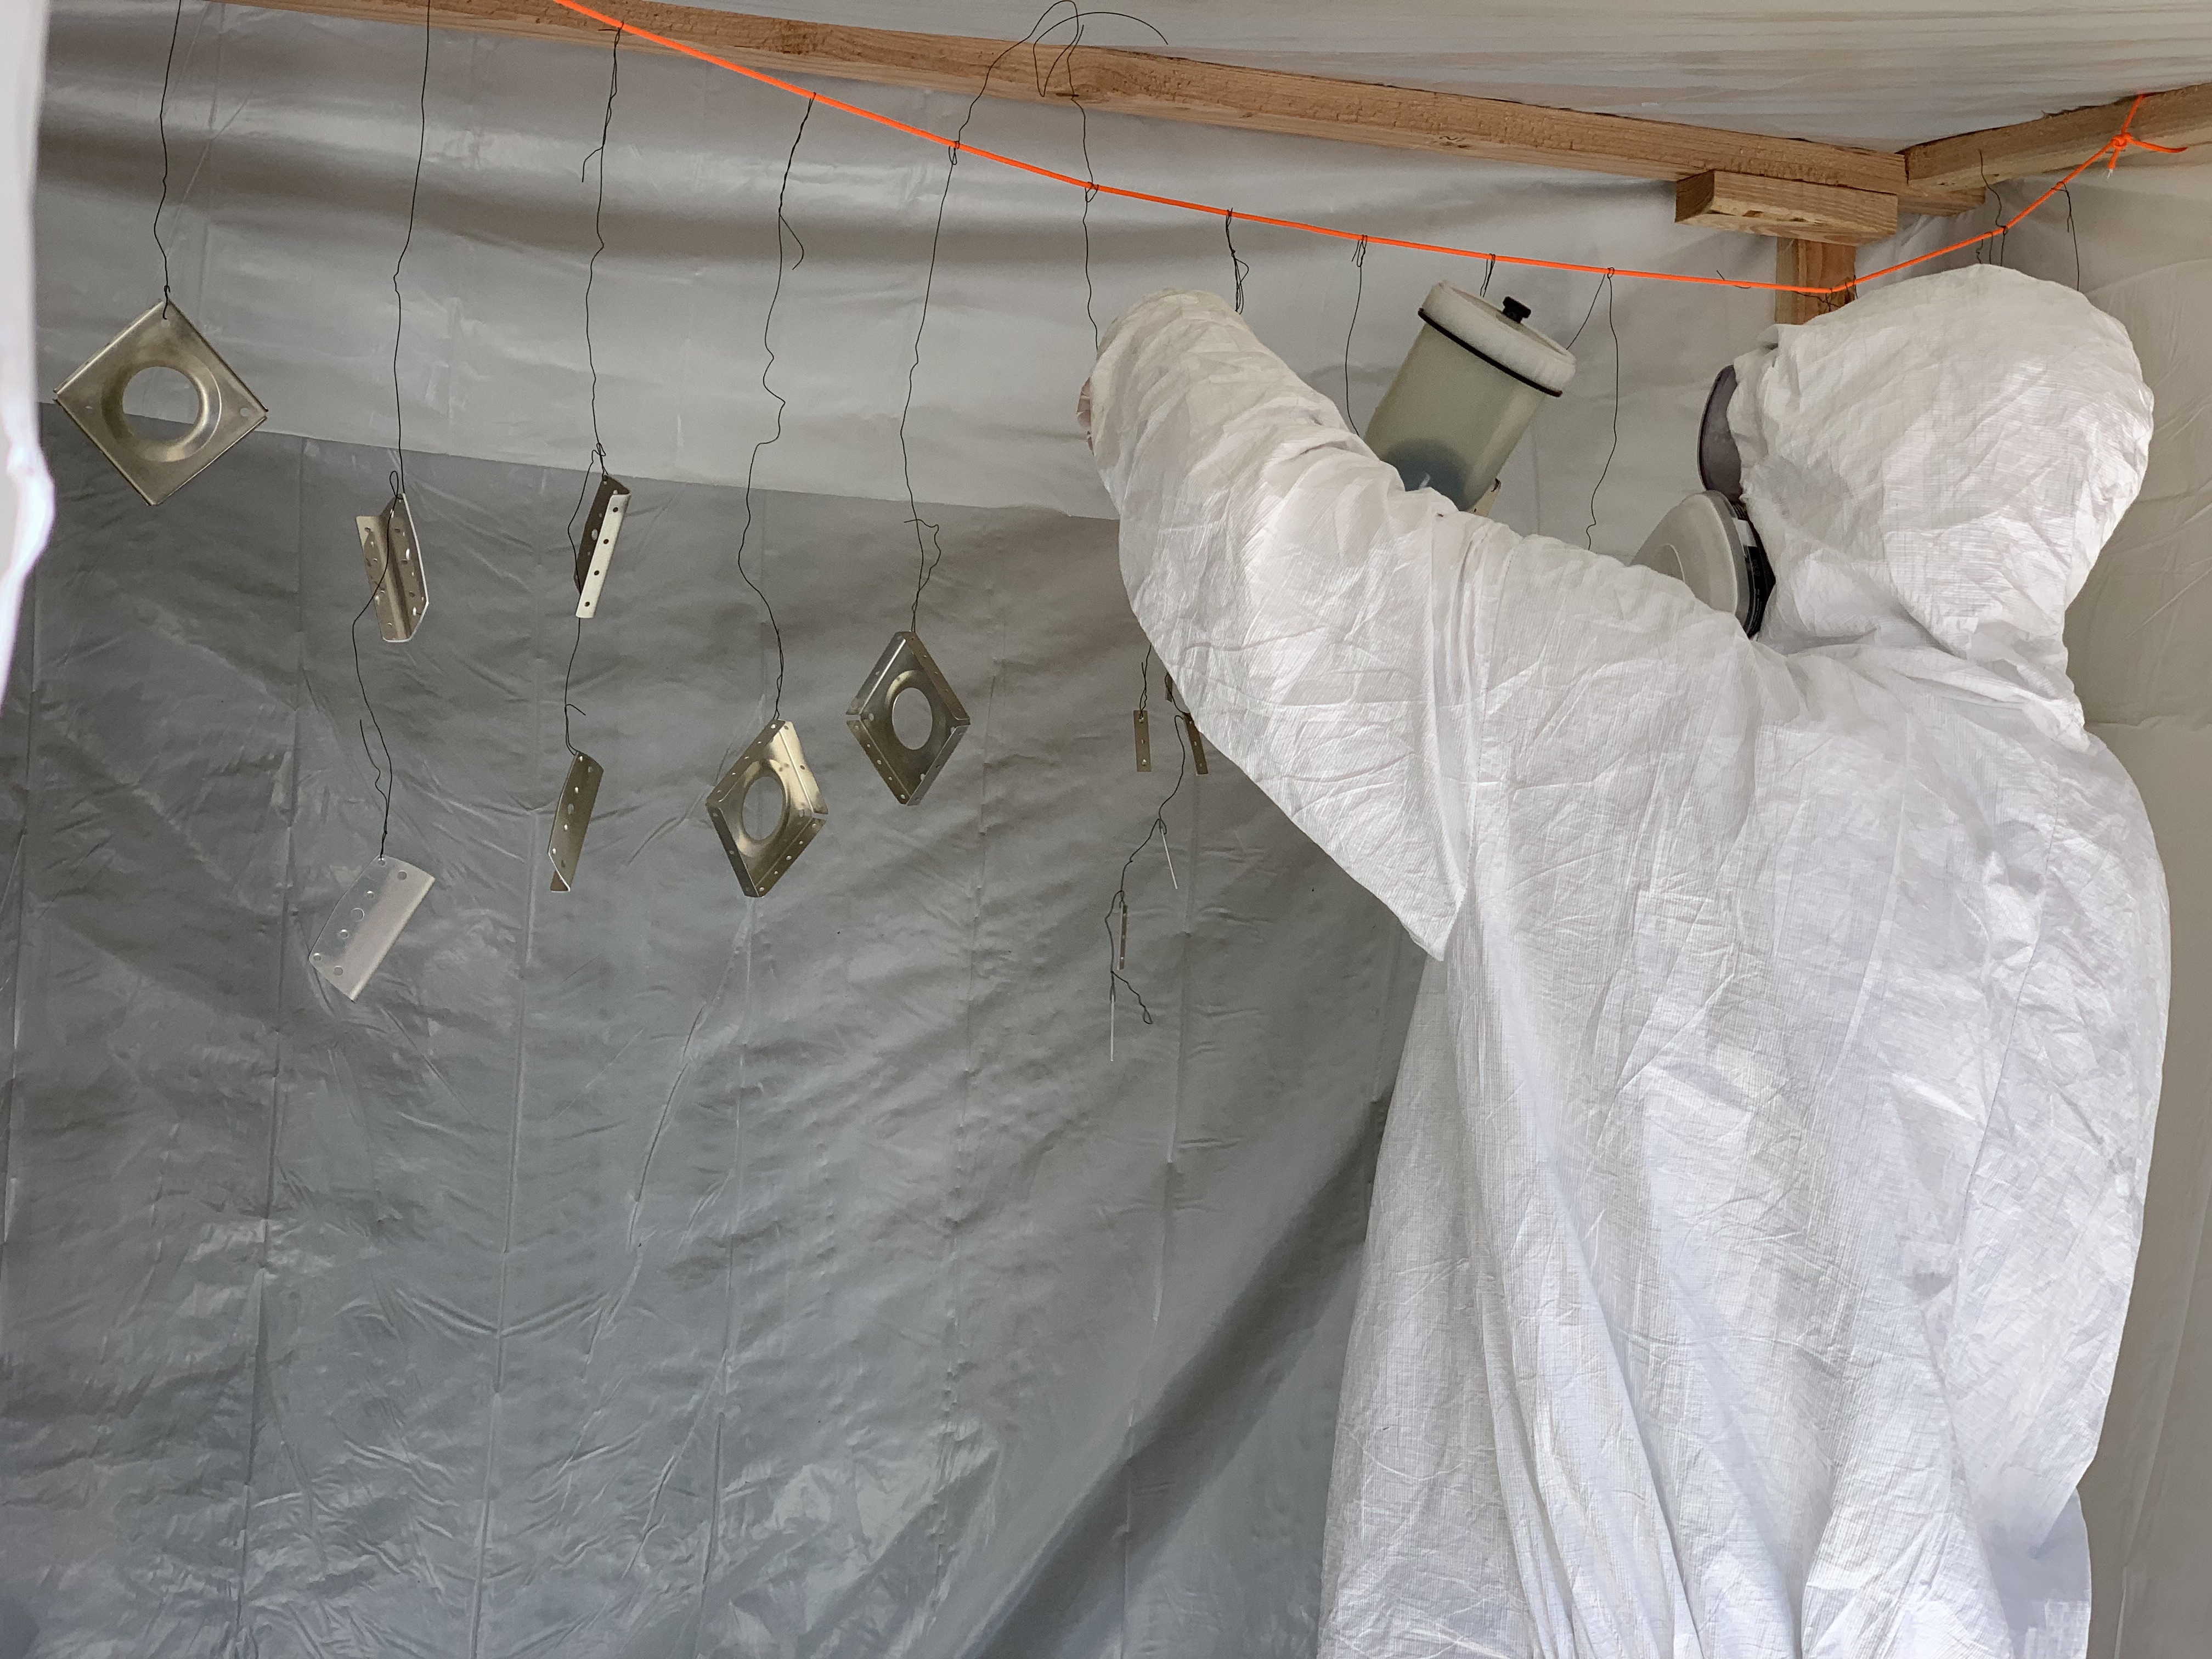
We primed the Horizontal Stabilator spar box pieces on 3/31/19. This was the last planned prime with the Sherwin Williams P60G2. We decided that the stuff is just a little too nasty to keep spraying. Stewart Systems Ekoprime is what we switched to – more on that in a later post.
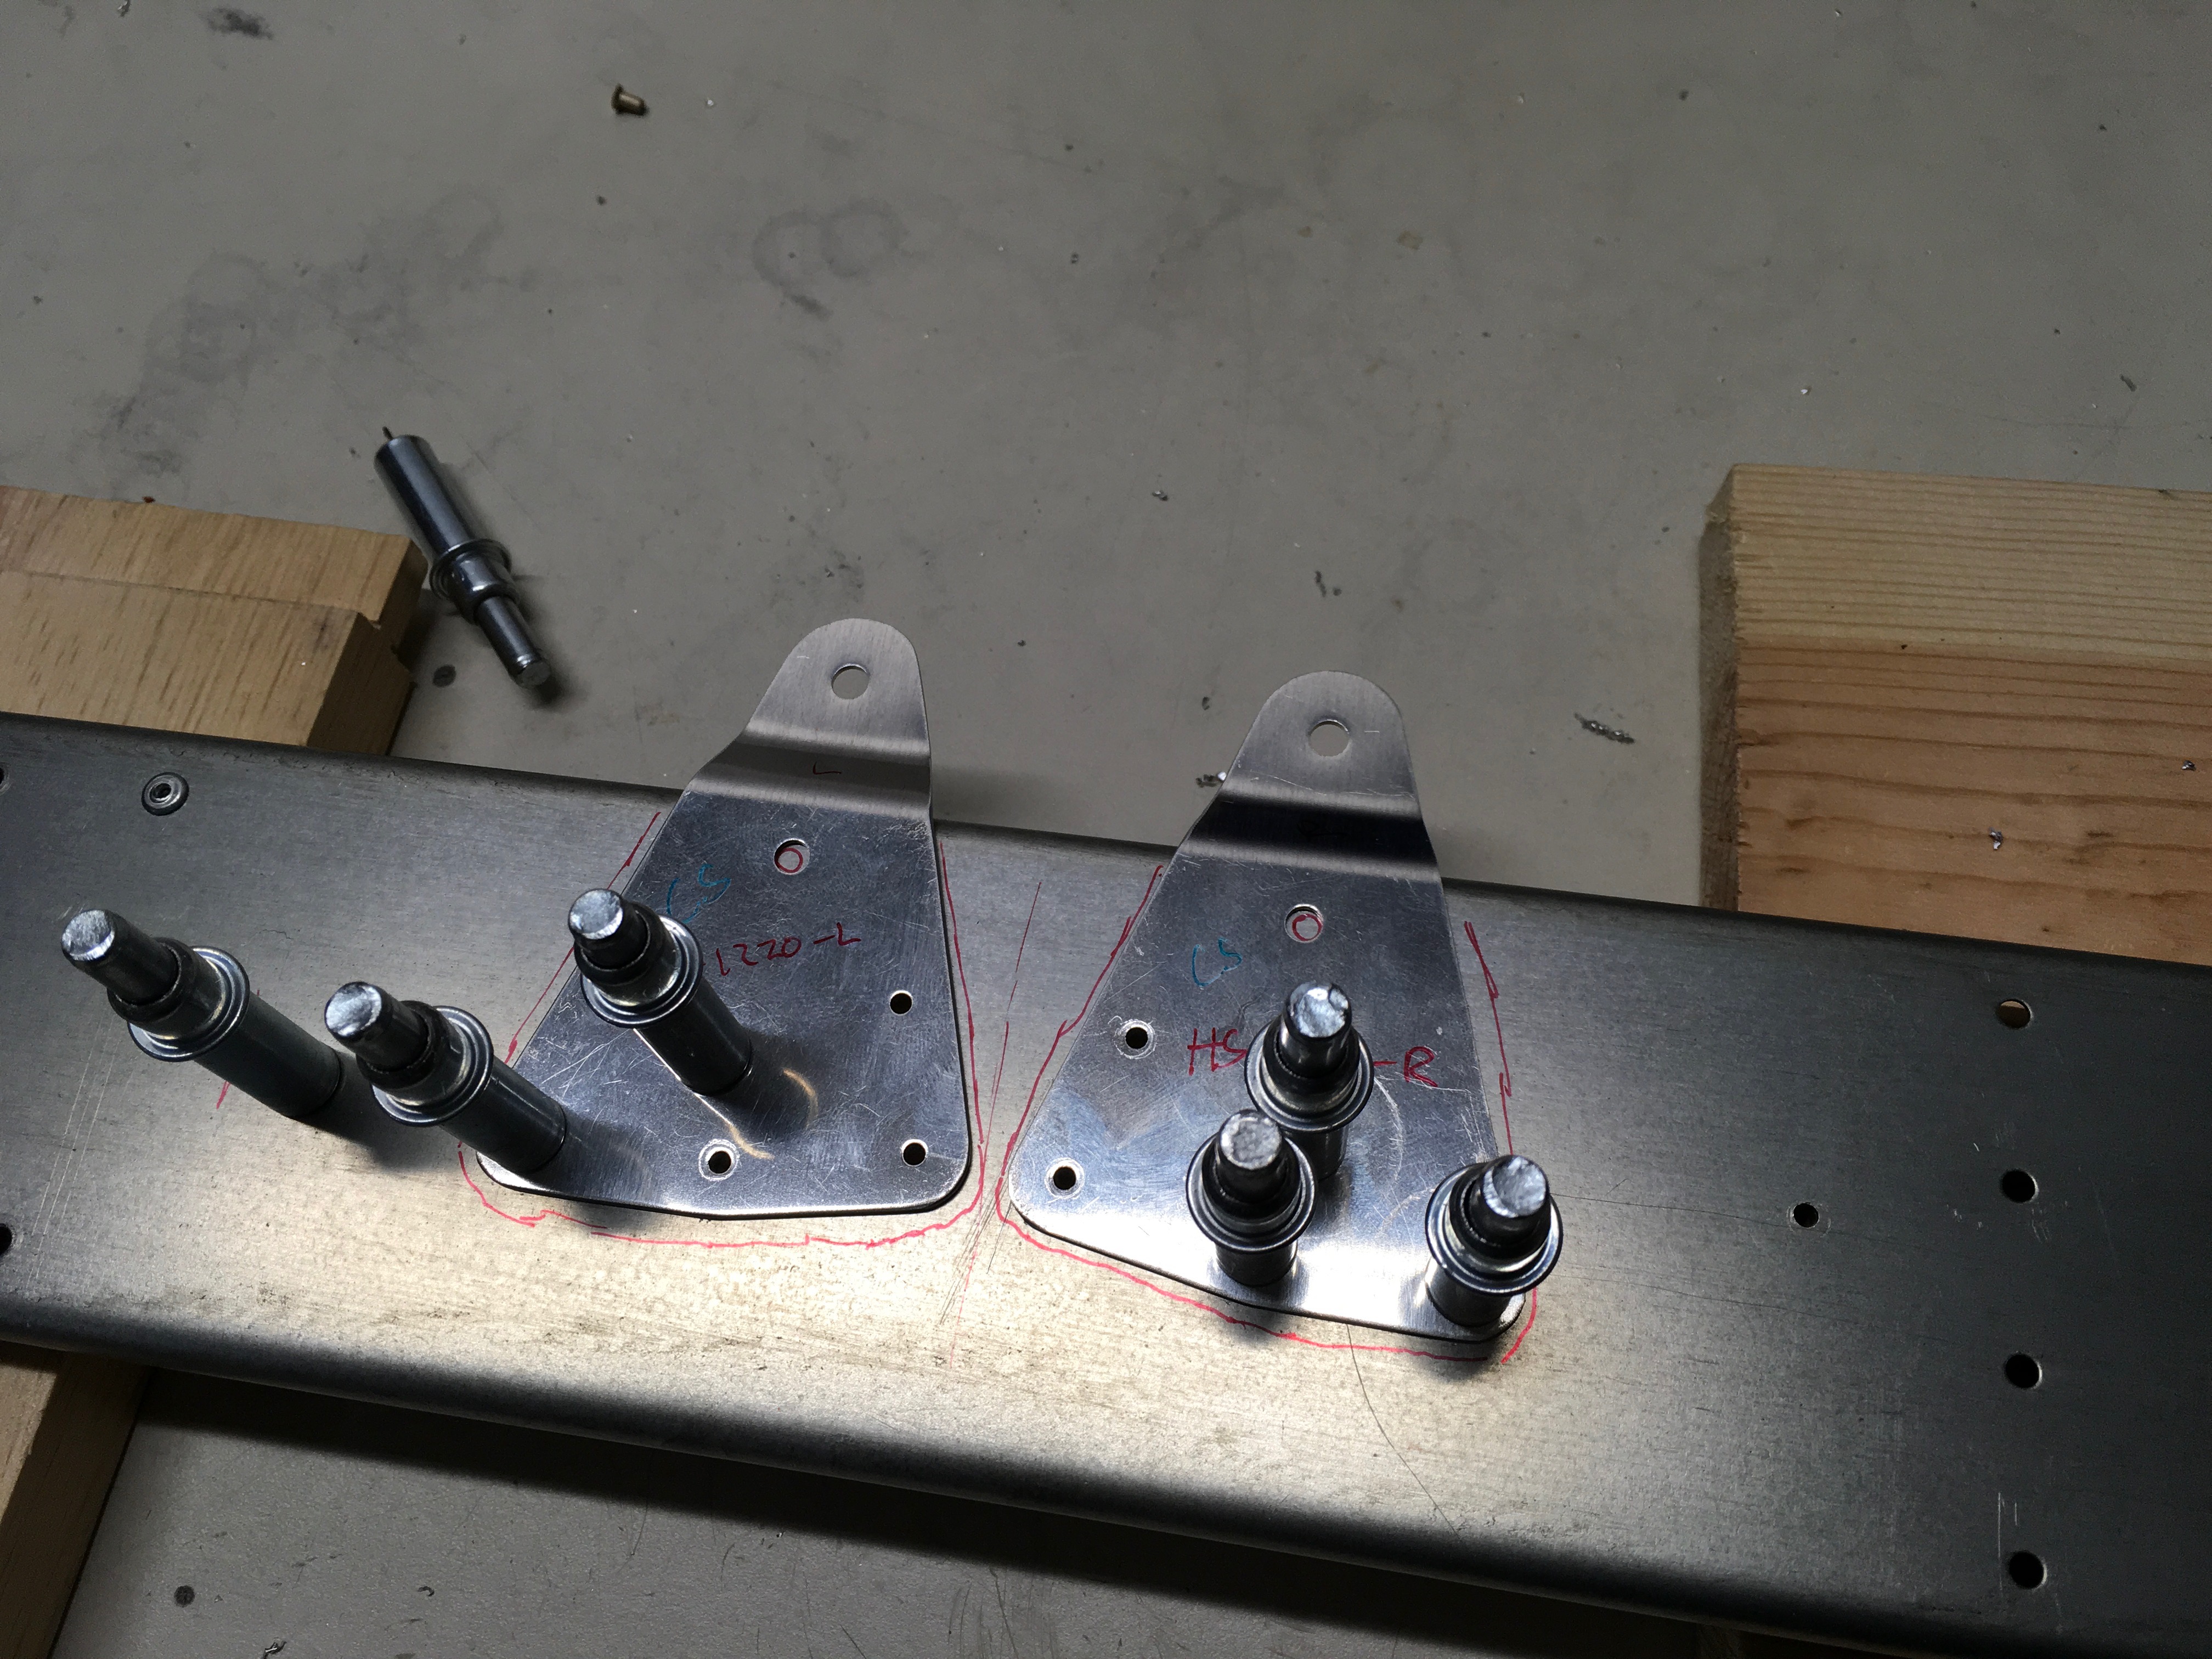
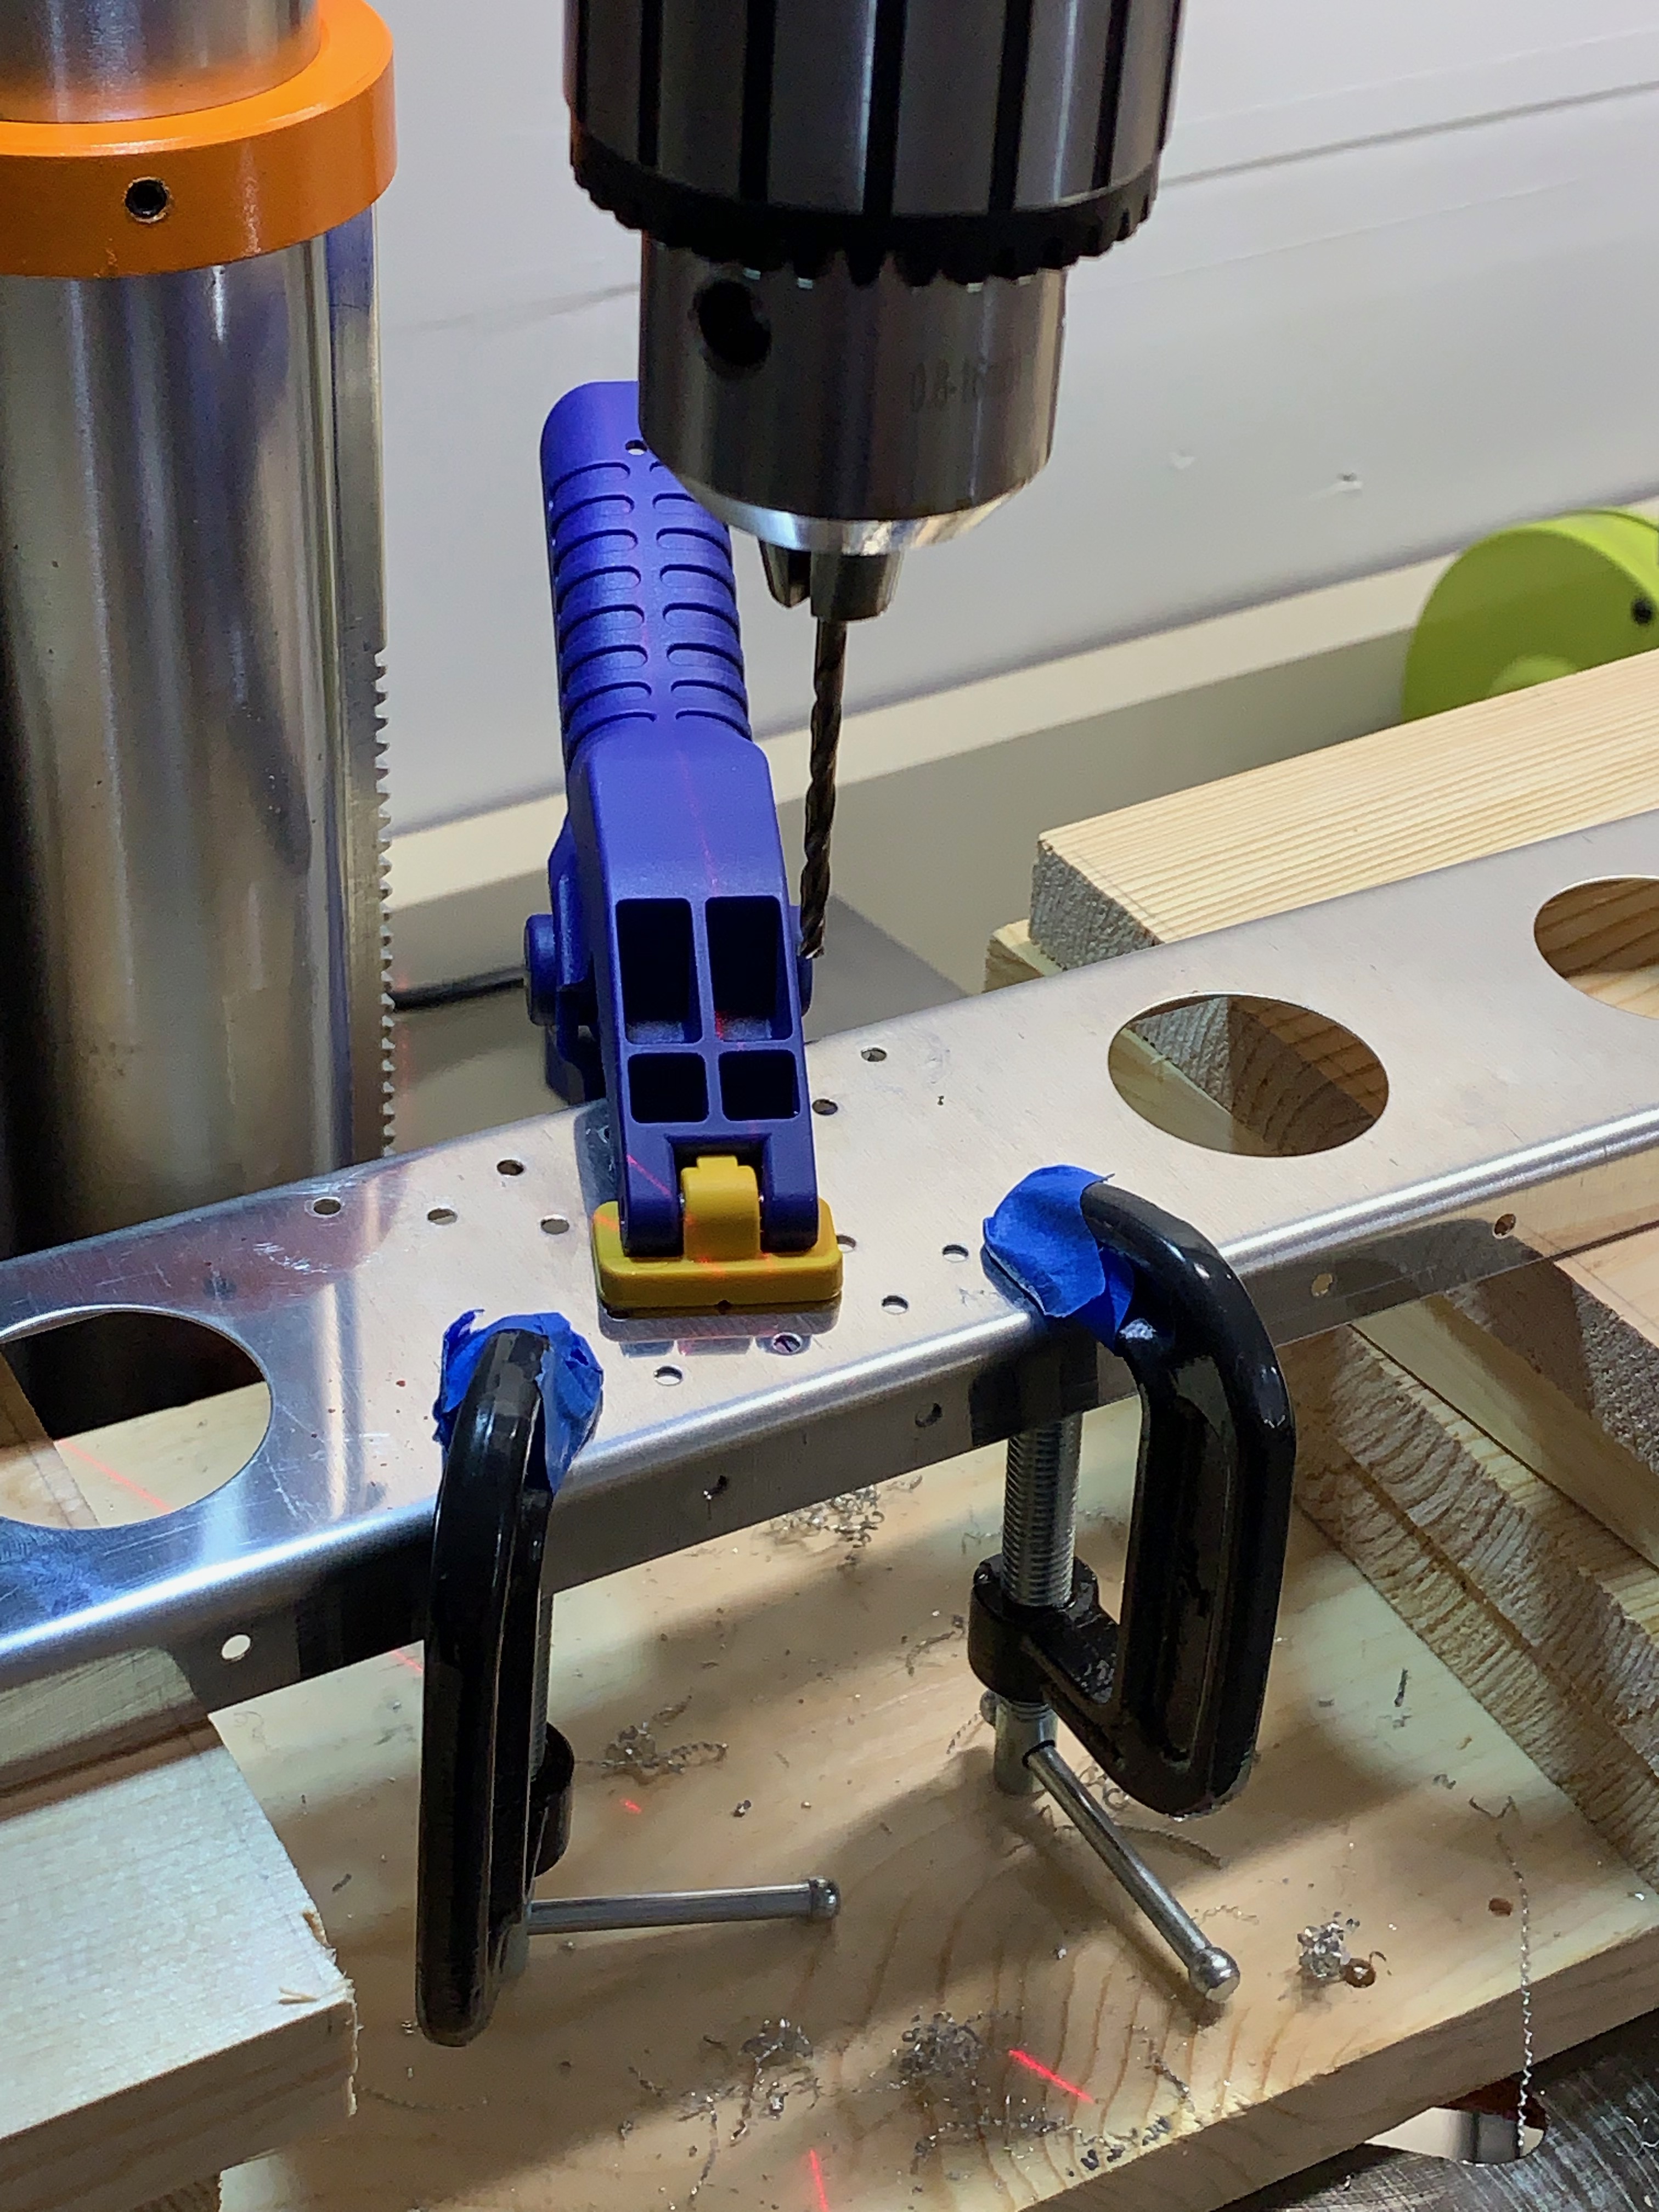
Below is the (primed) spar box Cleco’d together for match drilling of the Stabilator control horns (the white powder-coated piece). An upper and lower control horn are eventually attached to the control cables that will deflect the stabilator. For completeness, some touch up priming was completed after match drilling of the spar box. I also had to clean up (sand and re-paint) some scratches on the control horn – I used a similar process to the re-work I had to do on the Rudder Control Horn (WD-1205).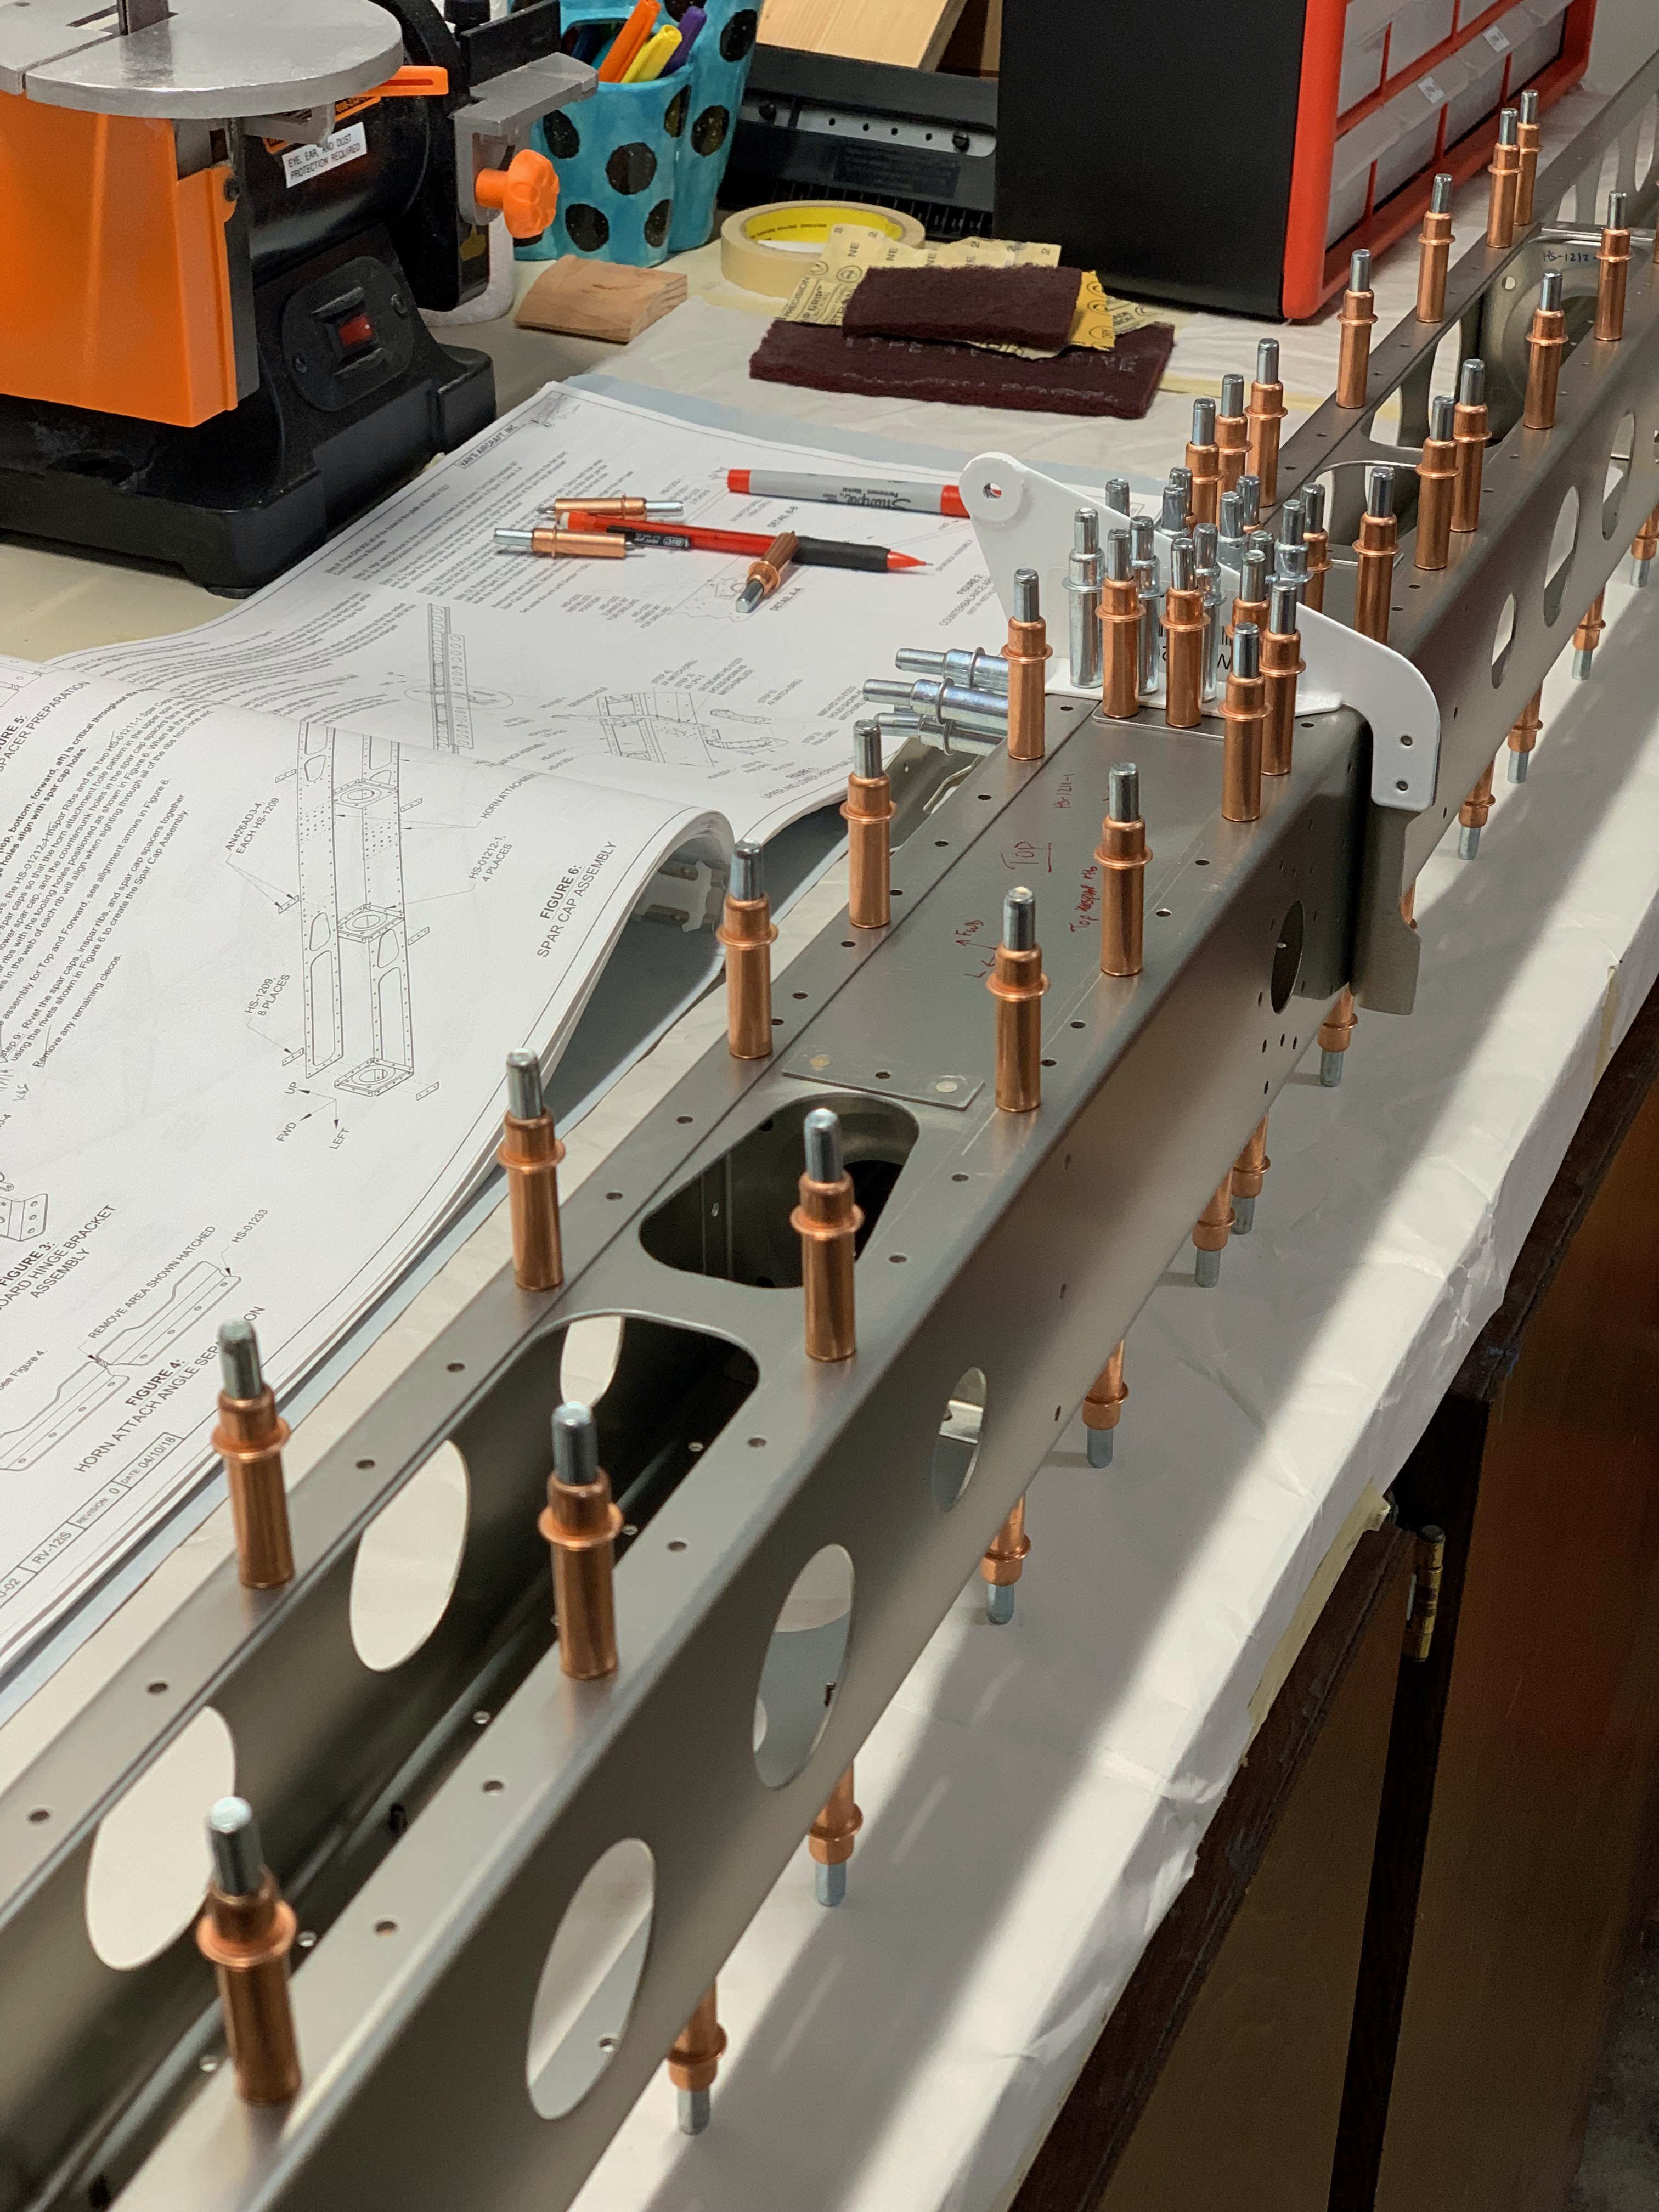
Once complete with the match drilling of control arms, there’s some additional match drilling for counterbalance bracket weldments that hold the counterbalance arm for the stabilator. The counterbalance arm extends forward for the stabilator into the tailcone; it provides moment that makes the stabilator assembly mass more balanced about its center of rotation.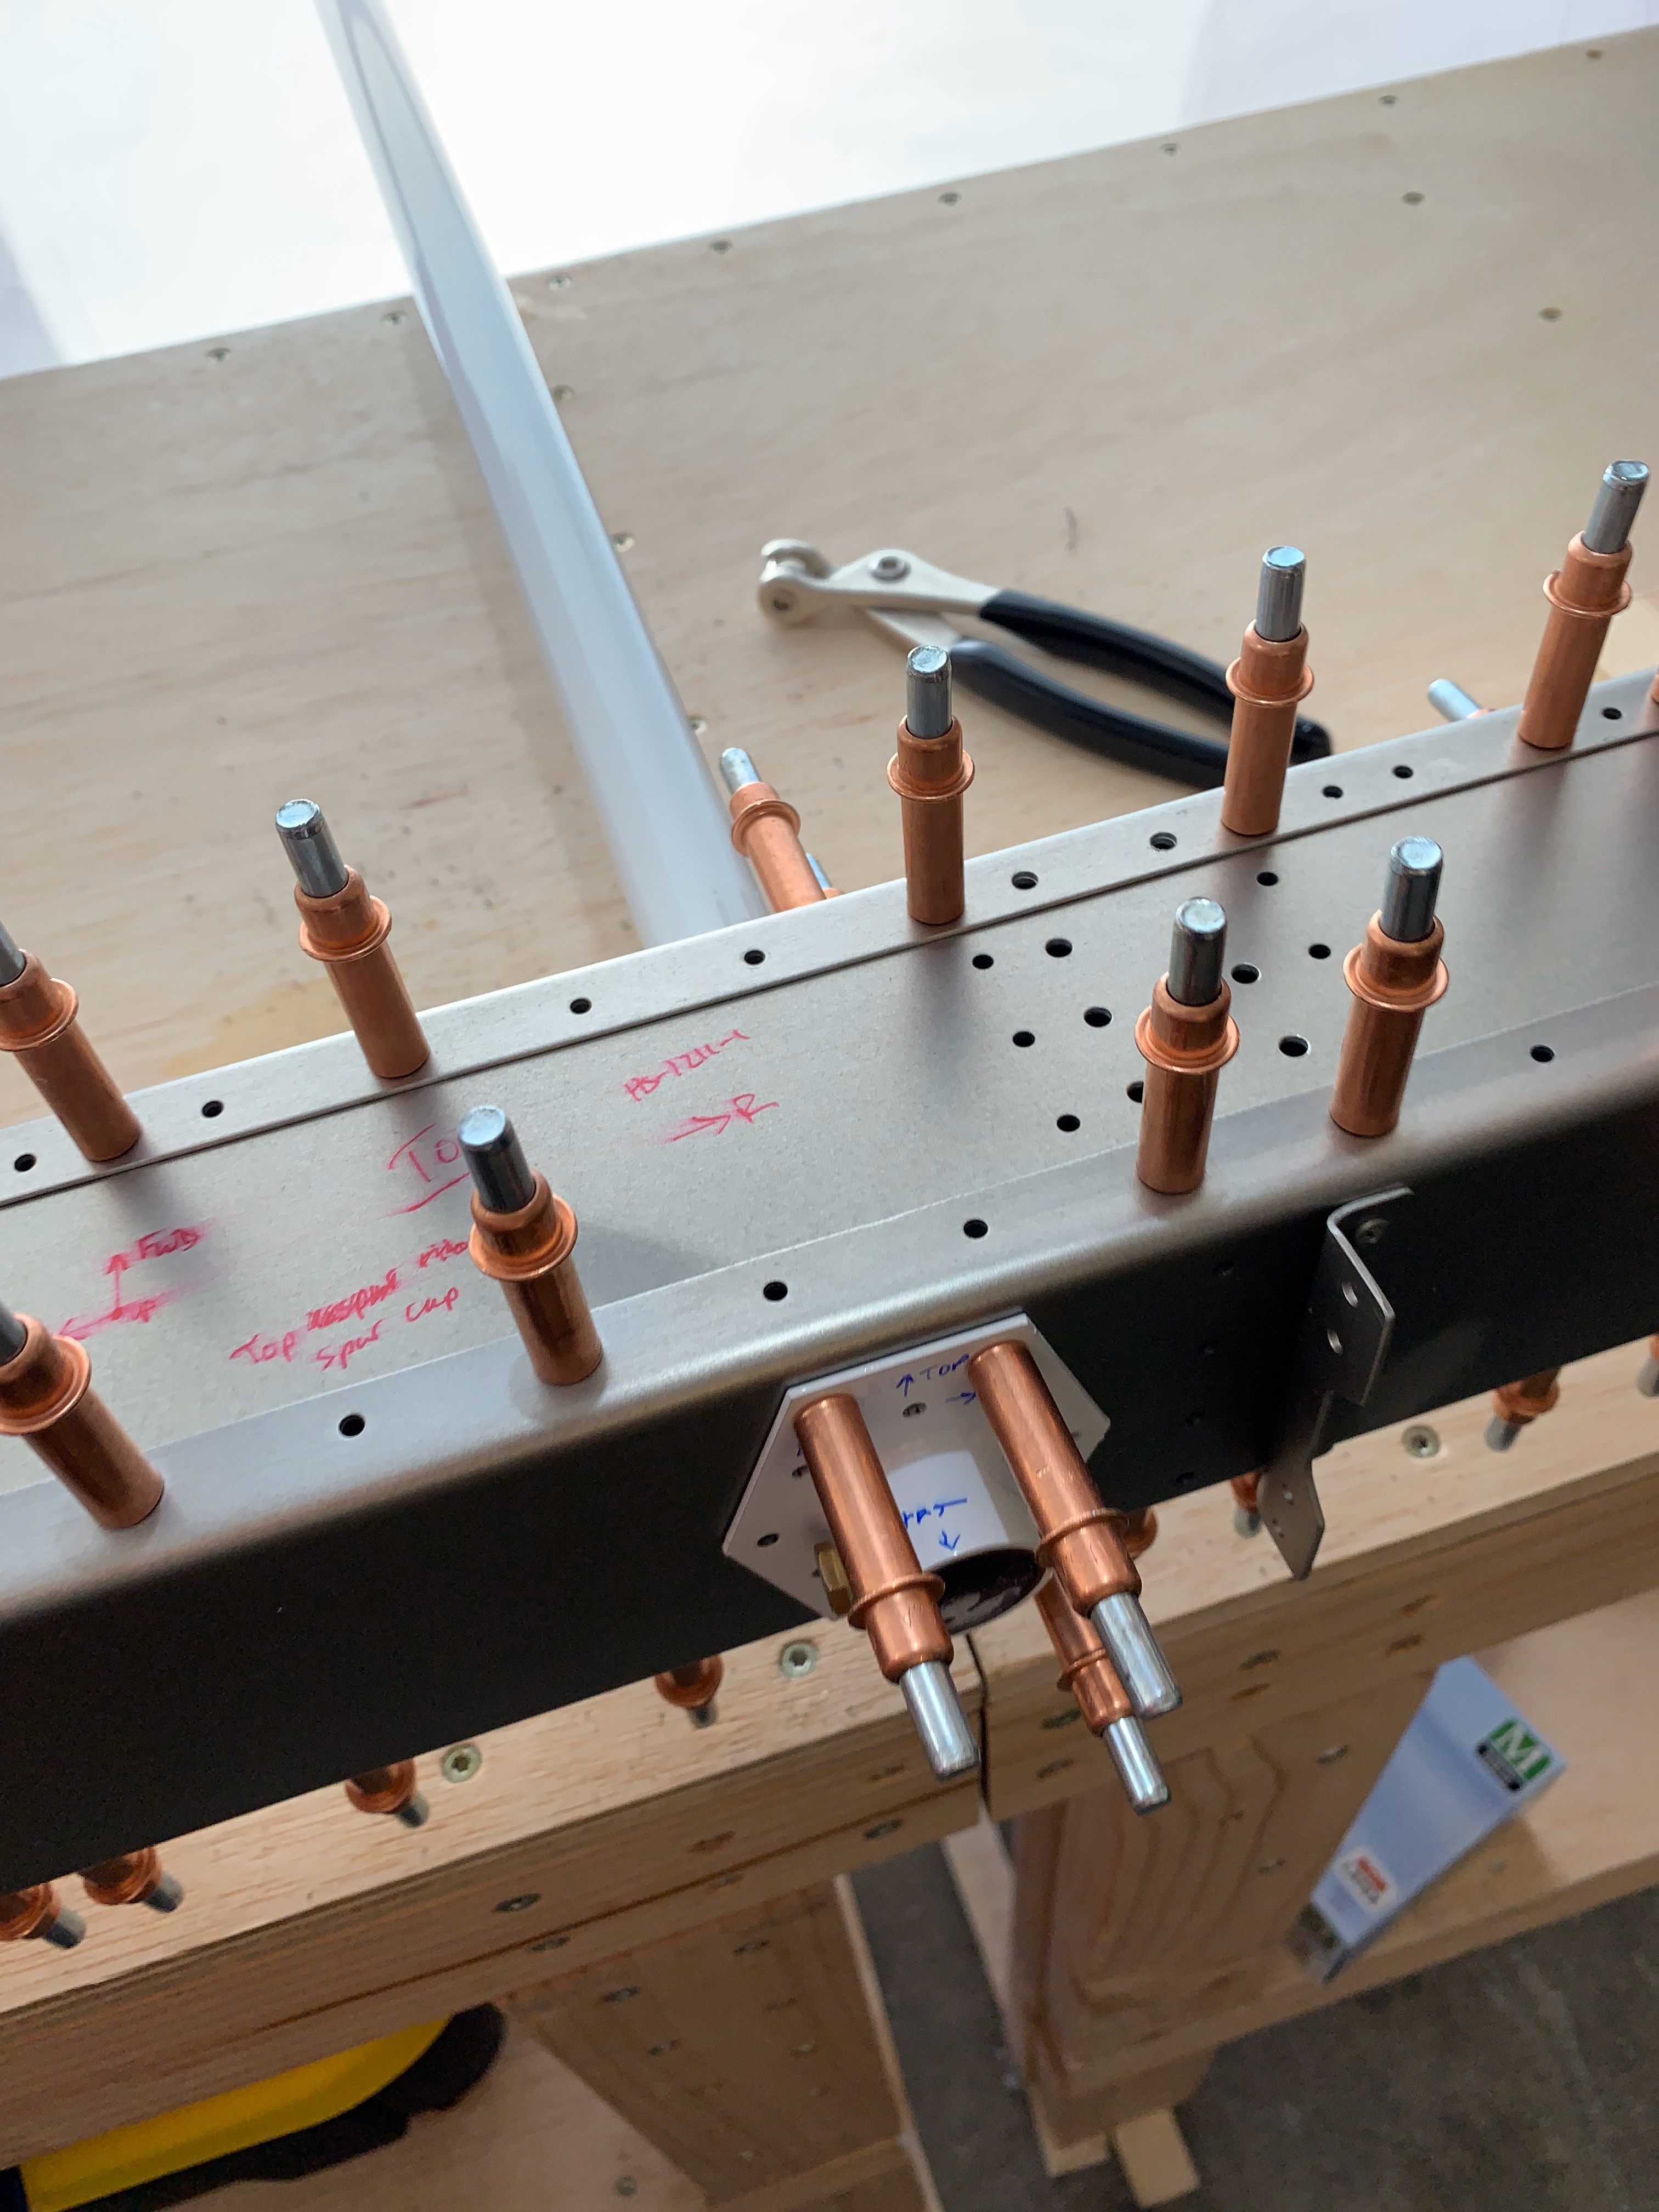
To keep the counterbalance arm from rotating, a bolt is passed through the white brackets on either side of the spar box. The holes from the brackets are match-drilled into the counterbalance arm, and a bolt is inserted through the assembly.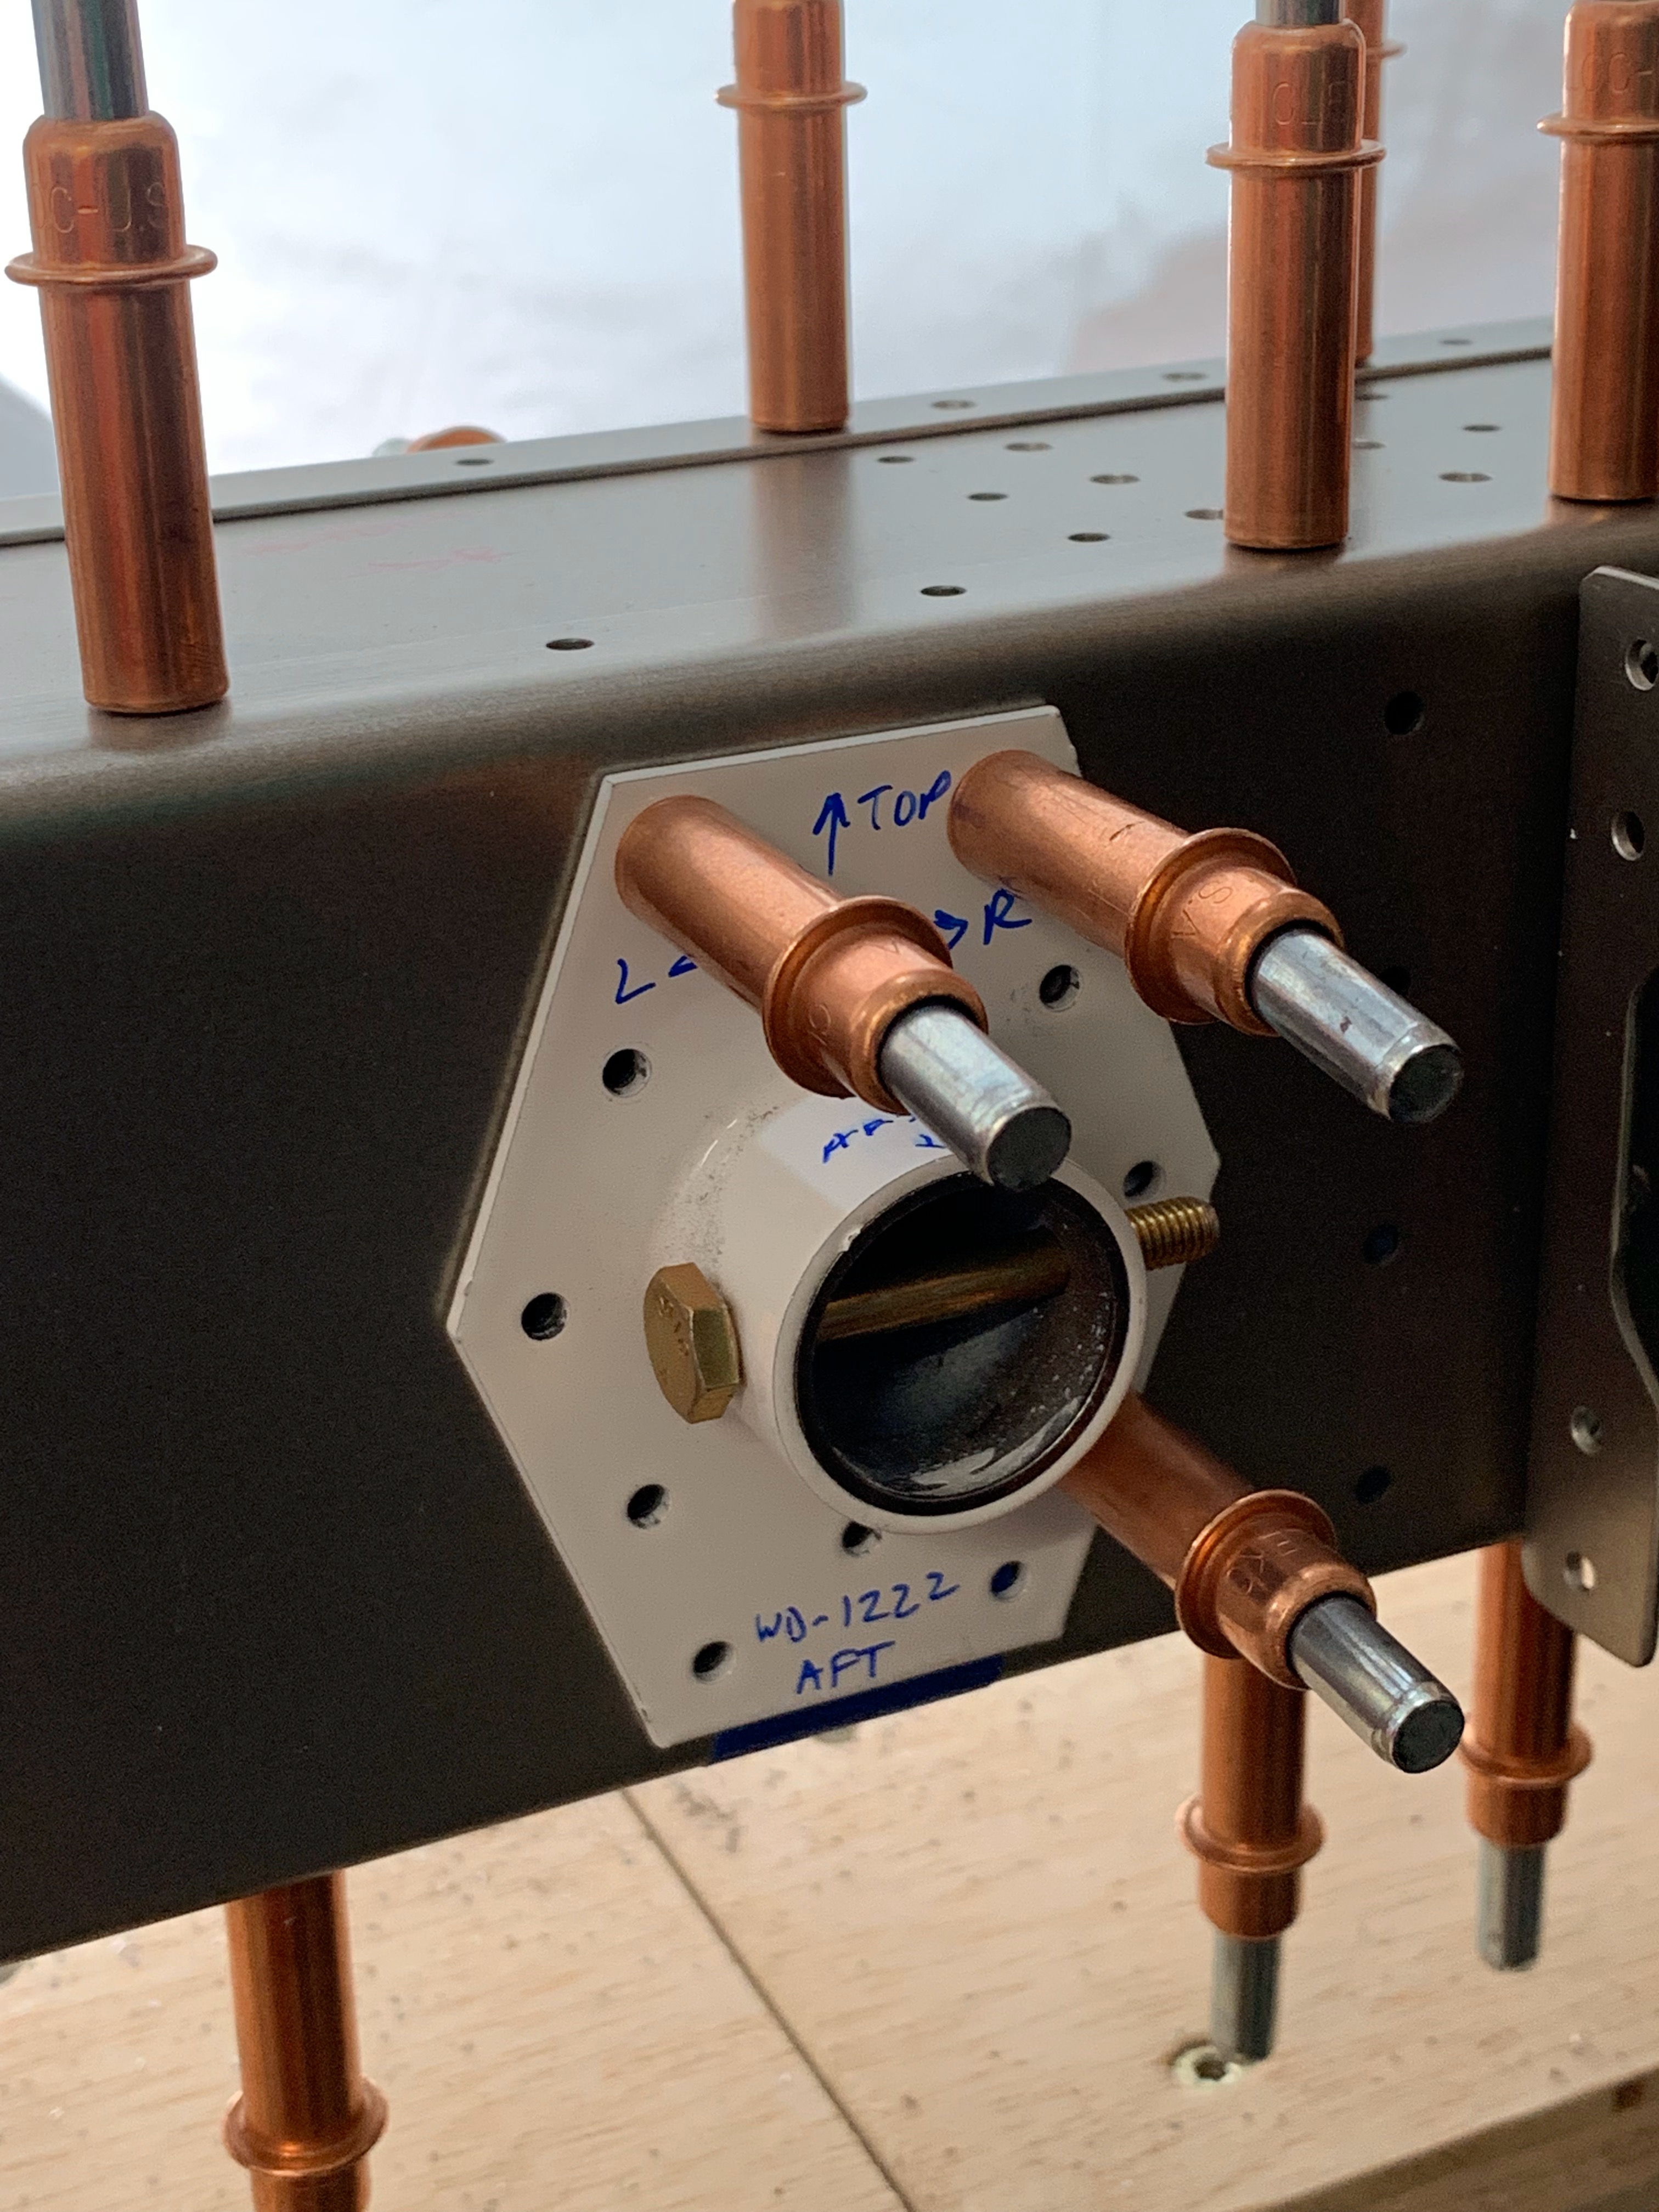
Would you believe that it is extremely important to mark these parts so that you re-assemble them properly? Van’s explicitly states this in the plans, but I found a way to screw that up. I actually fully riveted the brackets to the spar box, re-cleco’d things together, and then eventually realized that I had a bracket 180˚ rotated from the correct installation. Needless to say, I got some practice drilling out the rivets using a rivet removal tool. Somehow I got extremely lucky and was able to remove all of the rivets without issue, without enlarging holes beyond the spec, and without ordering new parts! Beginners luck!
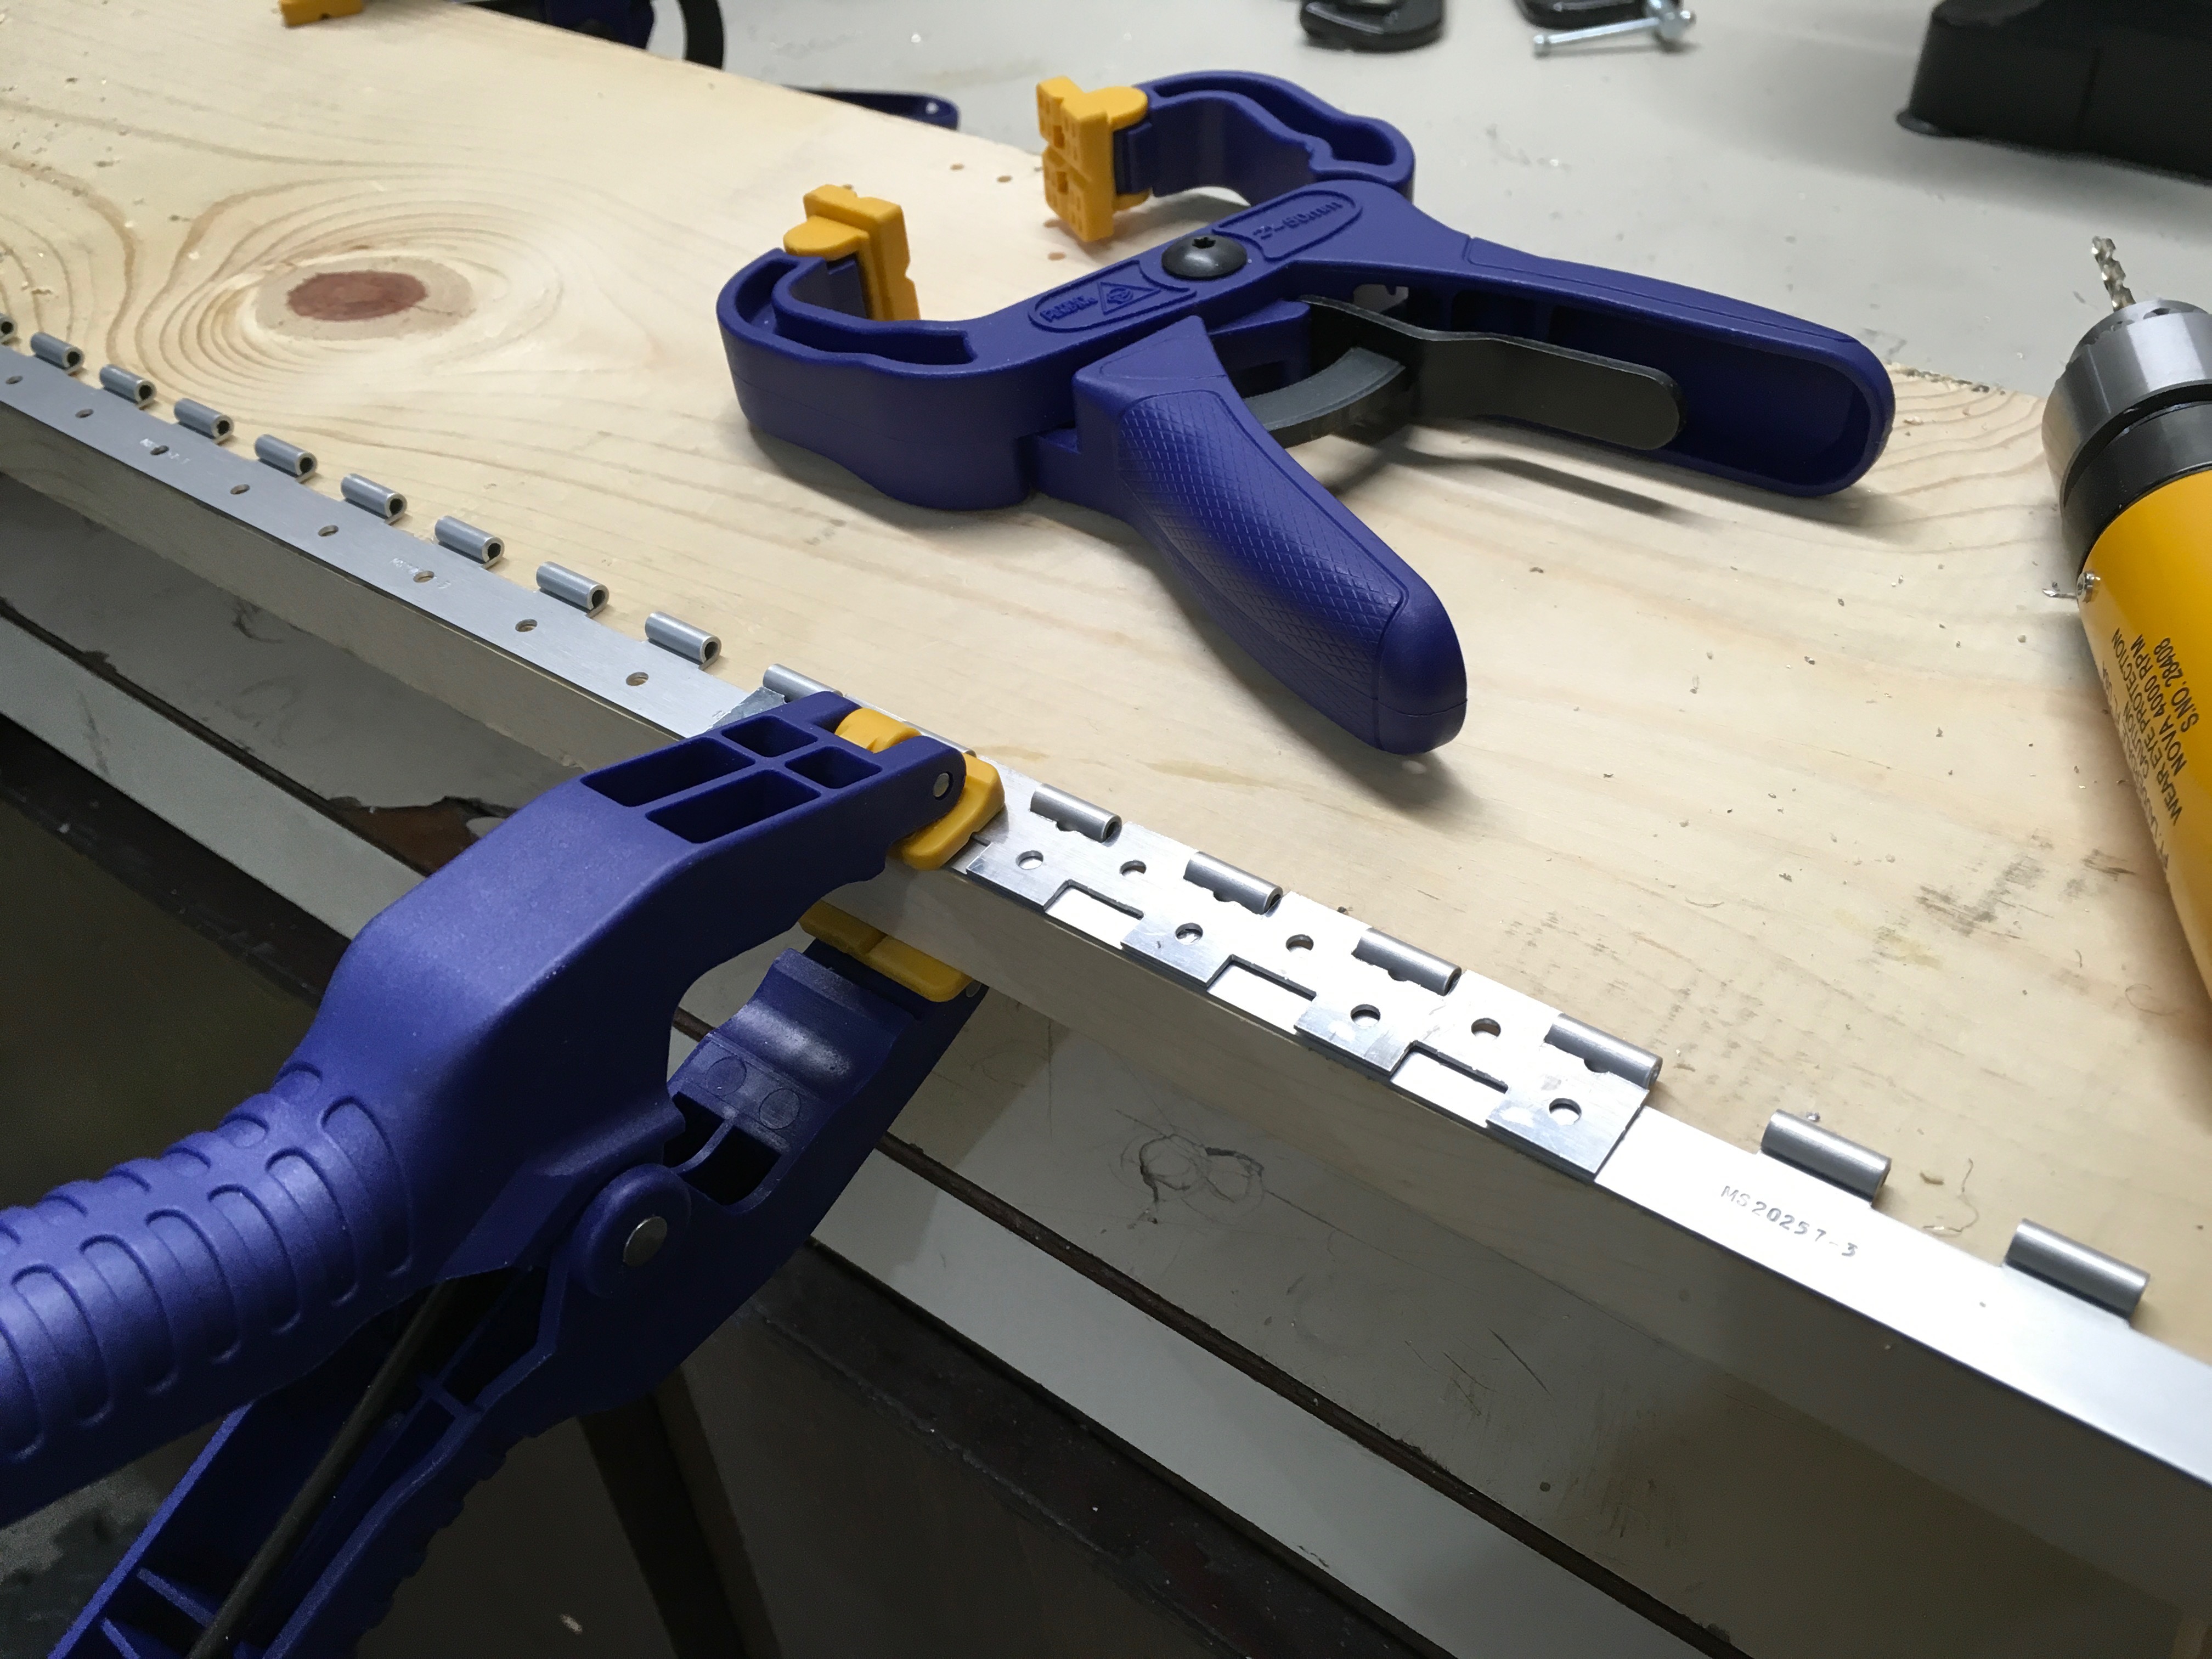
And hey, here are those new work tables that the parents helped us construct in April! This is just before permanently installing the cleco’d hinge bracket assemblies.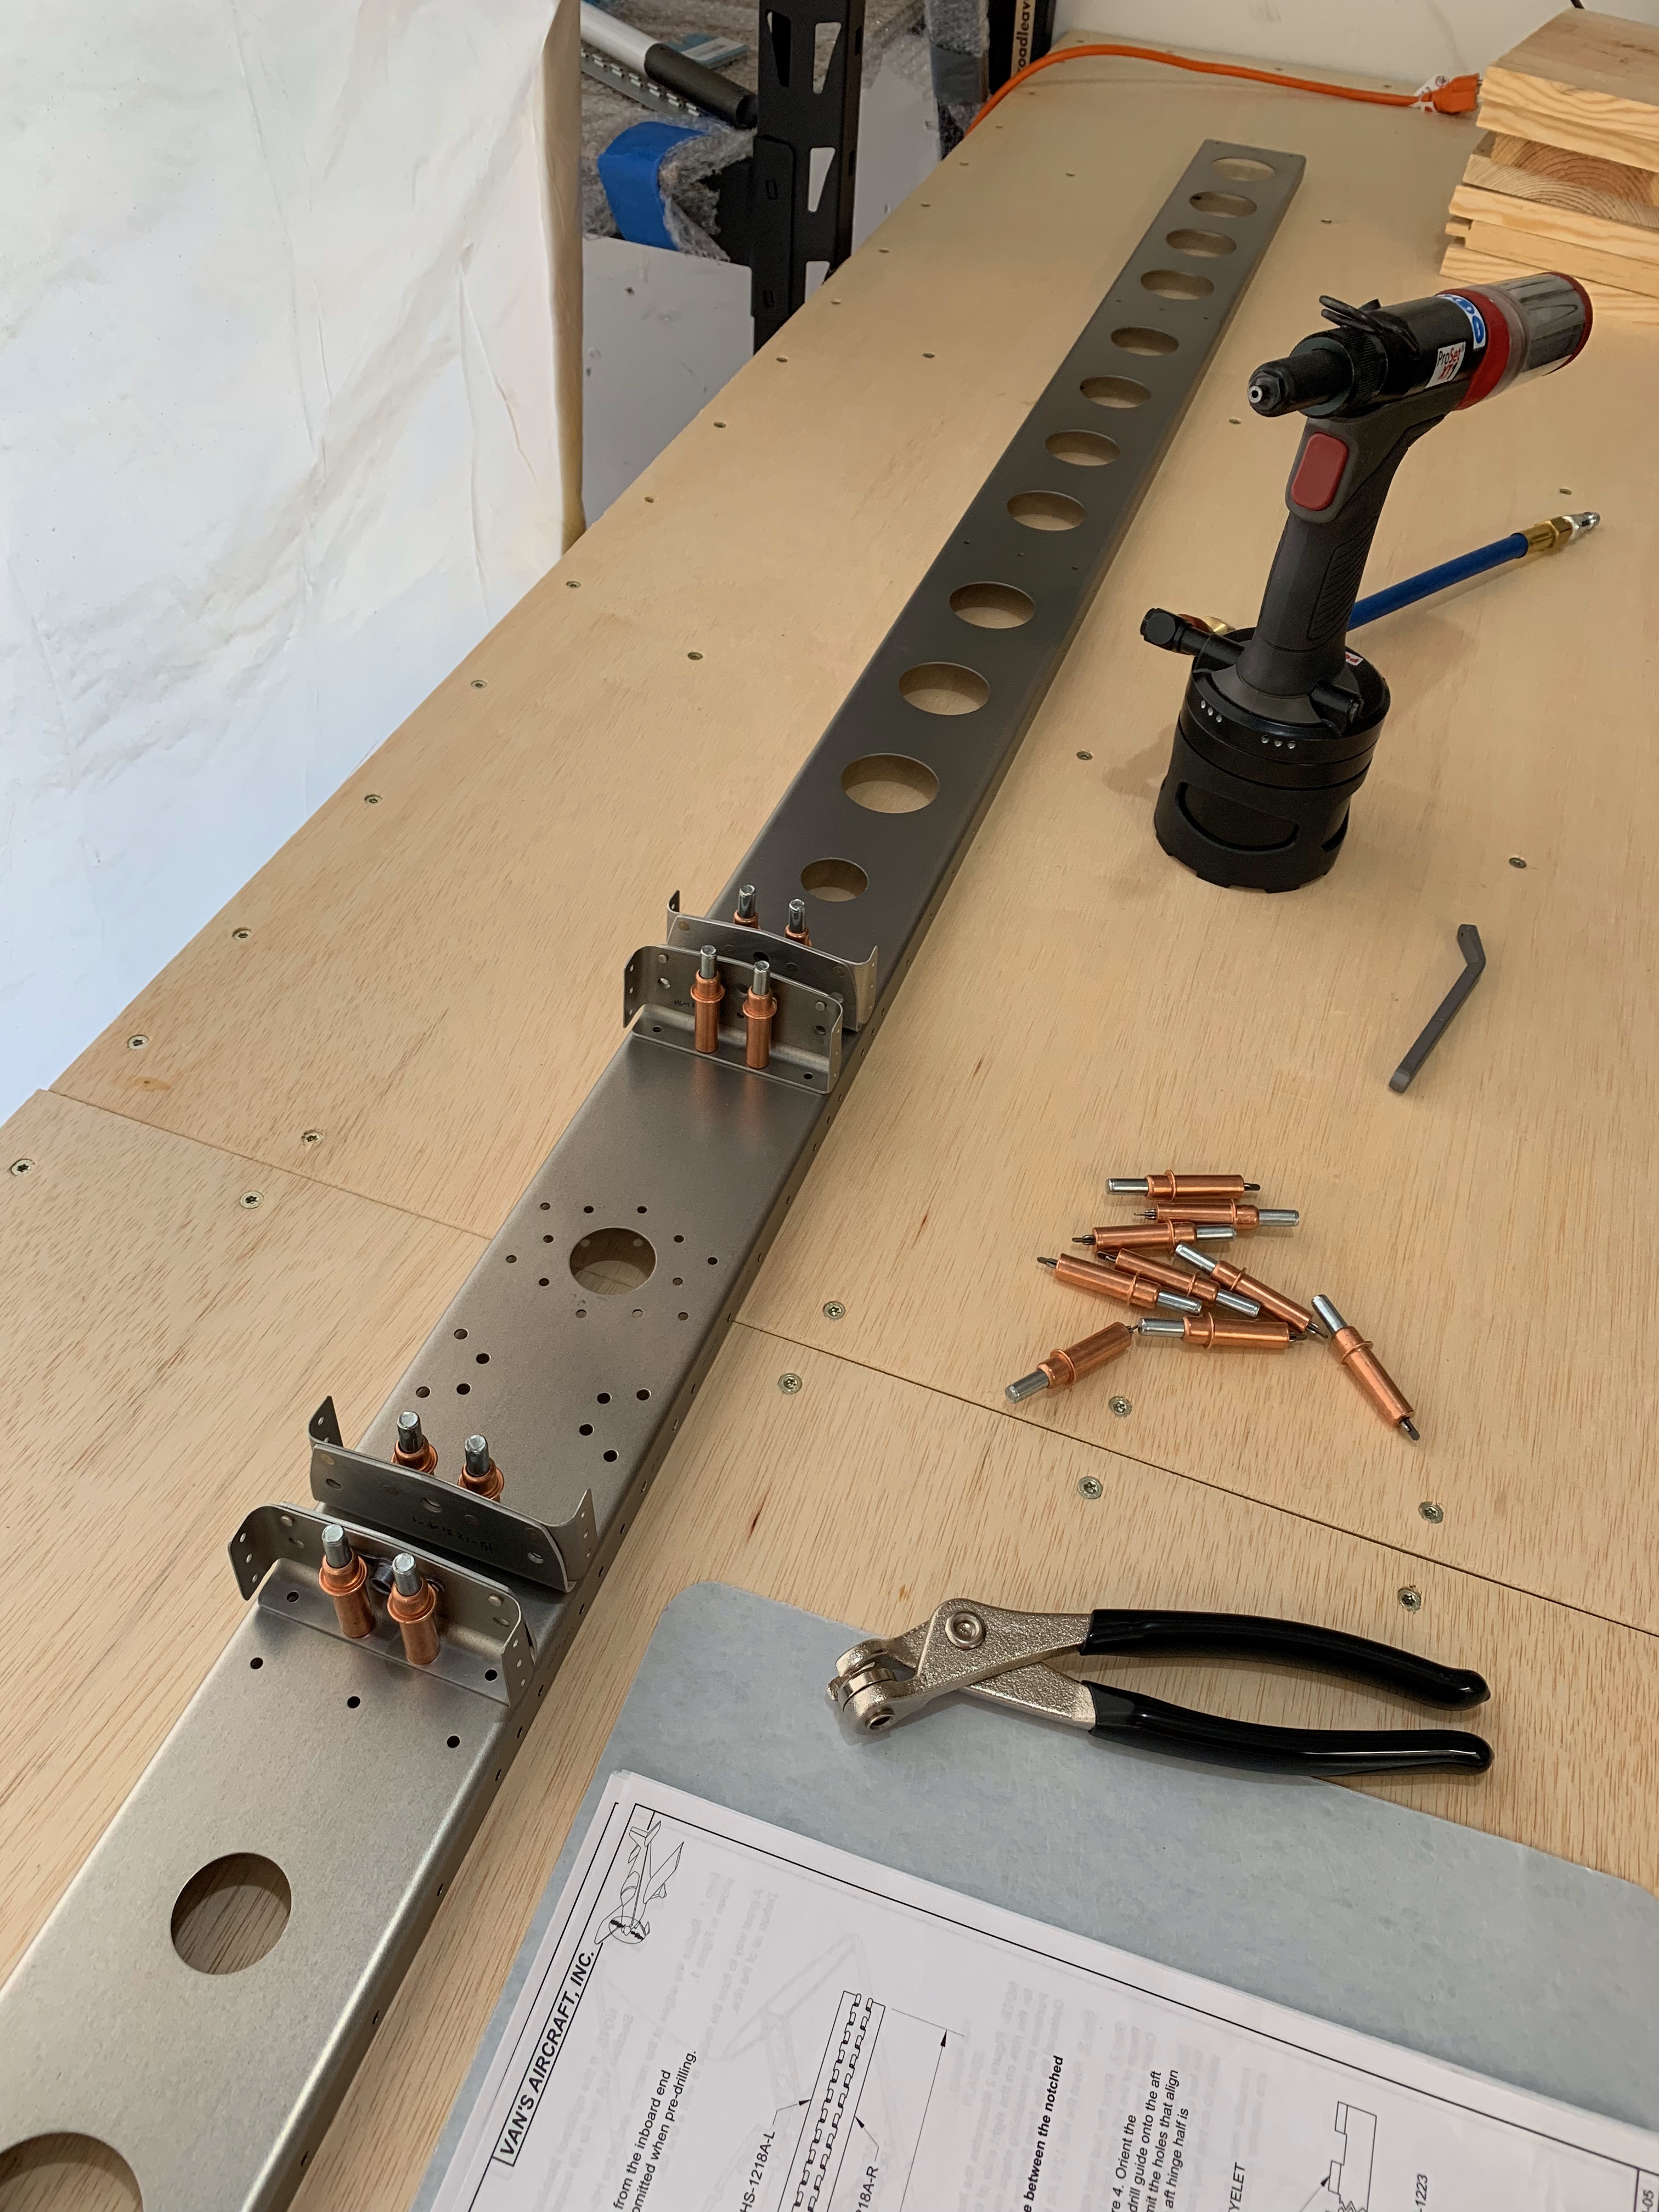
May 2019 saw relatively little progress in the build other than the wing kit arrival and inventory. Kelsey and I were too busy enjoying our anniversary trip in Utah/Arizona! I even convinced her to start building an airplane with me before 5 years of marriage: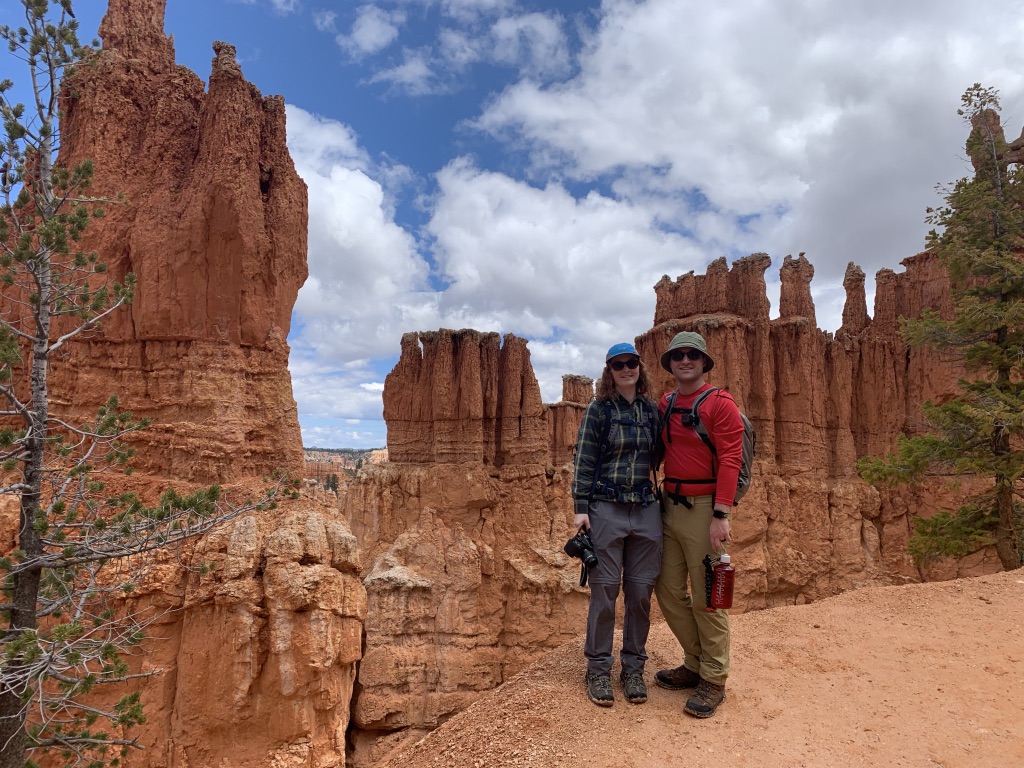
Fast-forward to June – Mom and Dad returned to the Pacific Northwest and this time I was determined to put them to work on actual airplane parts. Mom did hours of deburring for Stabilator ribs, and I got dad to work on some final assembly of the Stabilator spar box with me.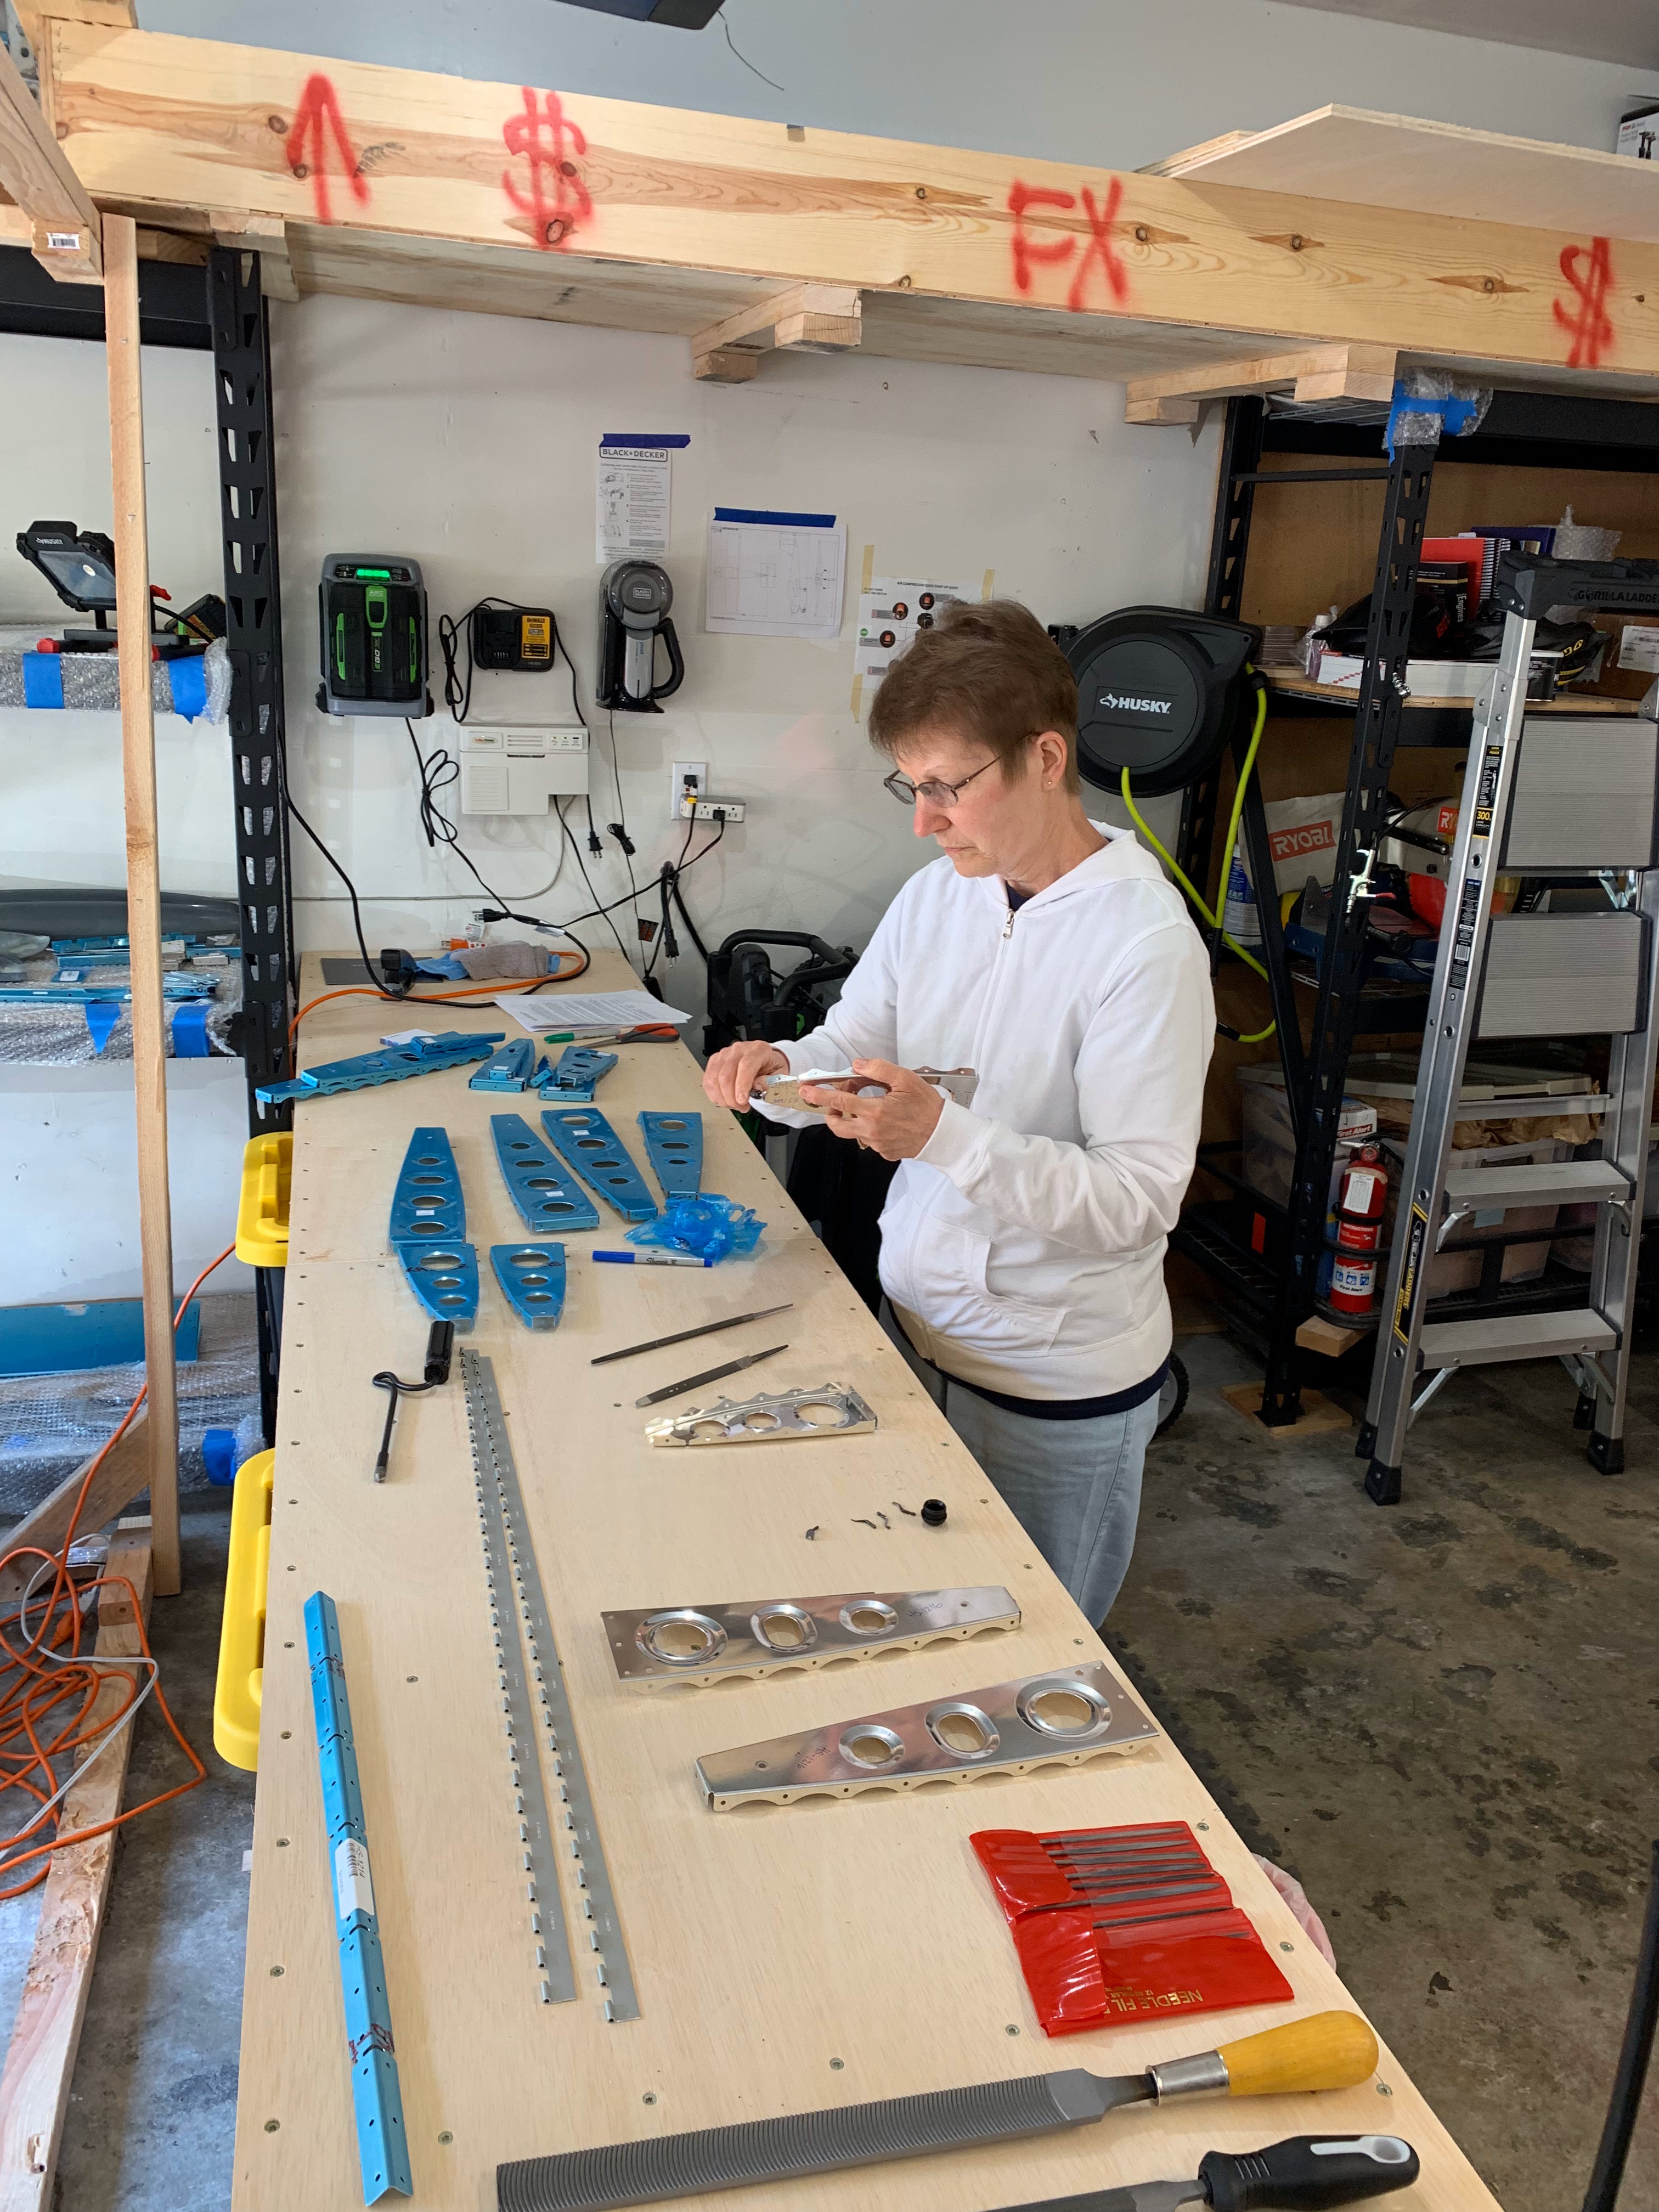
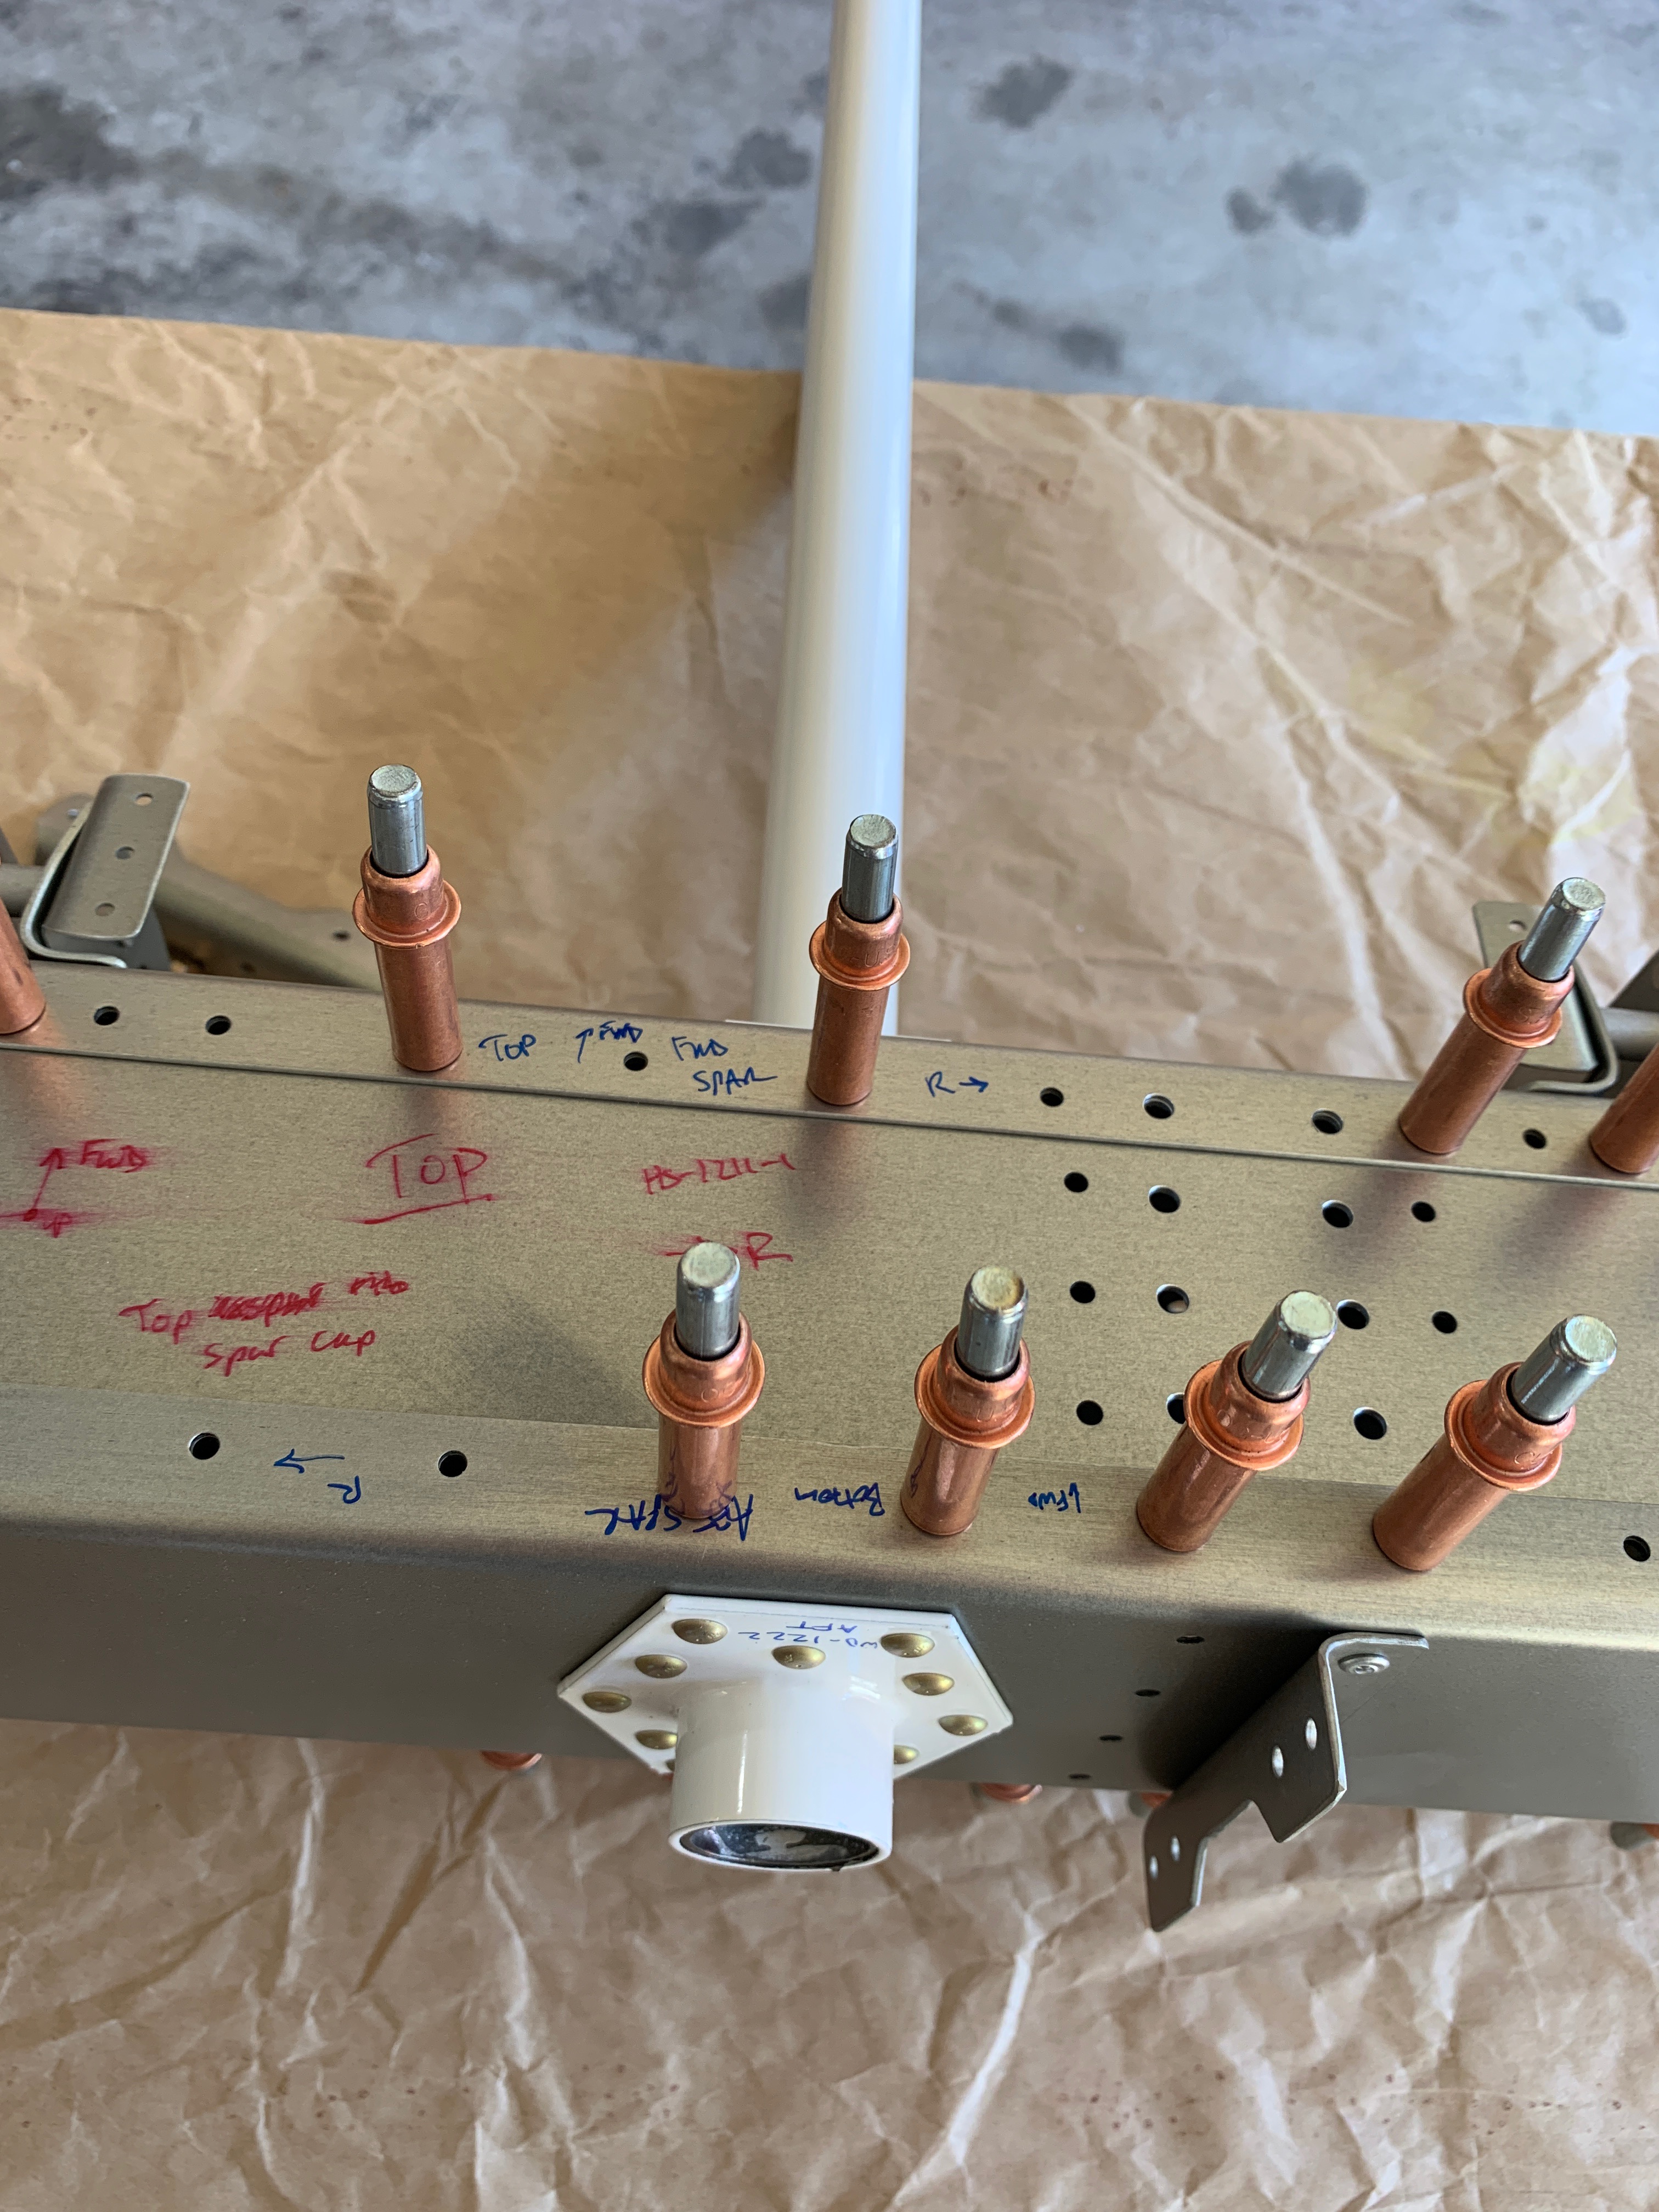
The re-work I was mentioning before? Yeah, this was about the time I discovered that the counterbalance bracket was upside down. Drilled those 12 solid rivets out and re-riveted it on after rotating it 180˚.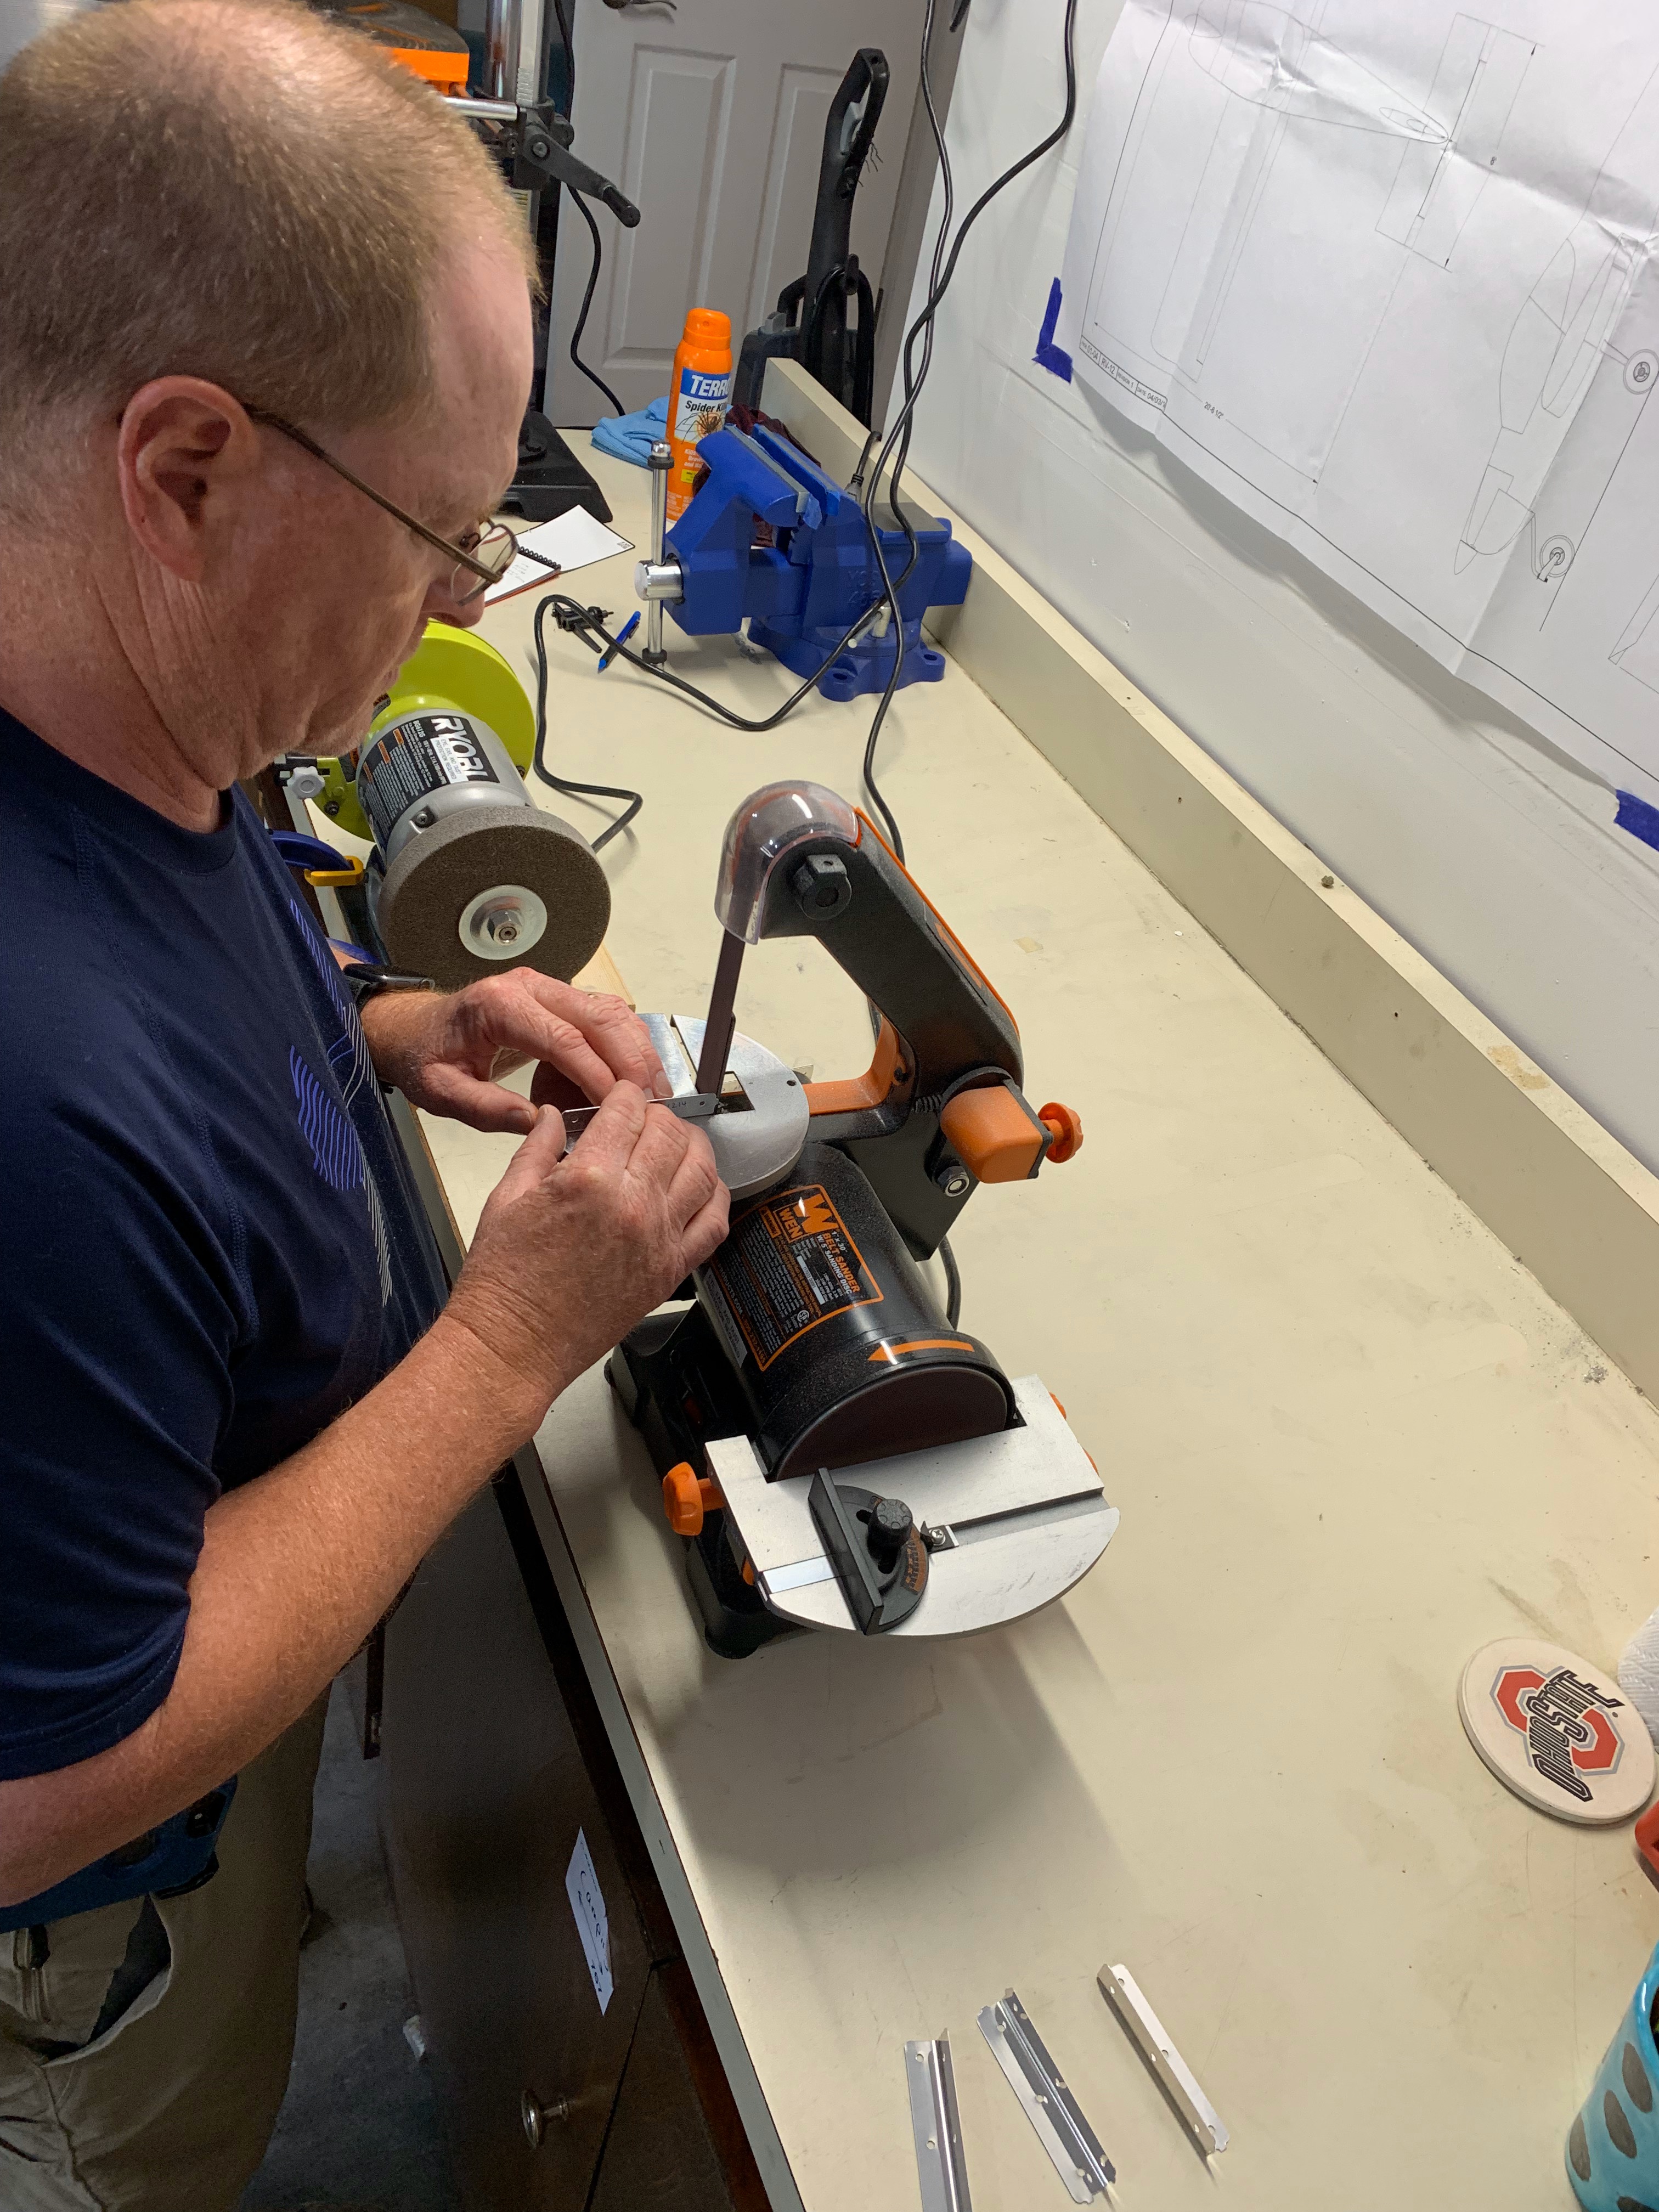
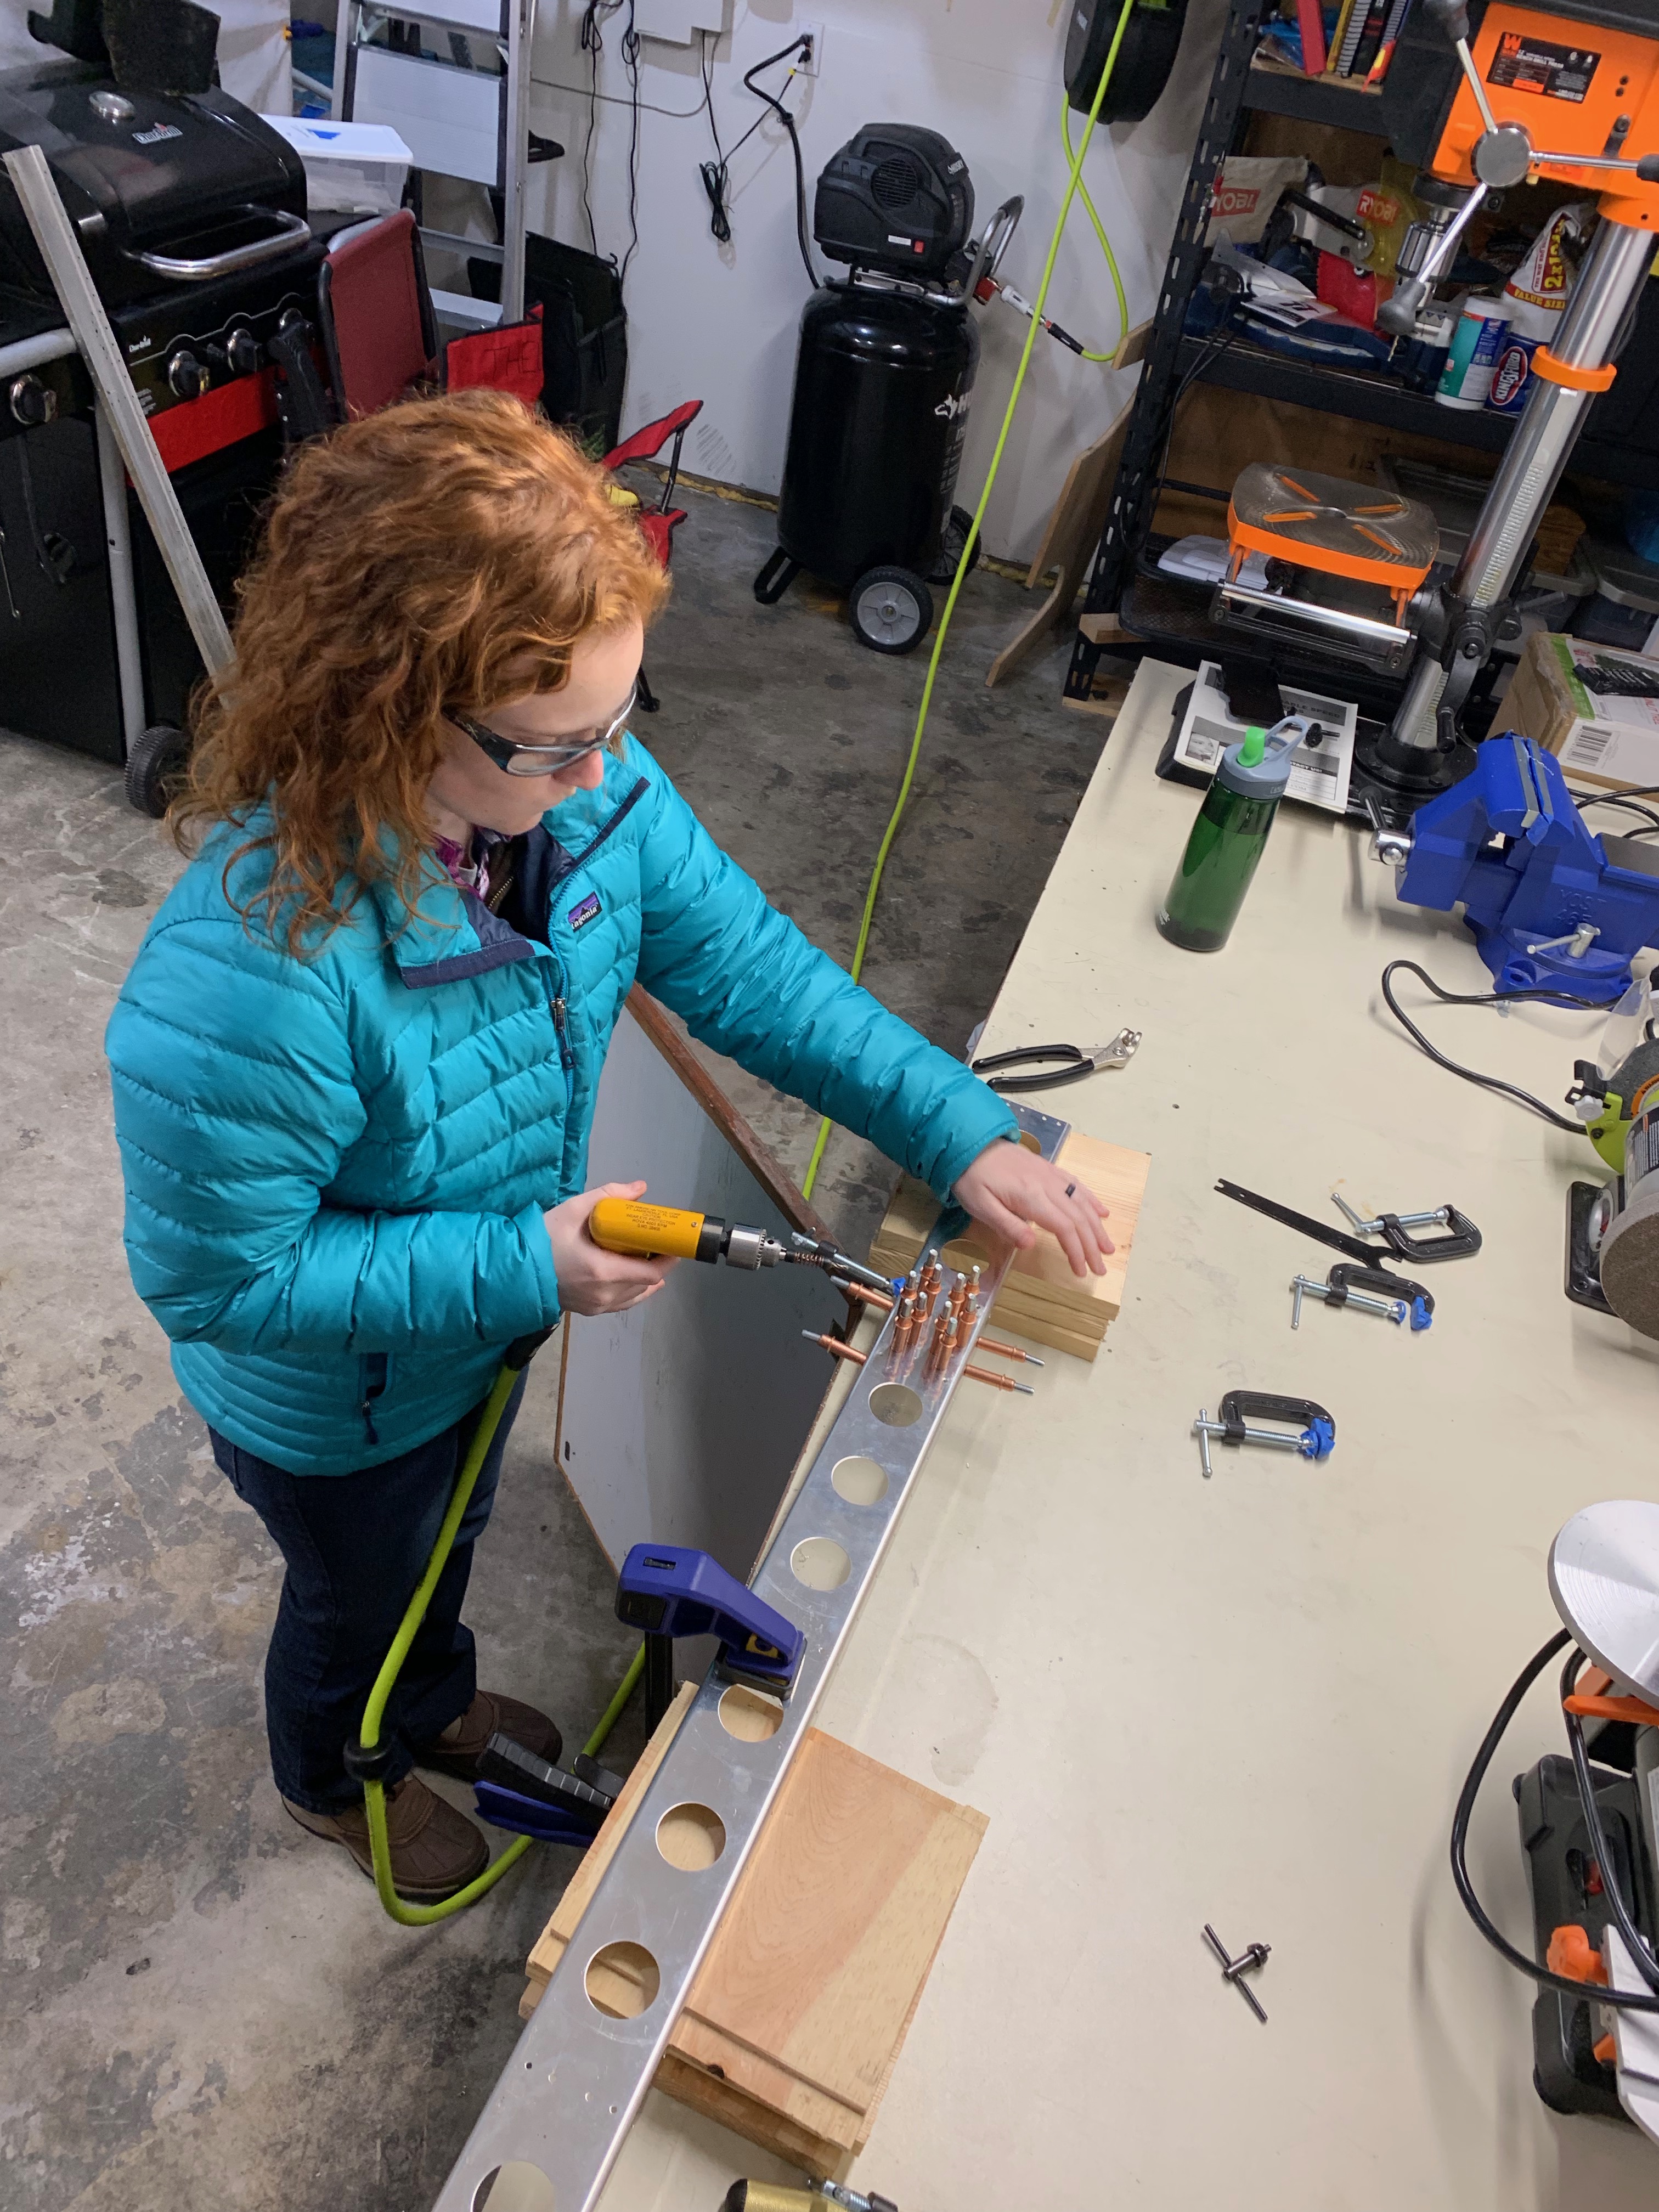
Cleaning up some rib clips! These attach to the spar box; the Stabilator ribs will be riveted to them later on.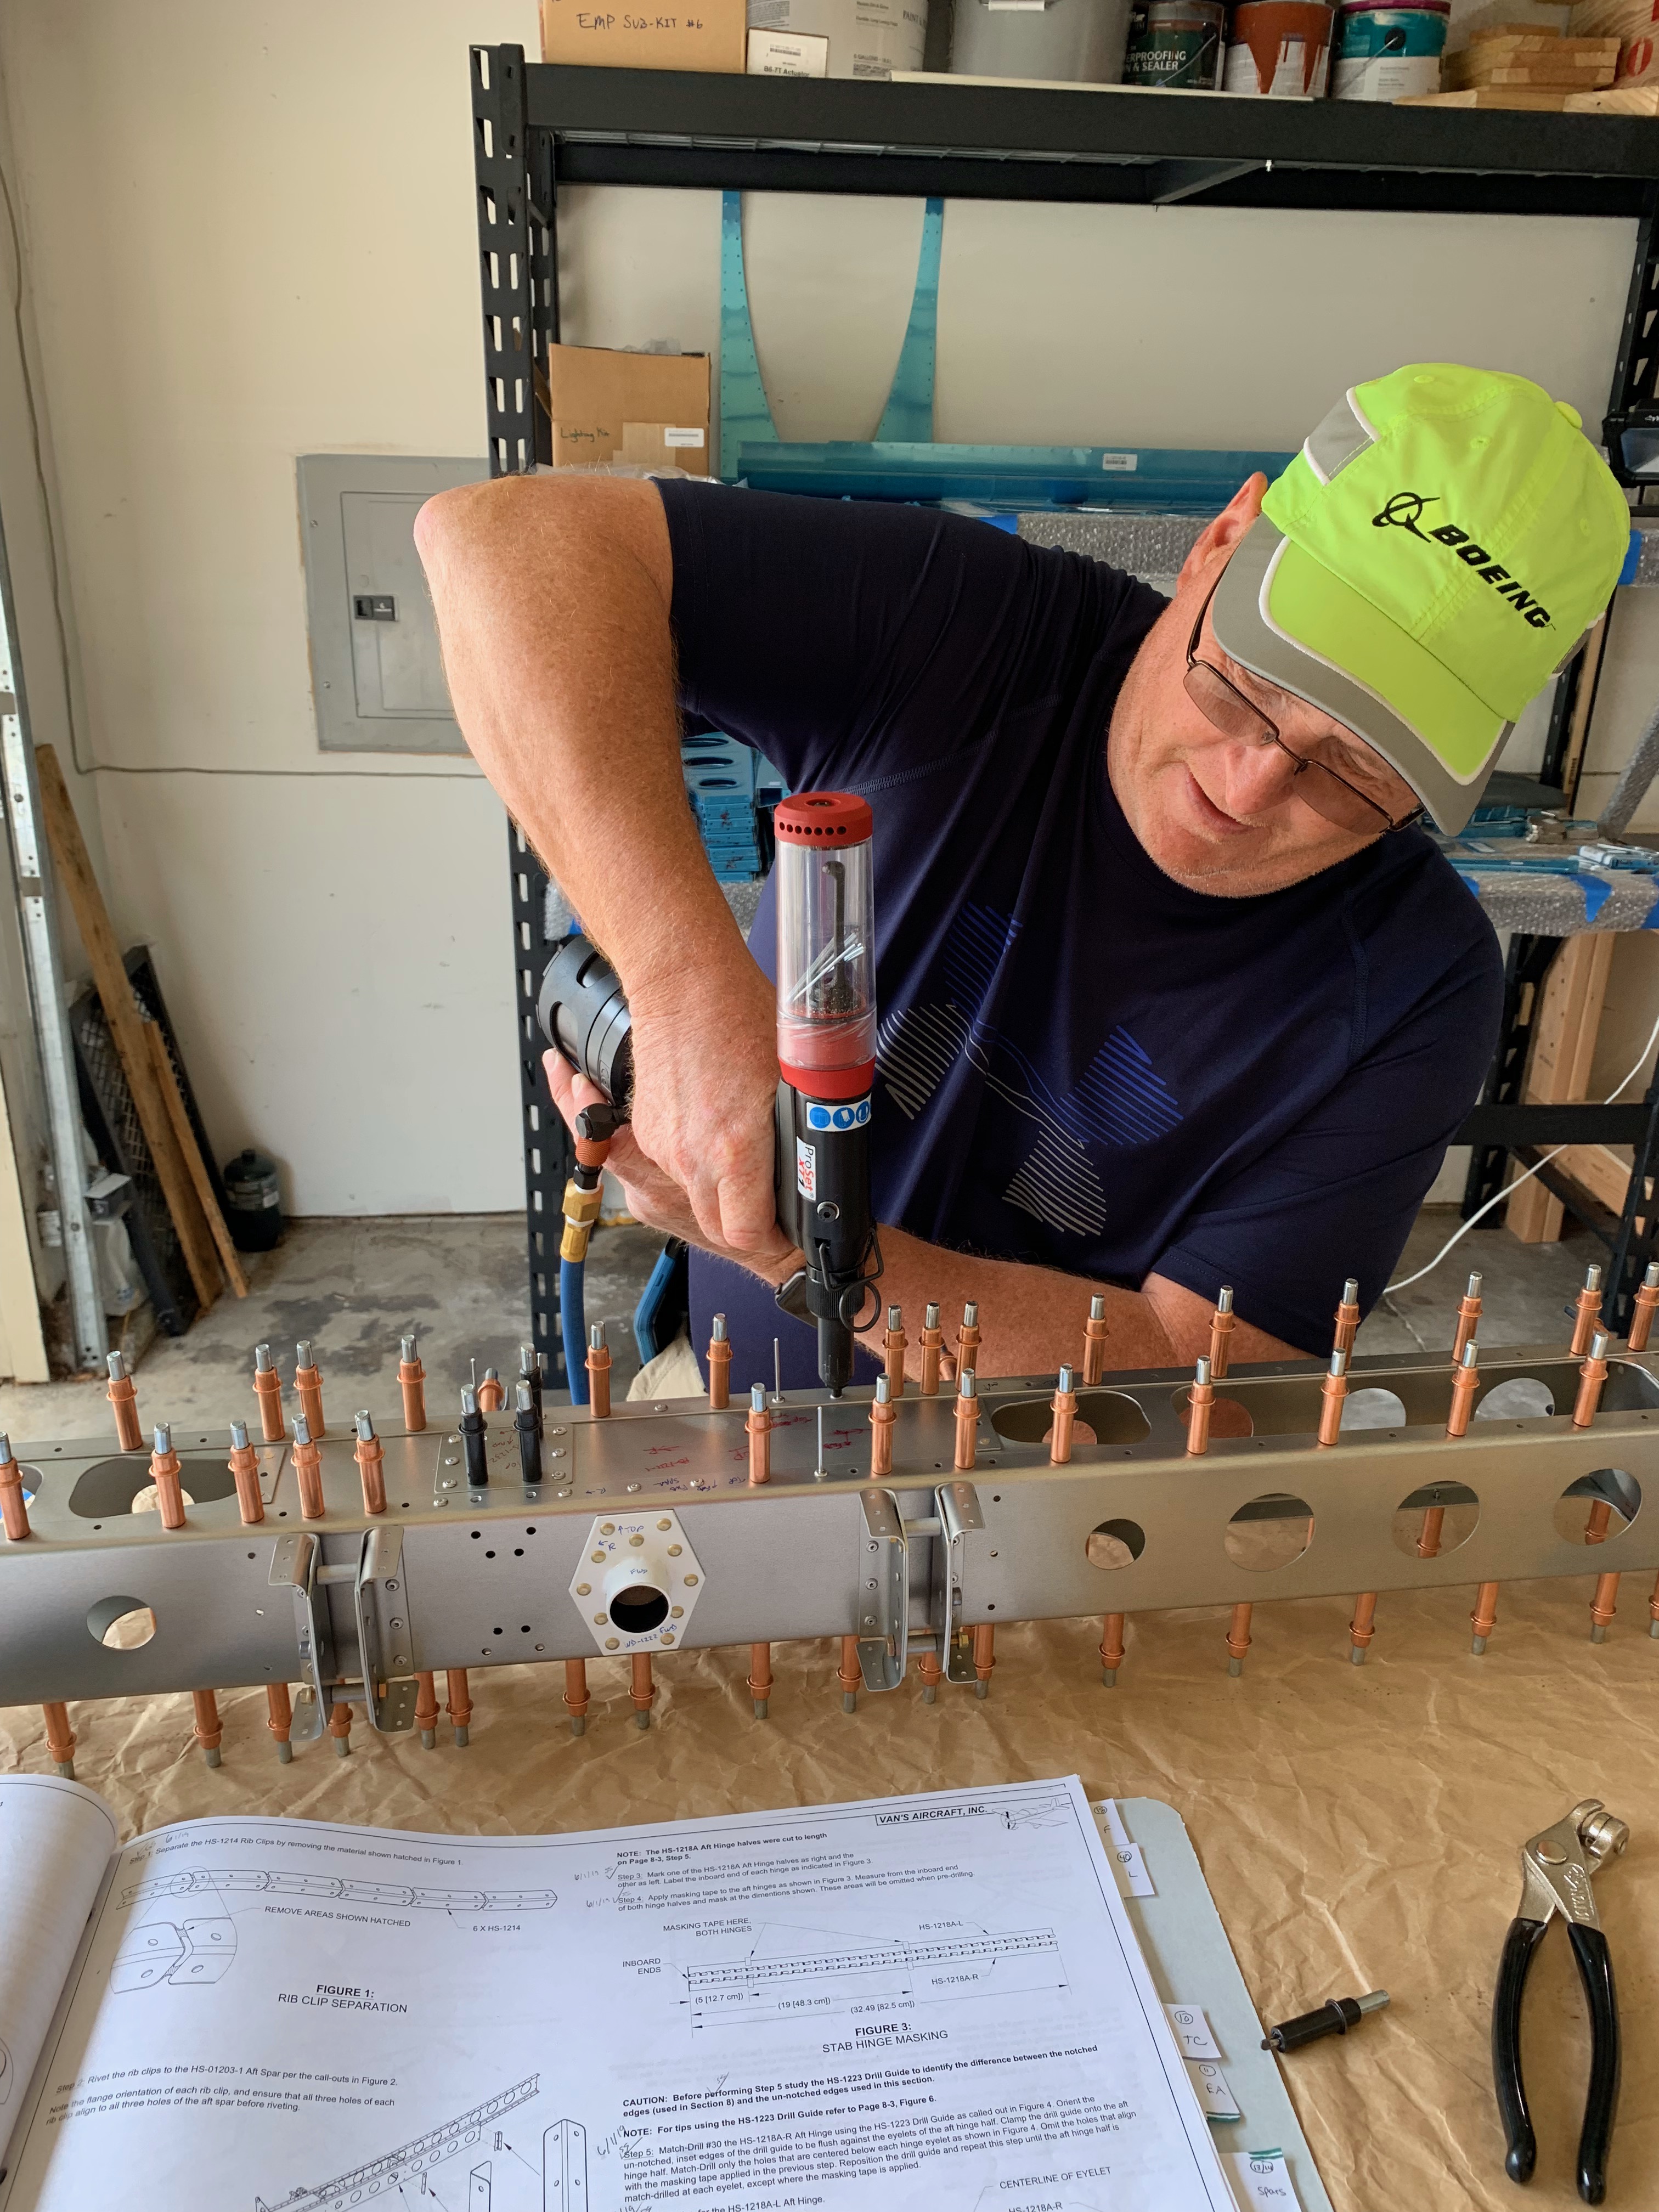
Woohoo! Mom and dad pulled their first rivets on the airframe. We all worked together to rivet the stabilator spar box and control horns. When we finally get to fly, they can say with confidence that they helped us build! 🙂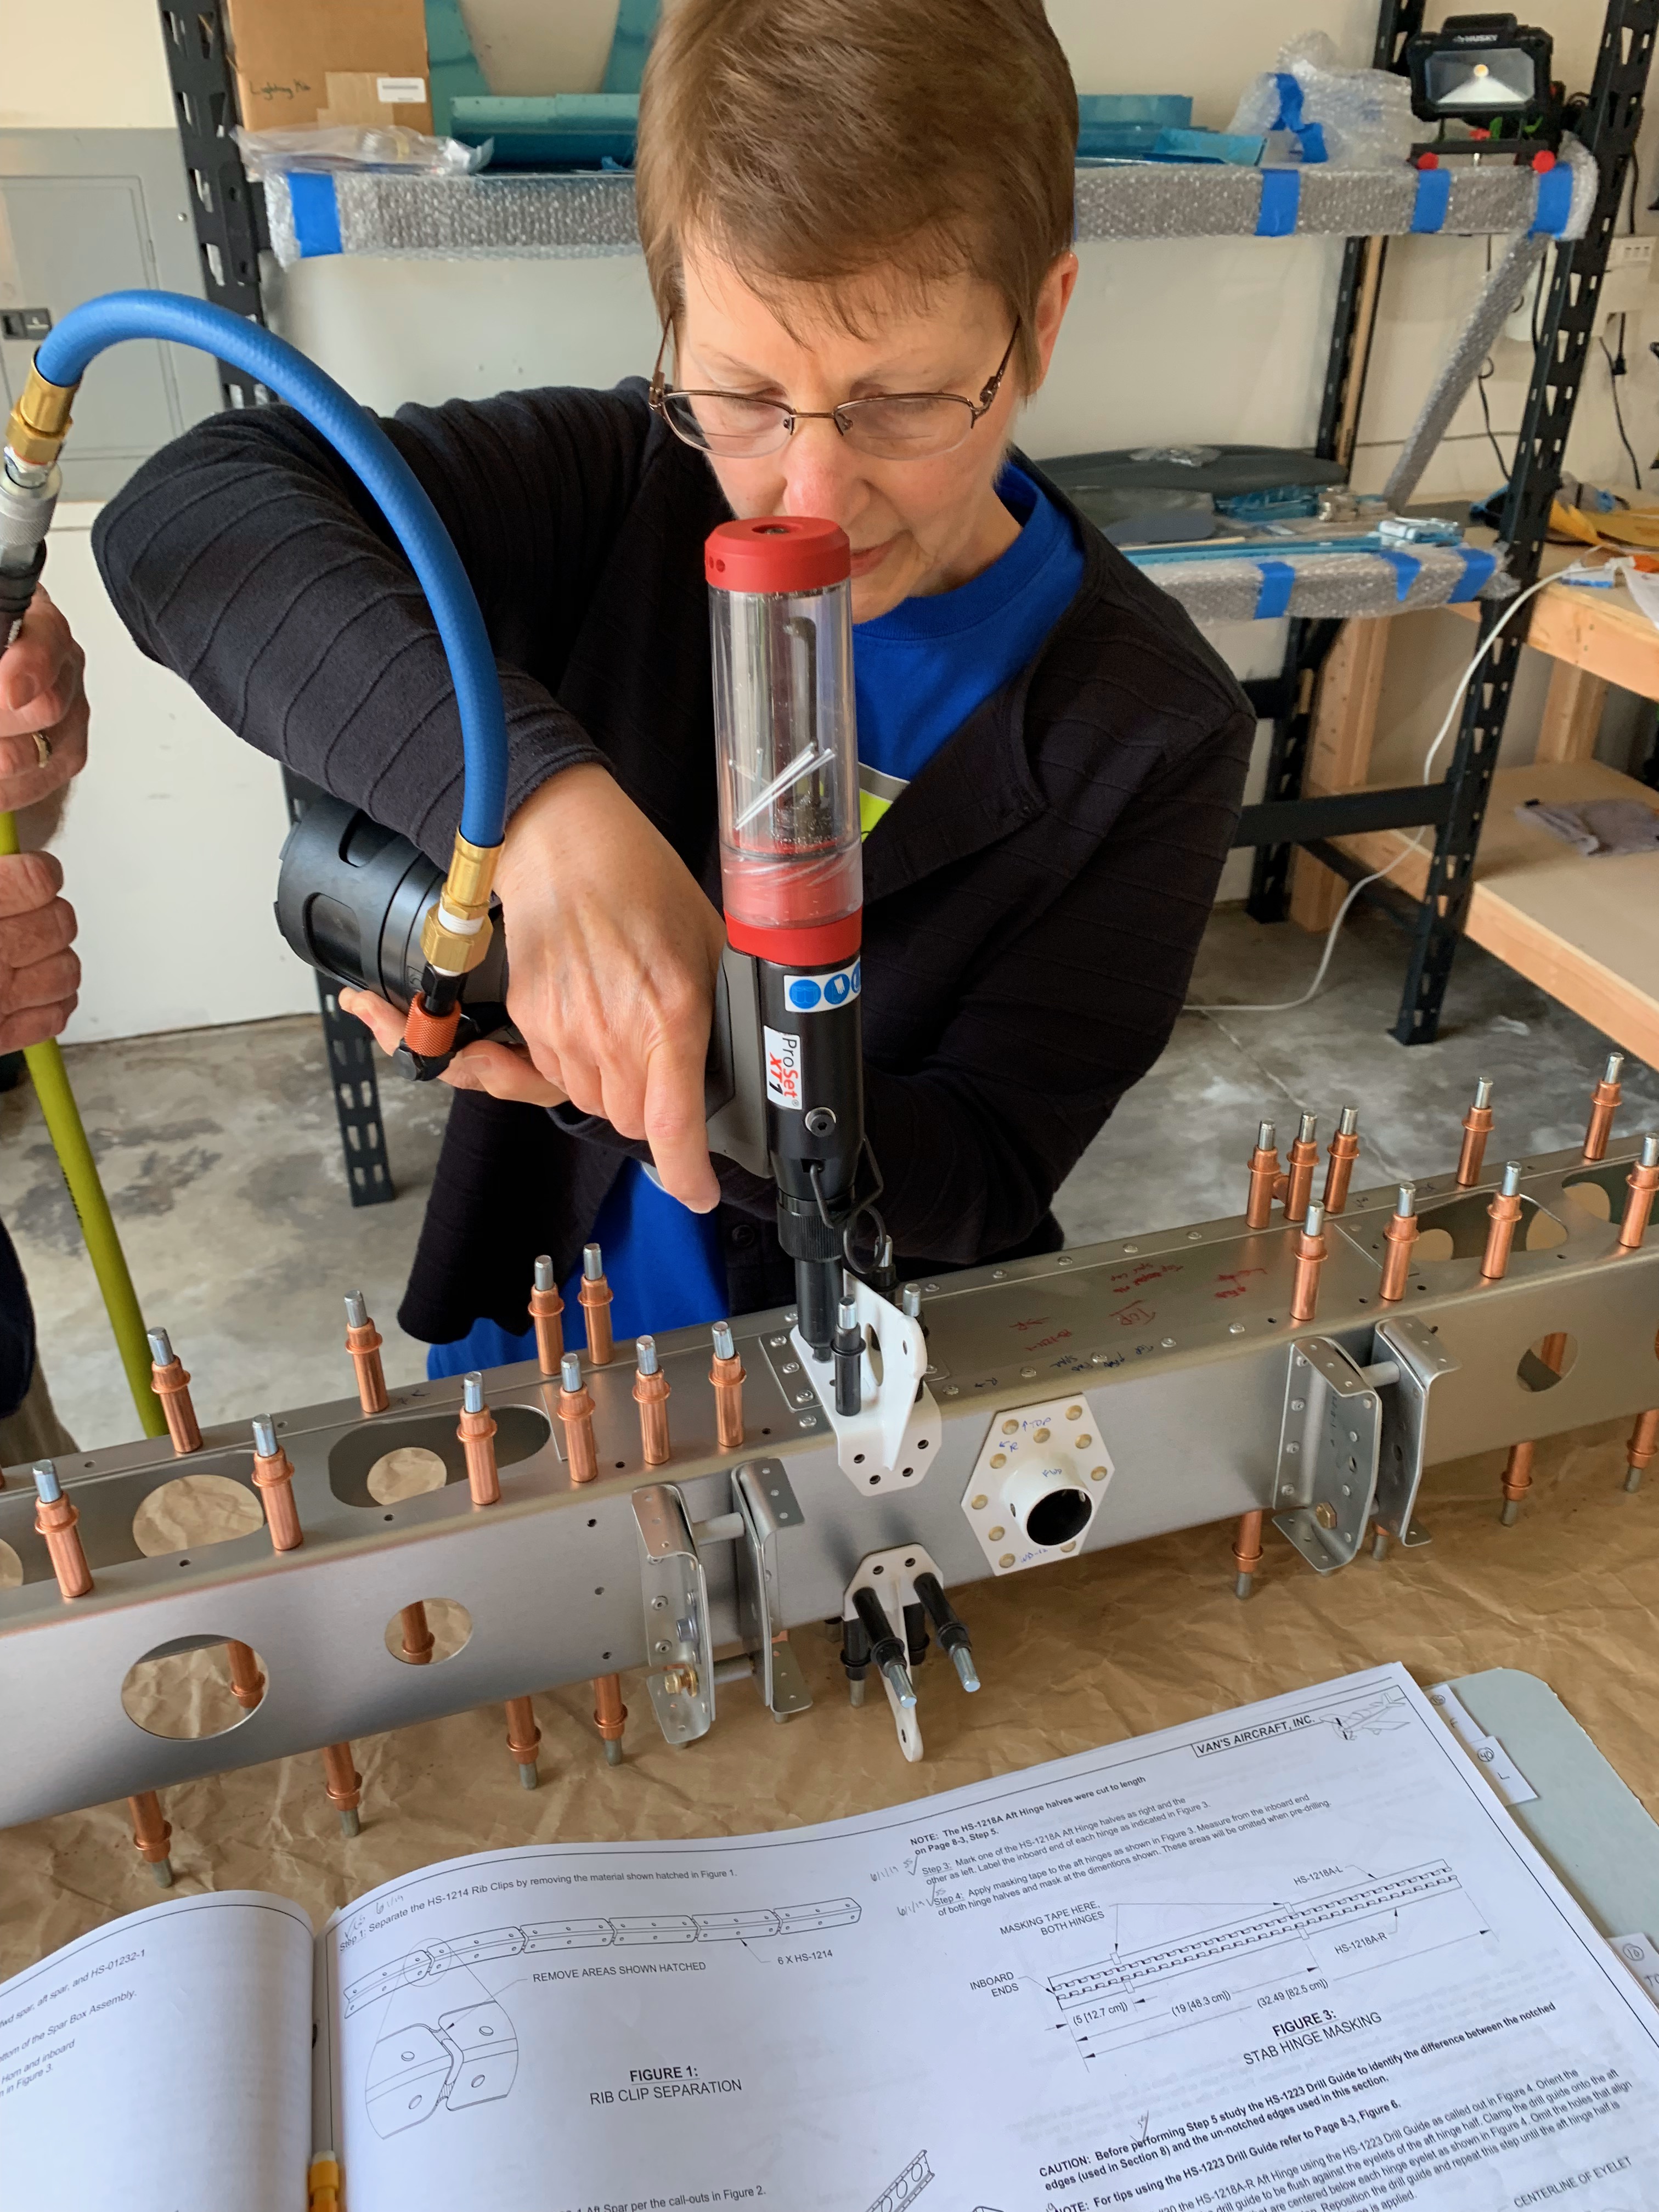
I thoroughly enjoyed getting some more family involved in working on the plane – and highly recommend it for any builders out there wanting to share the fun.
Unfortunately, after the family visit ended, I got really busy at work and lost momentum again. I didn’t even touch the parts again until nearly September!
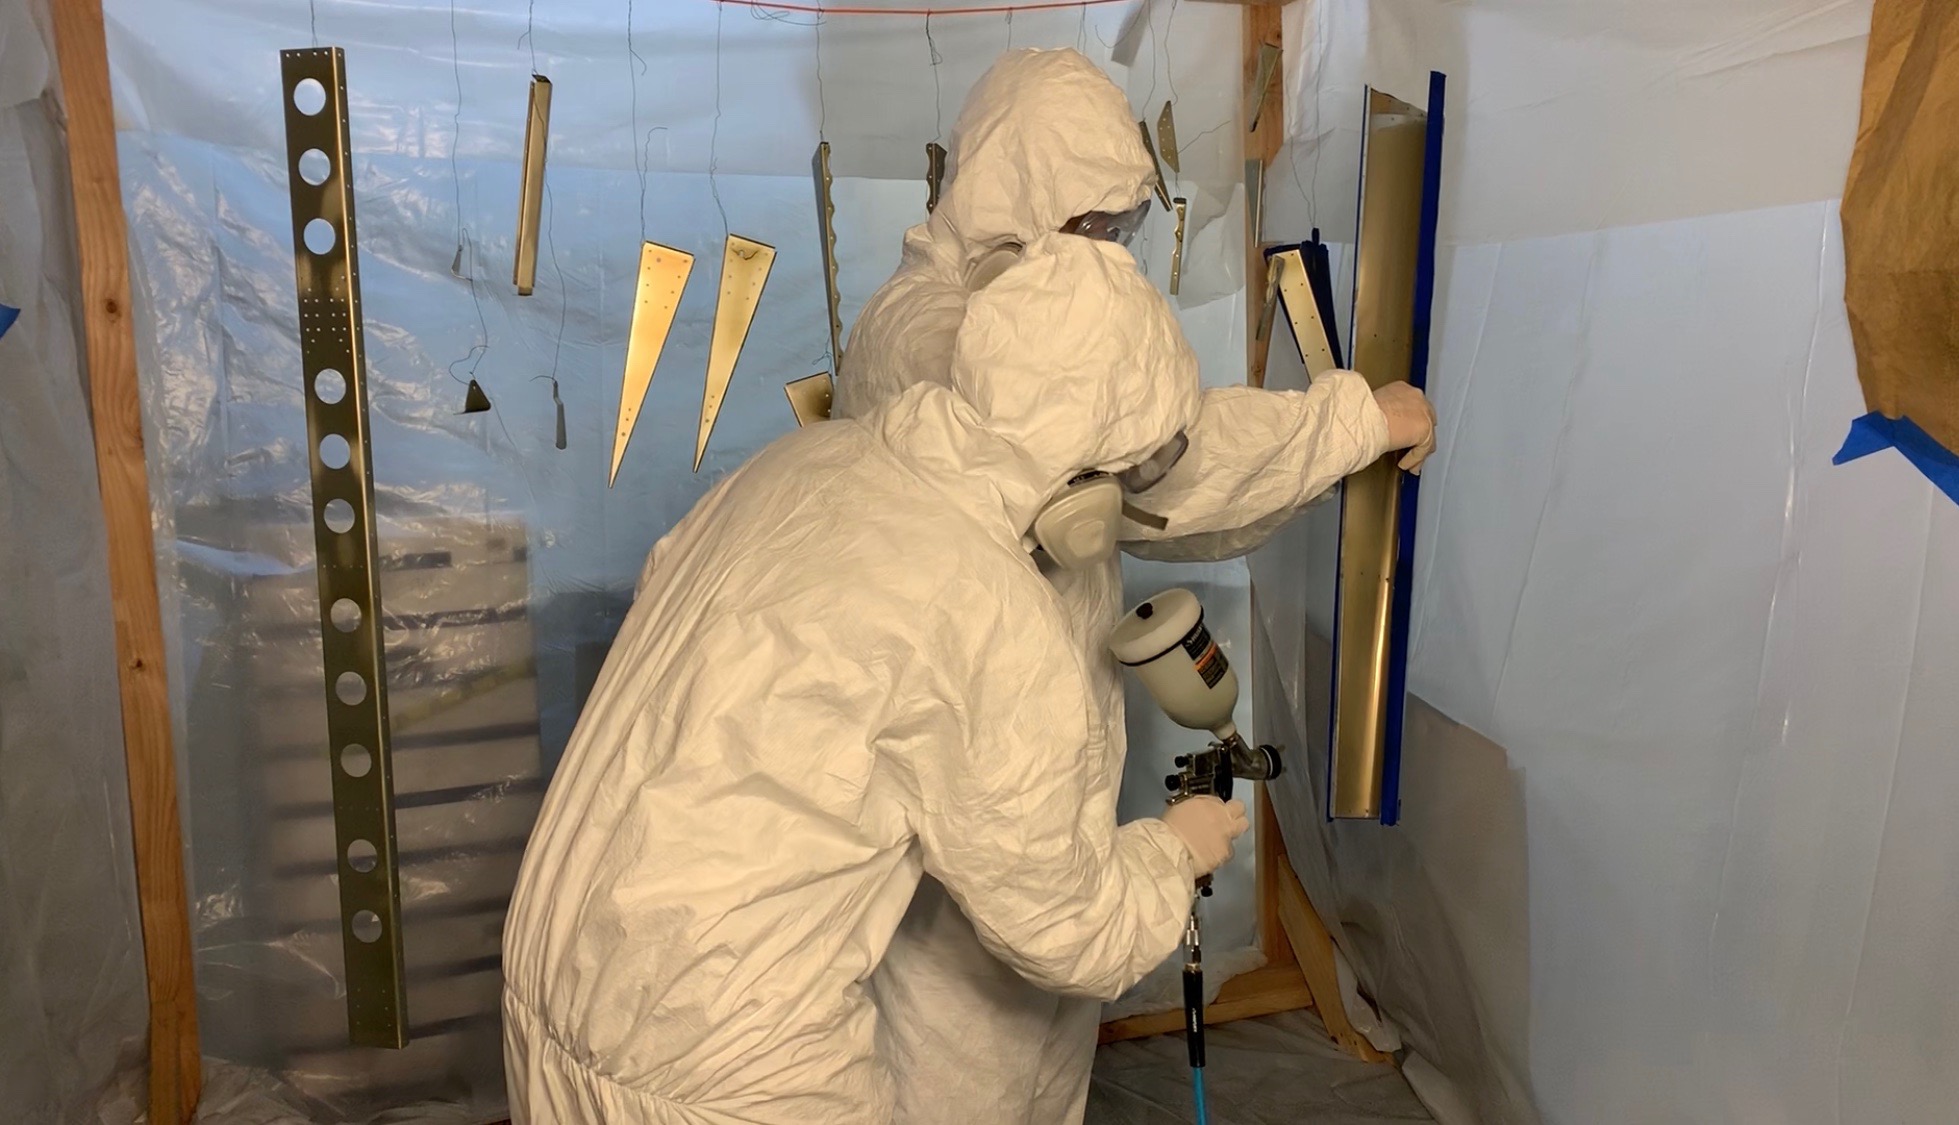
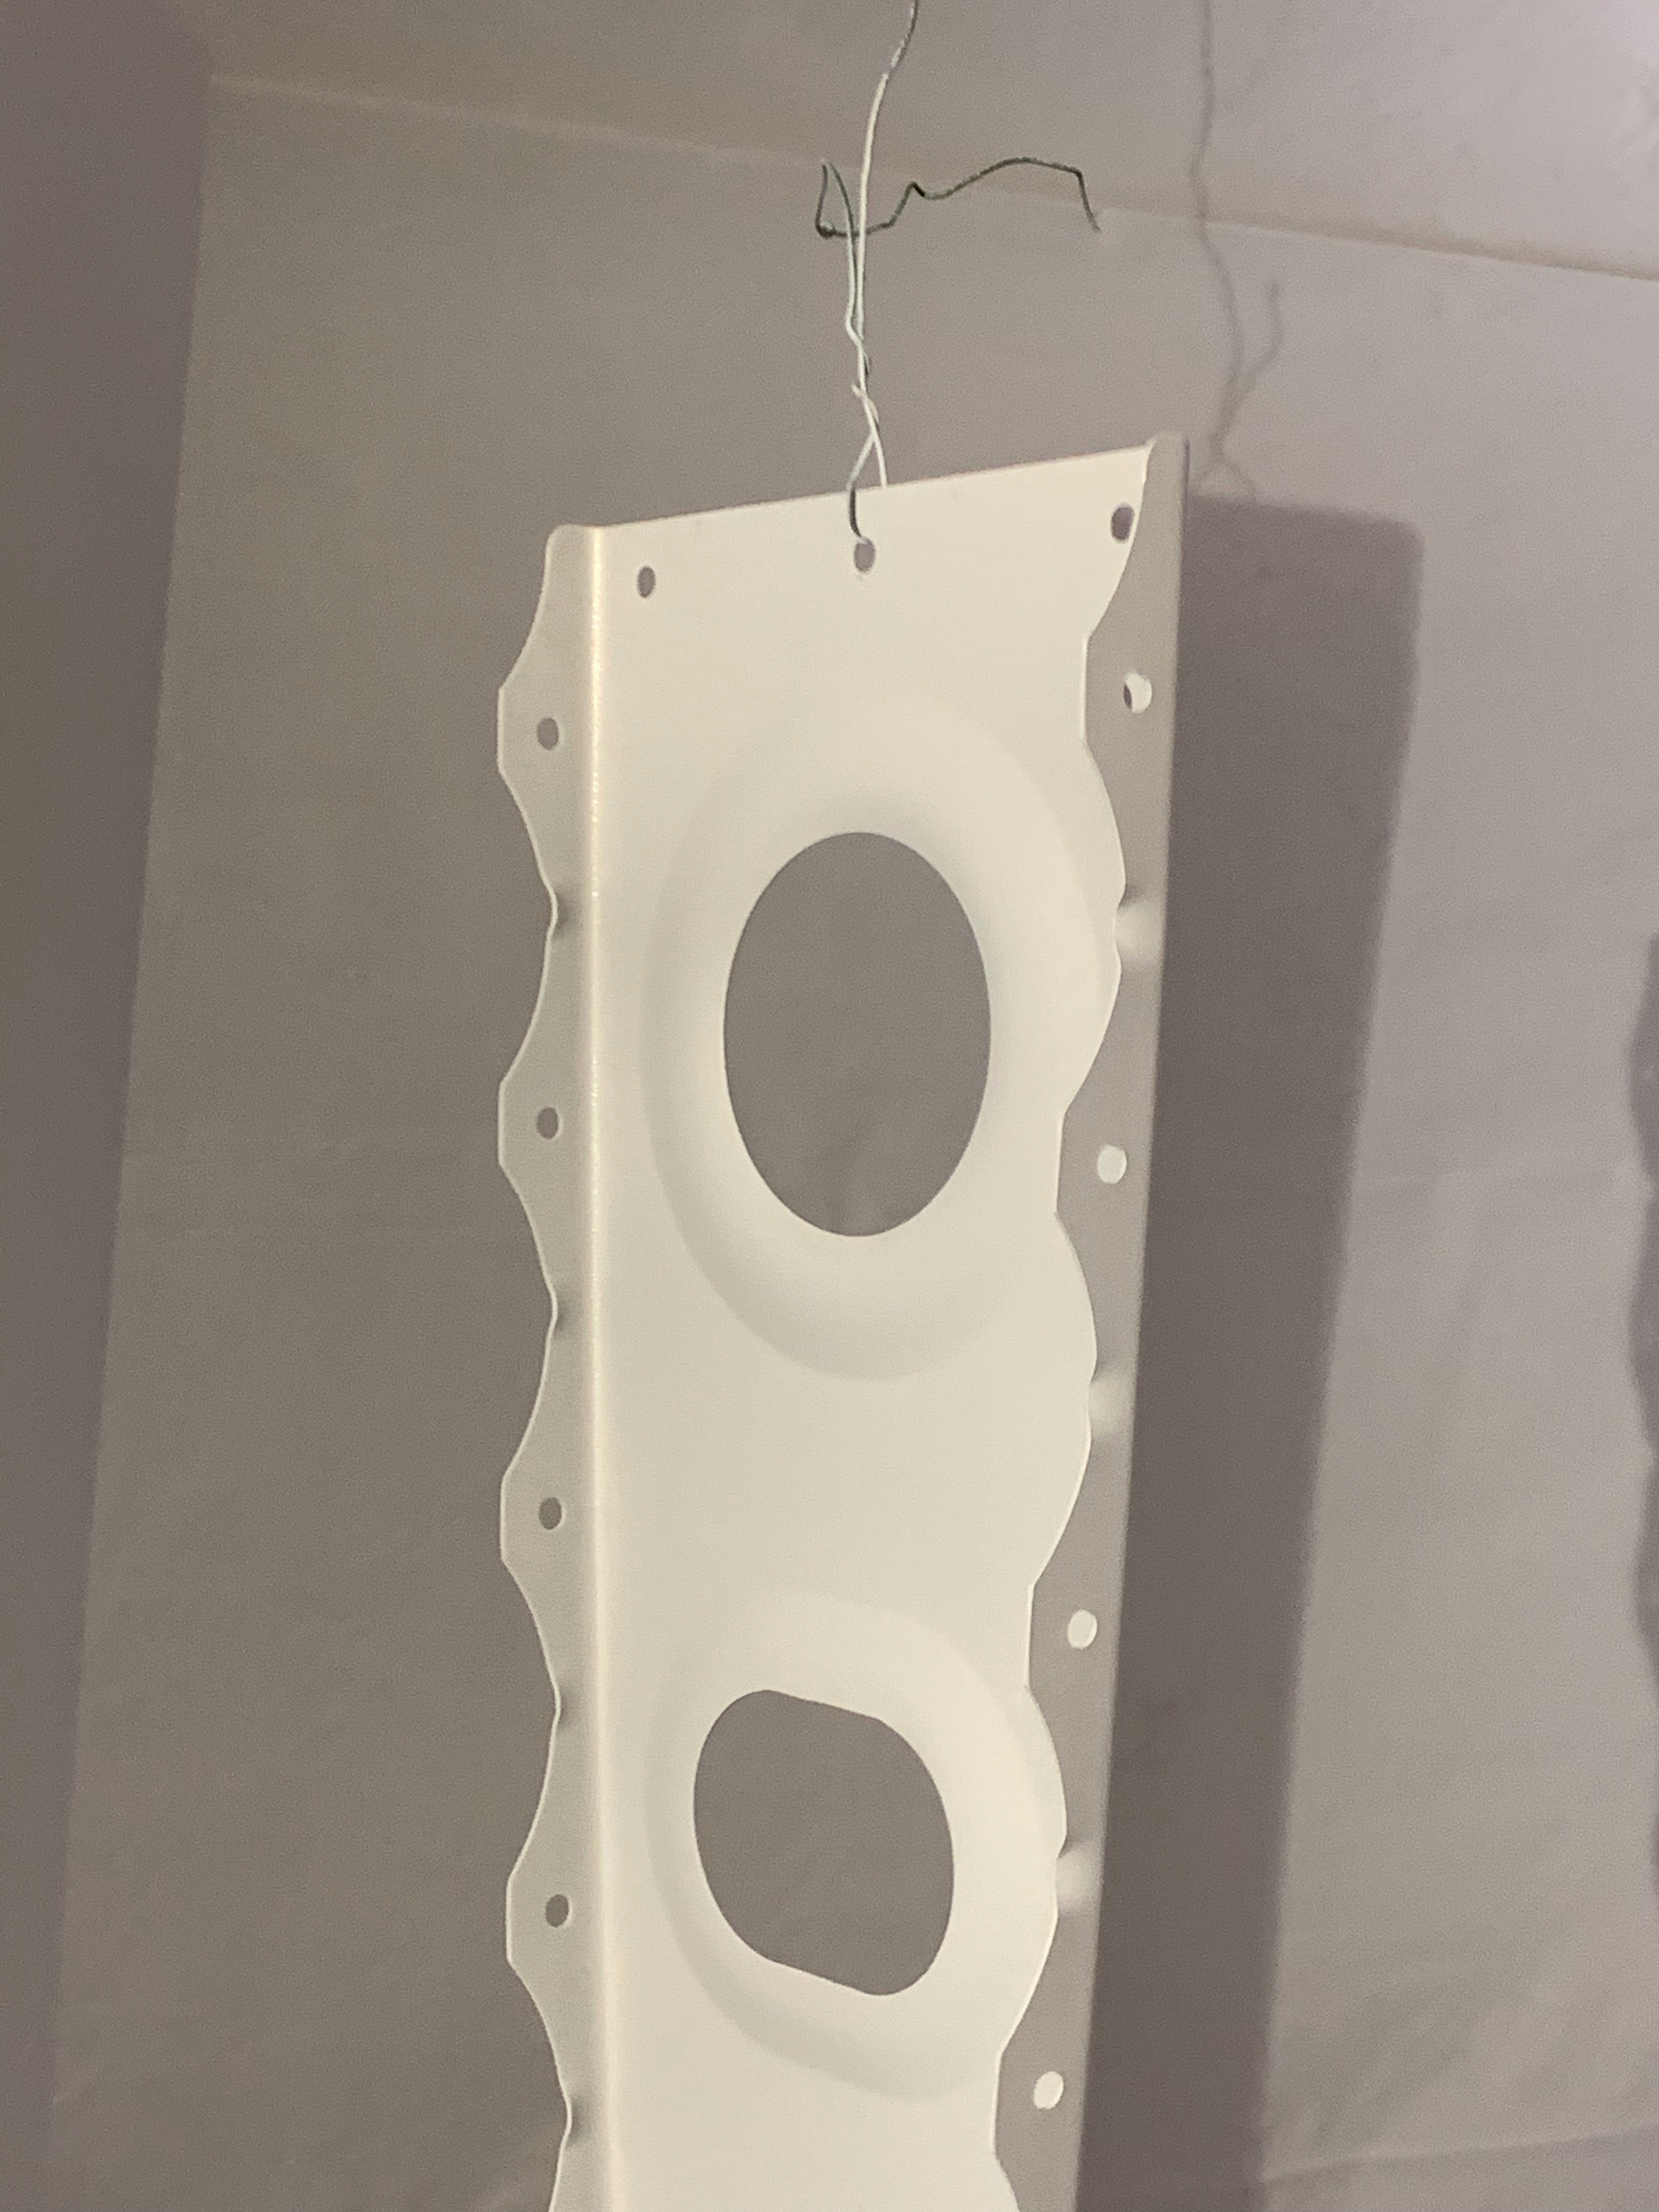
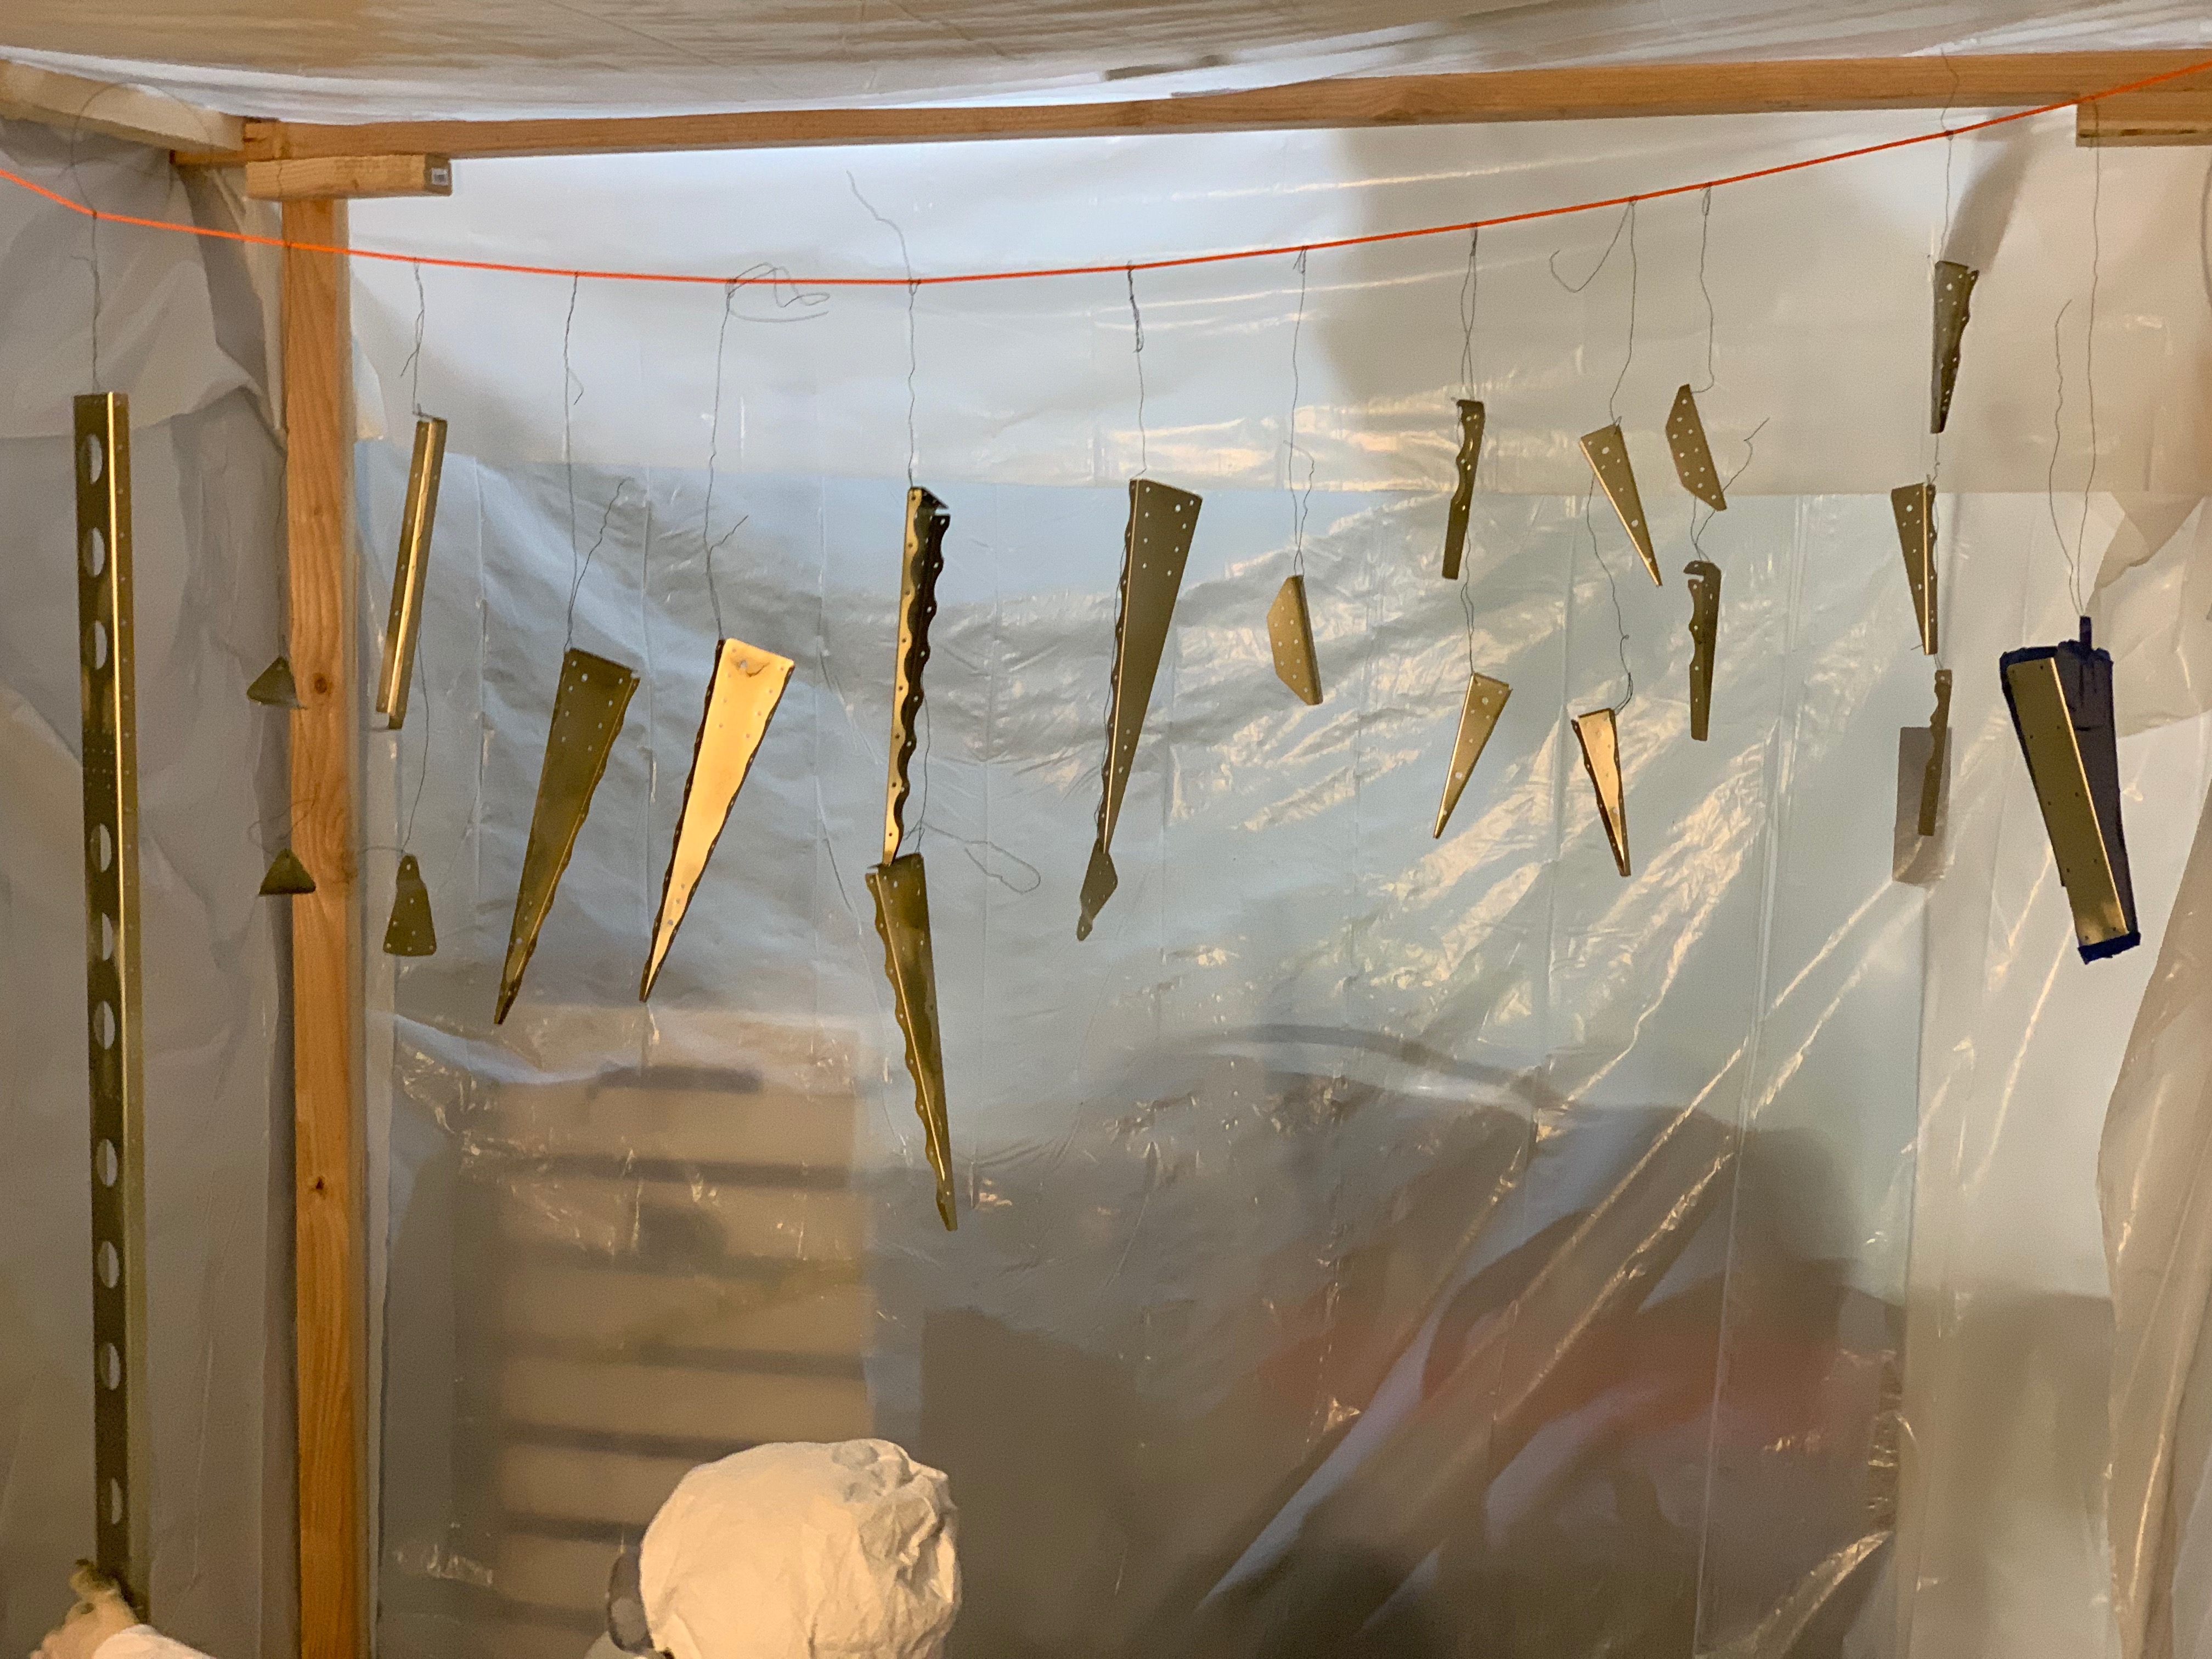
After the many hours mom put in to deburr stabilator ribs, Kelsey eventually got to flute (straighten) and prime them. This September 2019 was my first real experience priming parts with the Stewart Systems EkoPrime. I will admit that I practiced a little bit in a preceding batch on a friend’s RV-14 parts and the 6 rib clips for the stabilator. The process is quite a bit more involved, with extensive cleaning, mechanical/acid etching, spraying, drying, and finally priming the parts. However, this stuff is much less toxic than the two-part P60G2. I will plan to use it for the foreseeable future. (And again, will do a more detailed post later about the process and why we switched).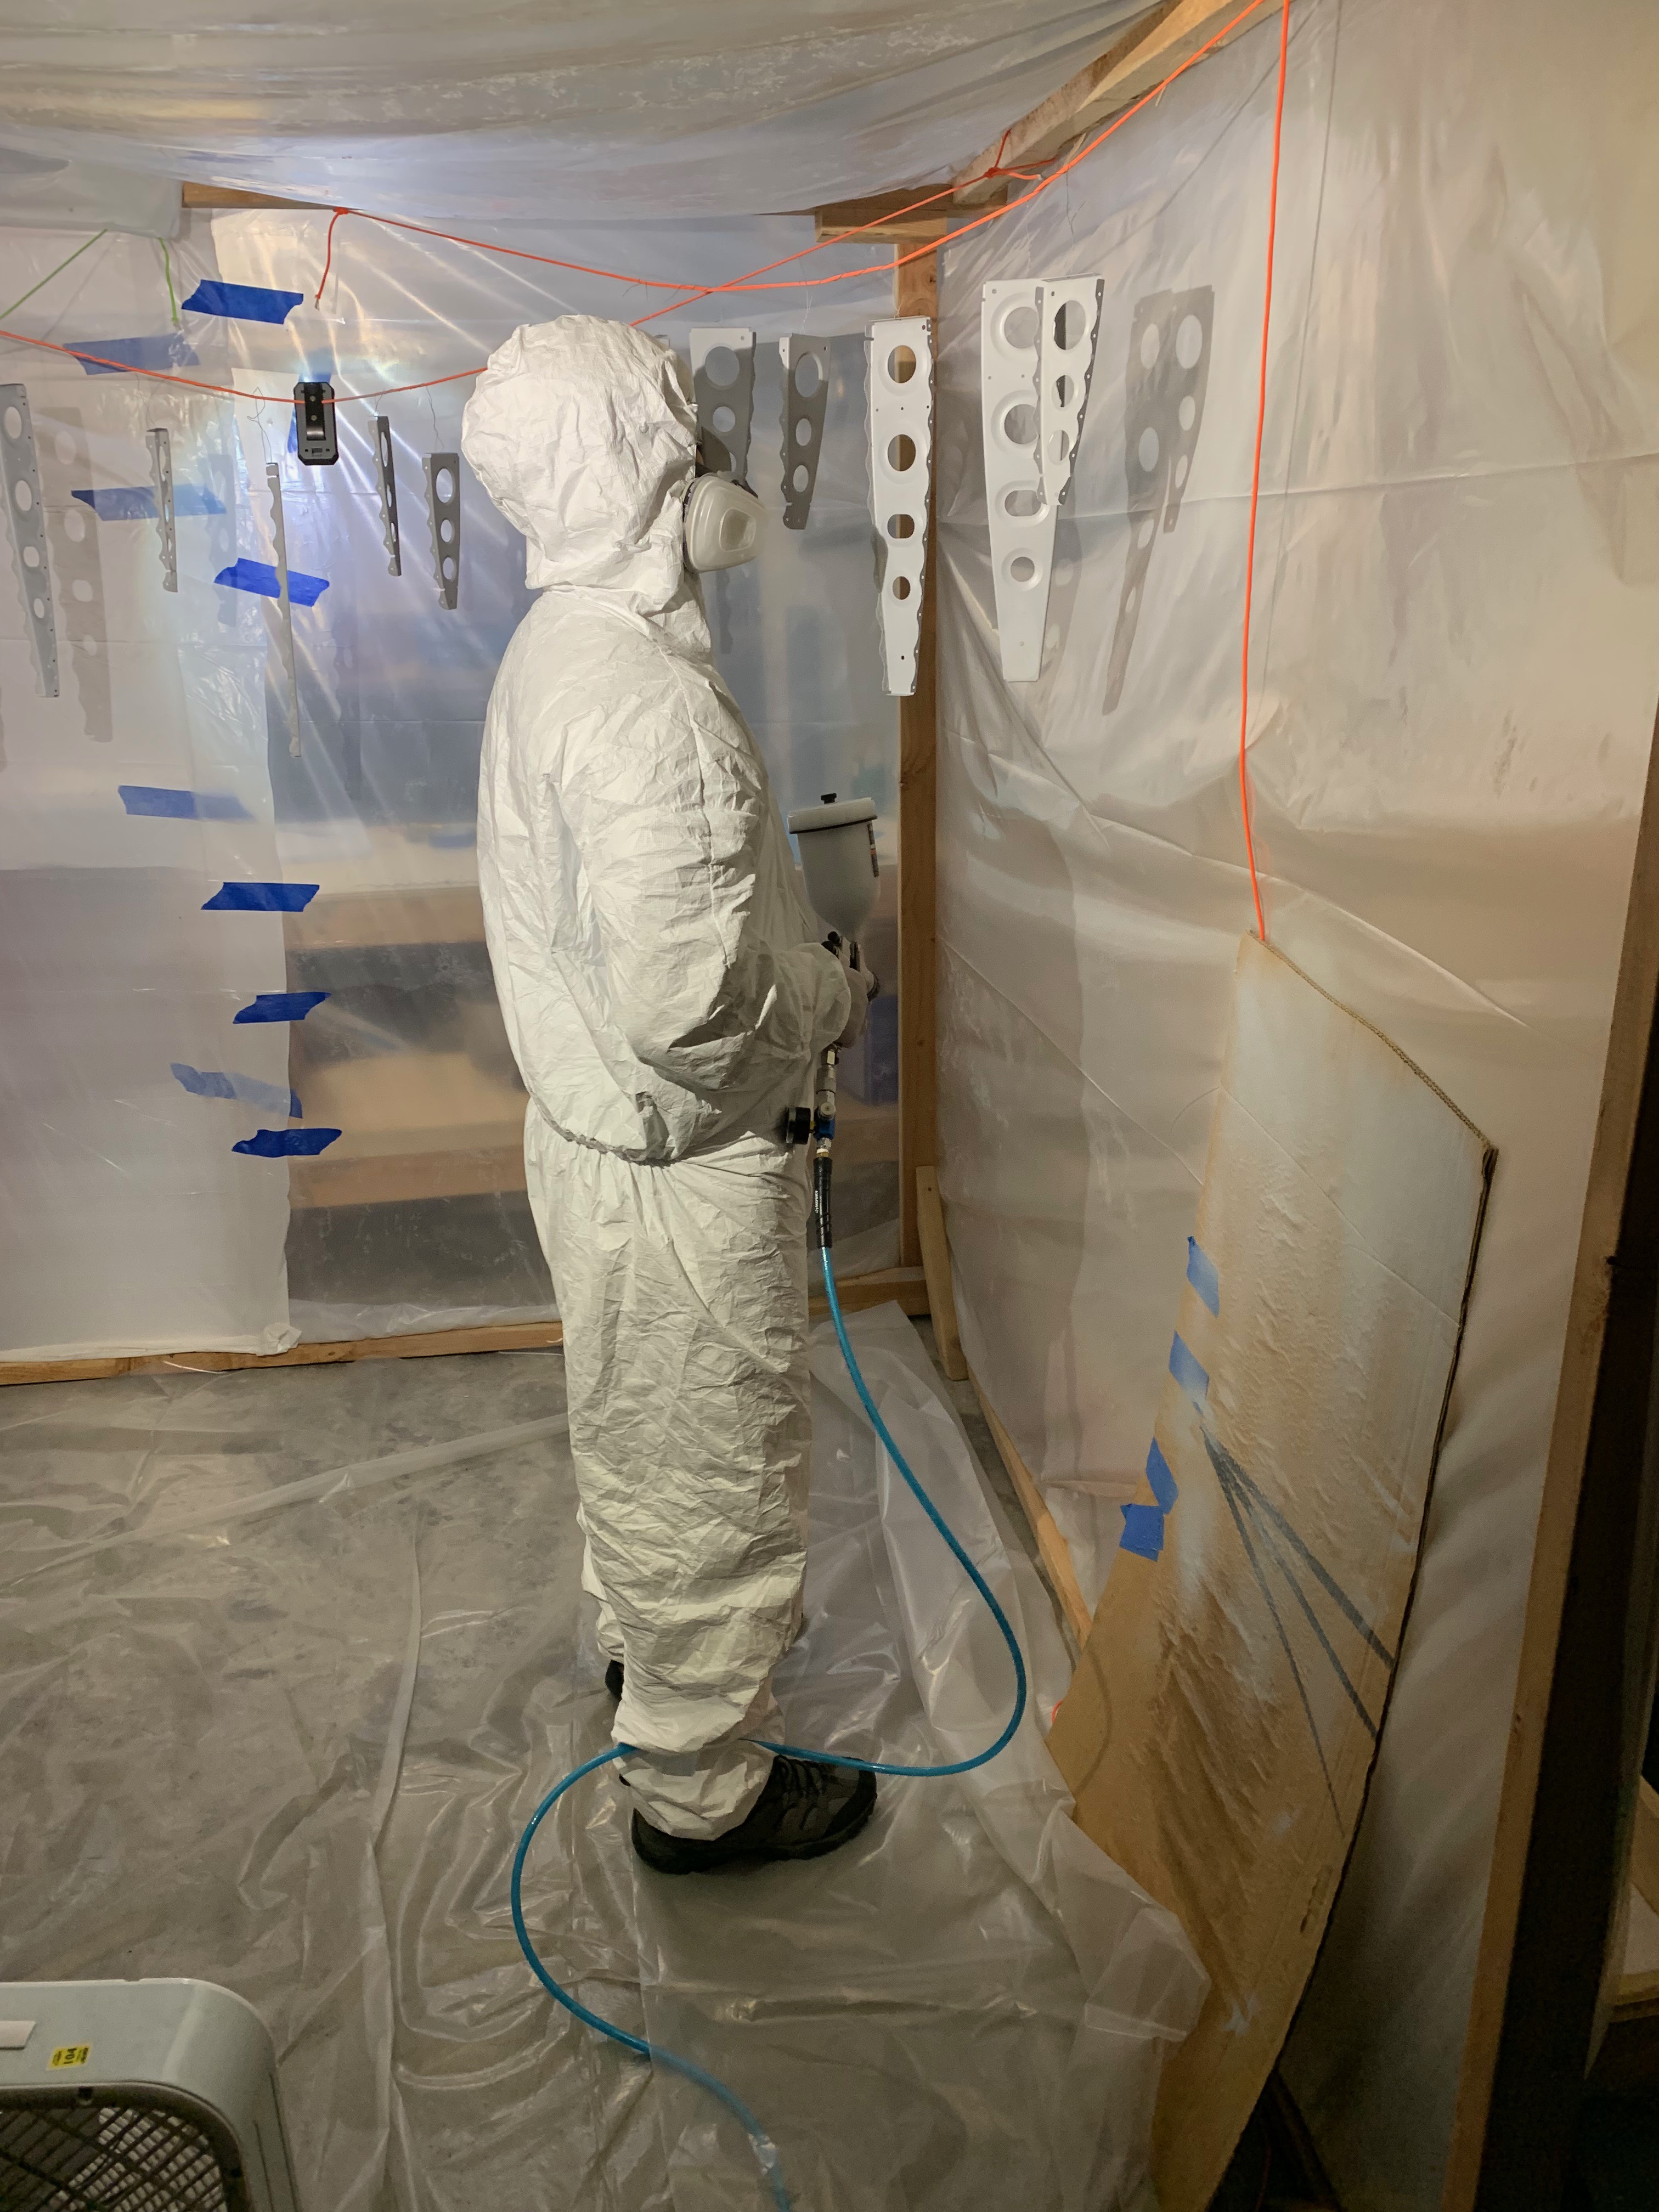
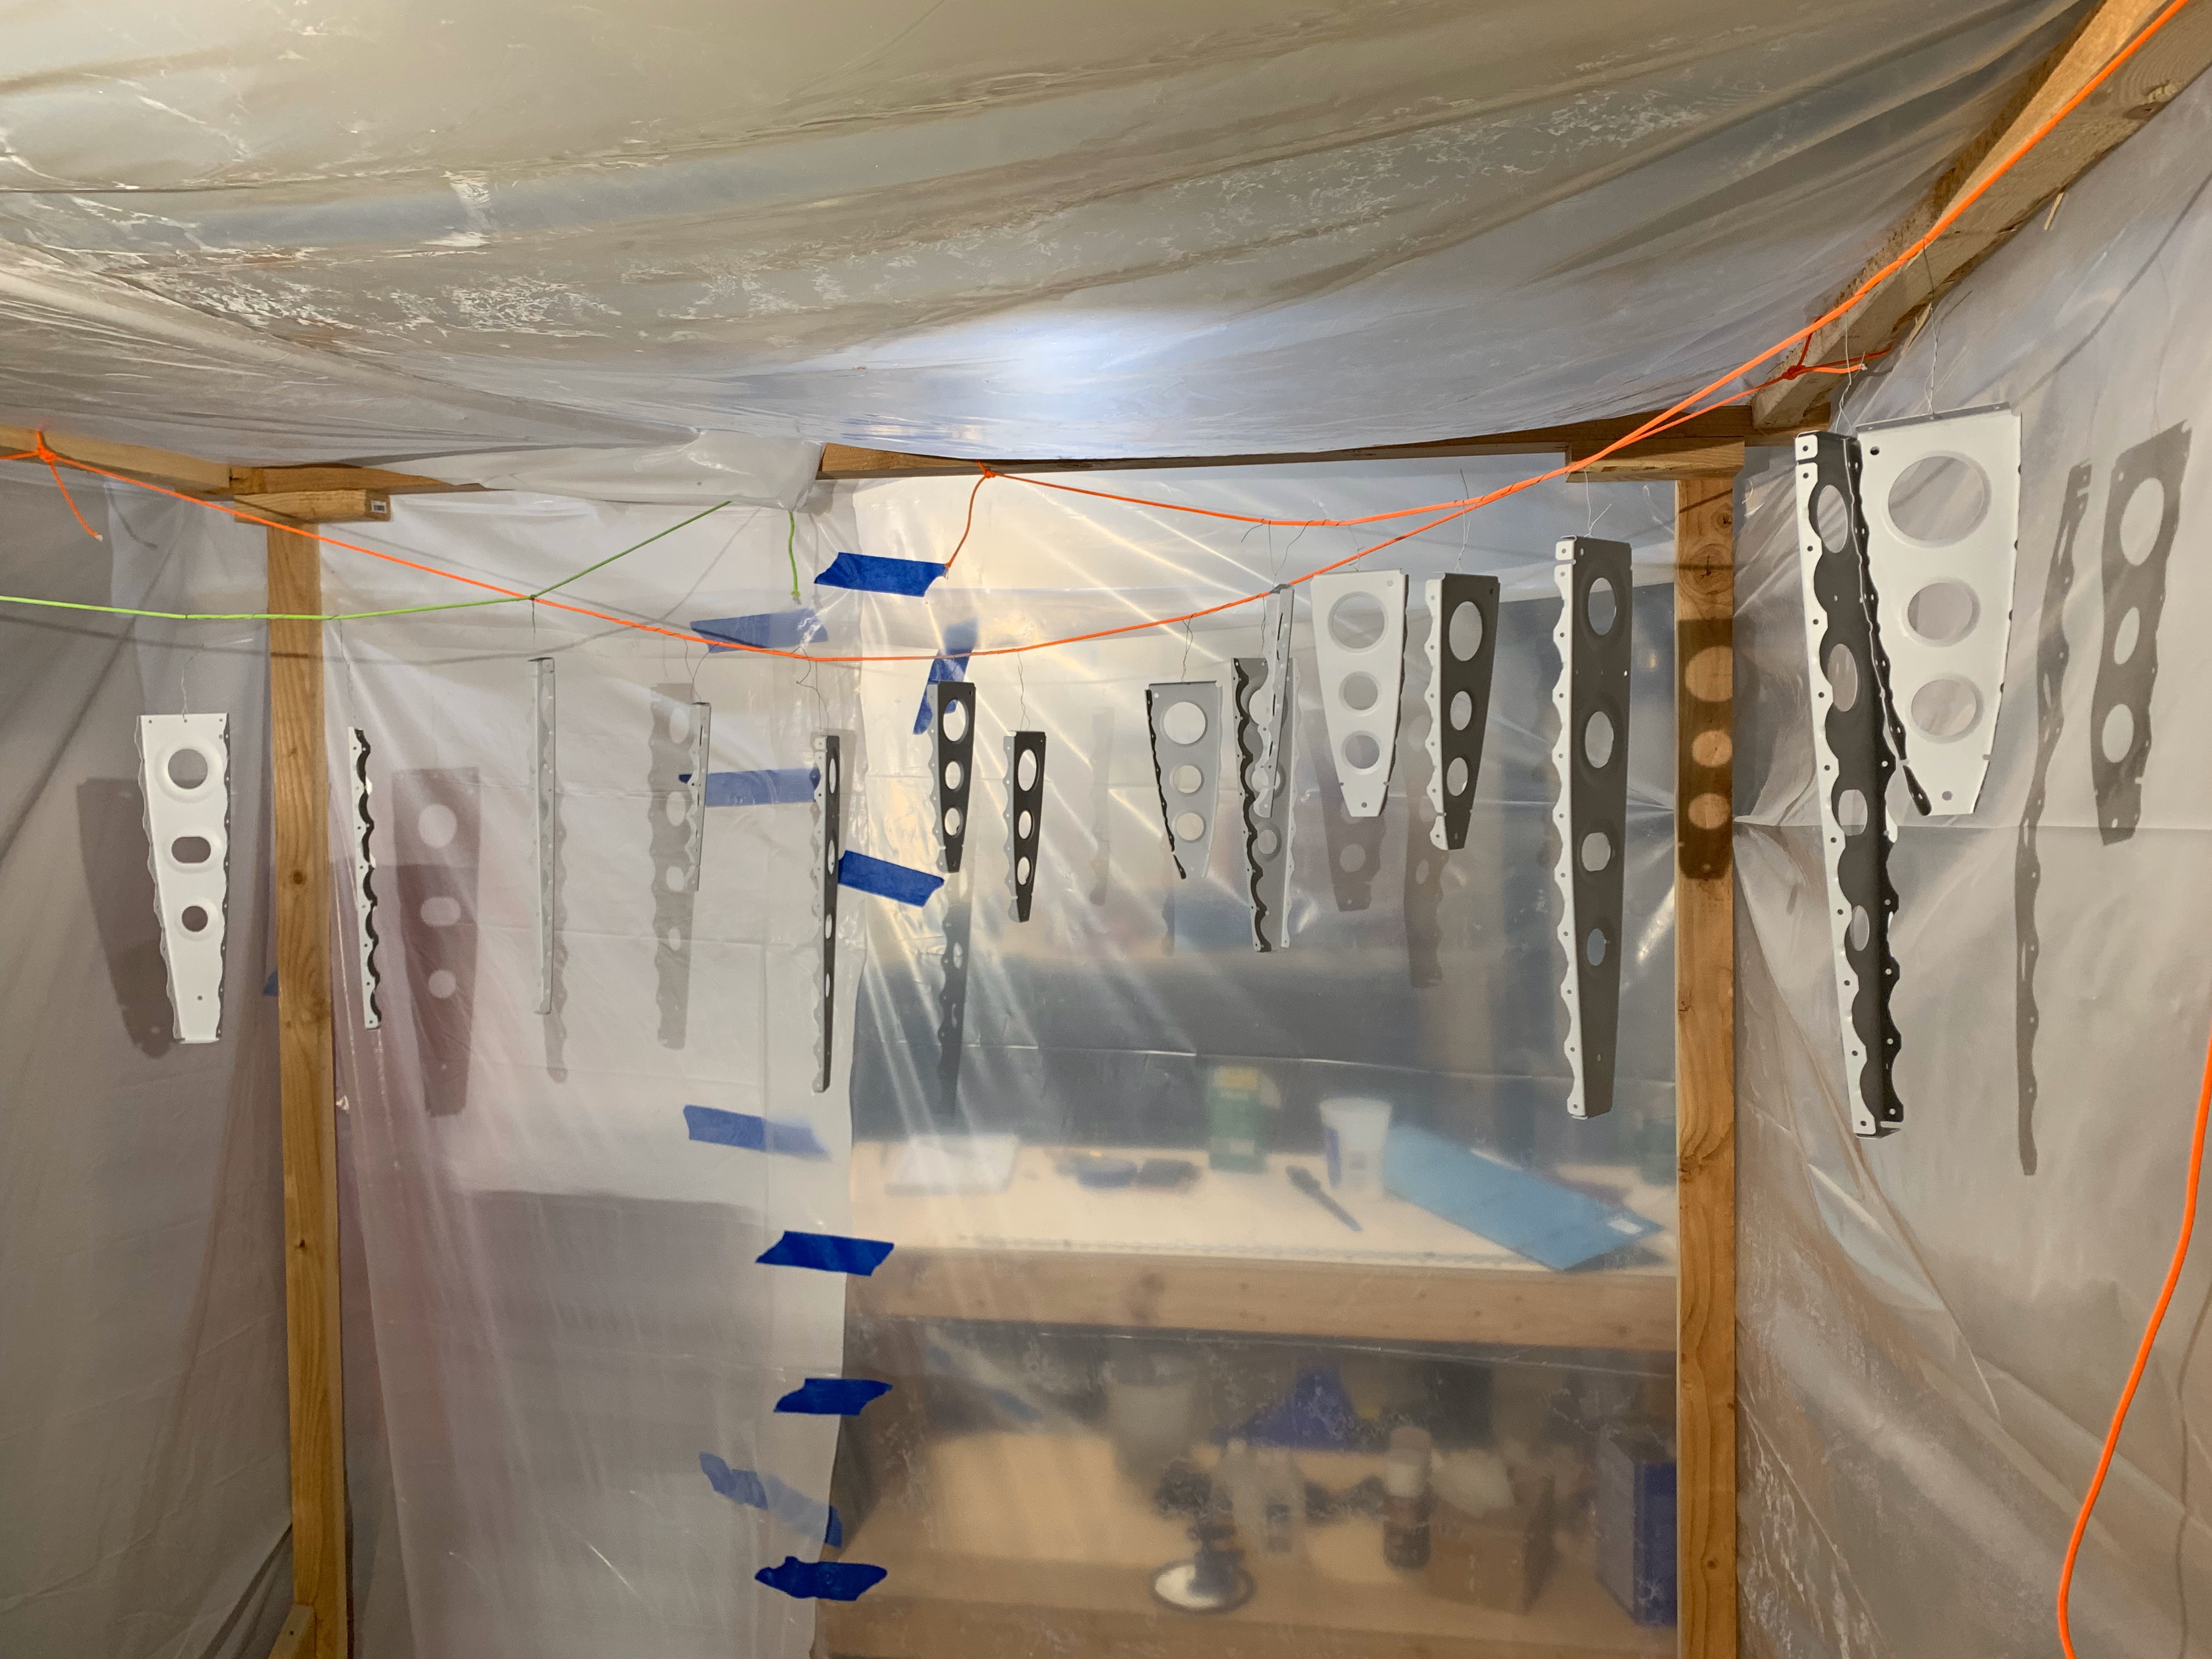
The parts actually turned out really nice – it took about three really thin coats to make all the shiny metal disappear.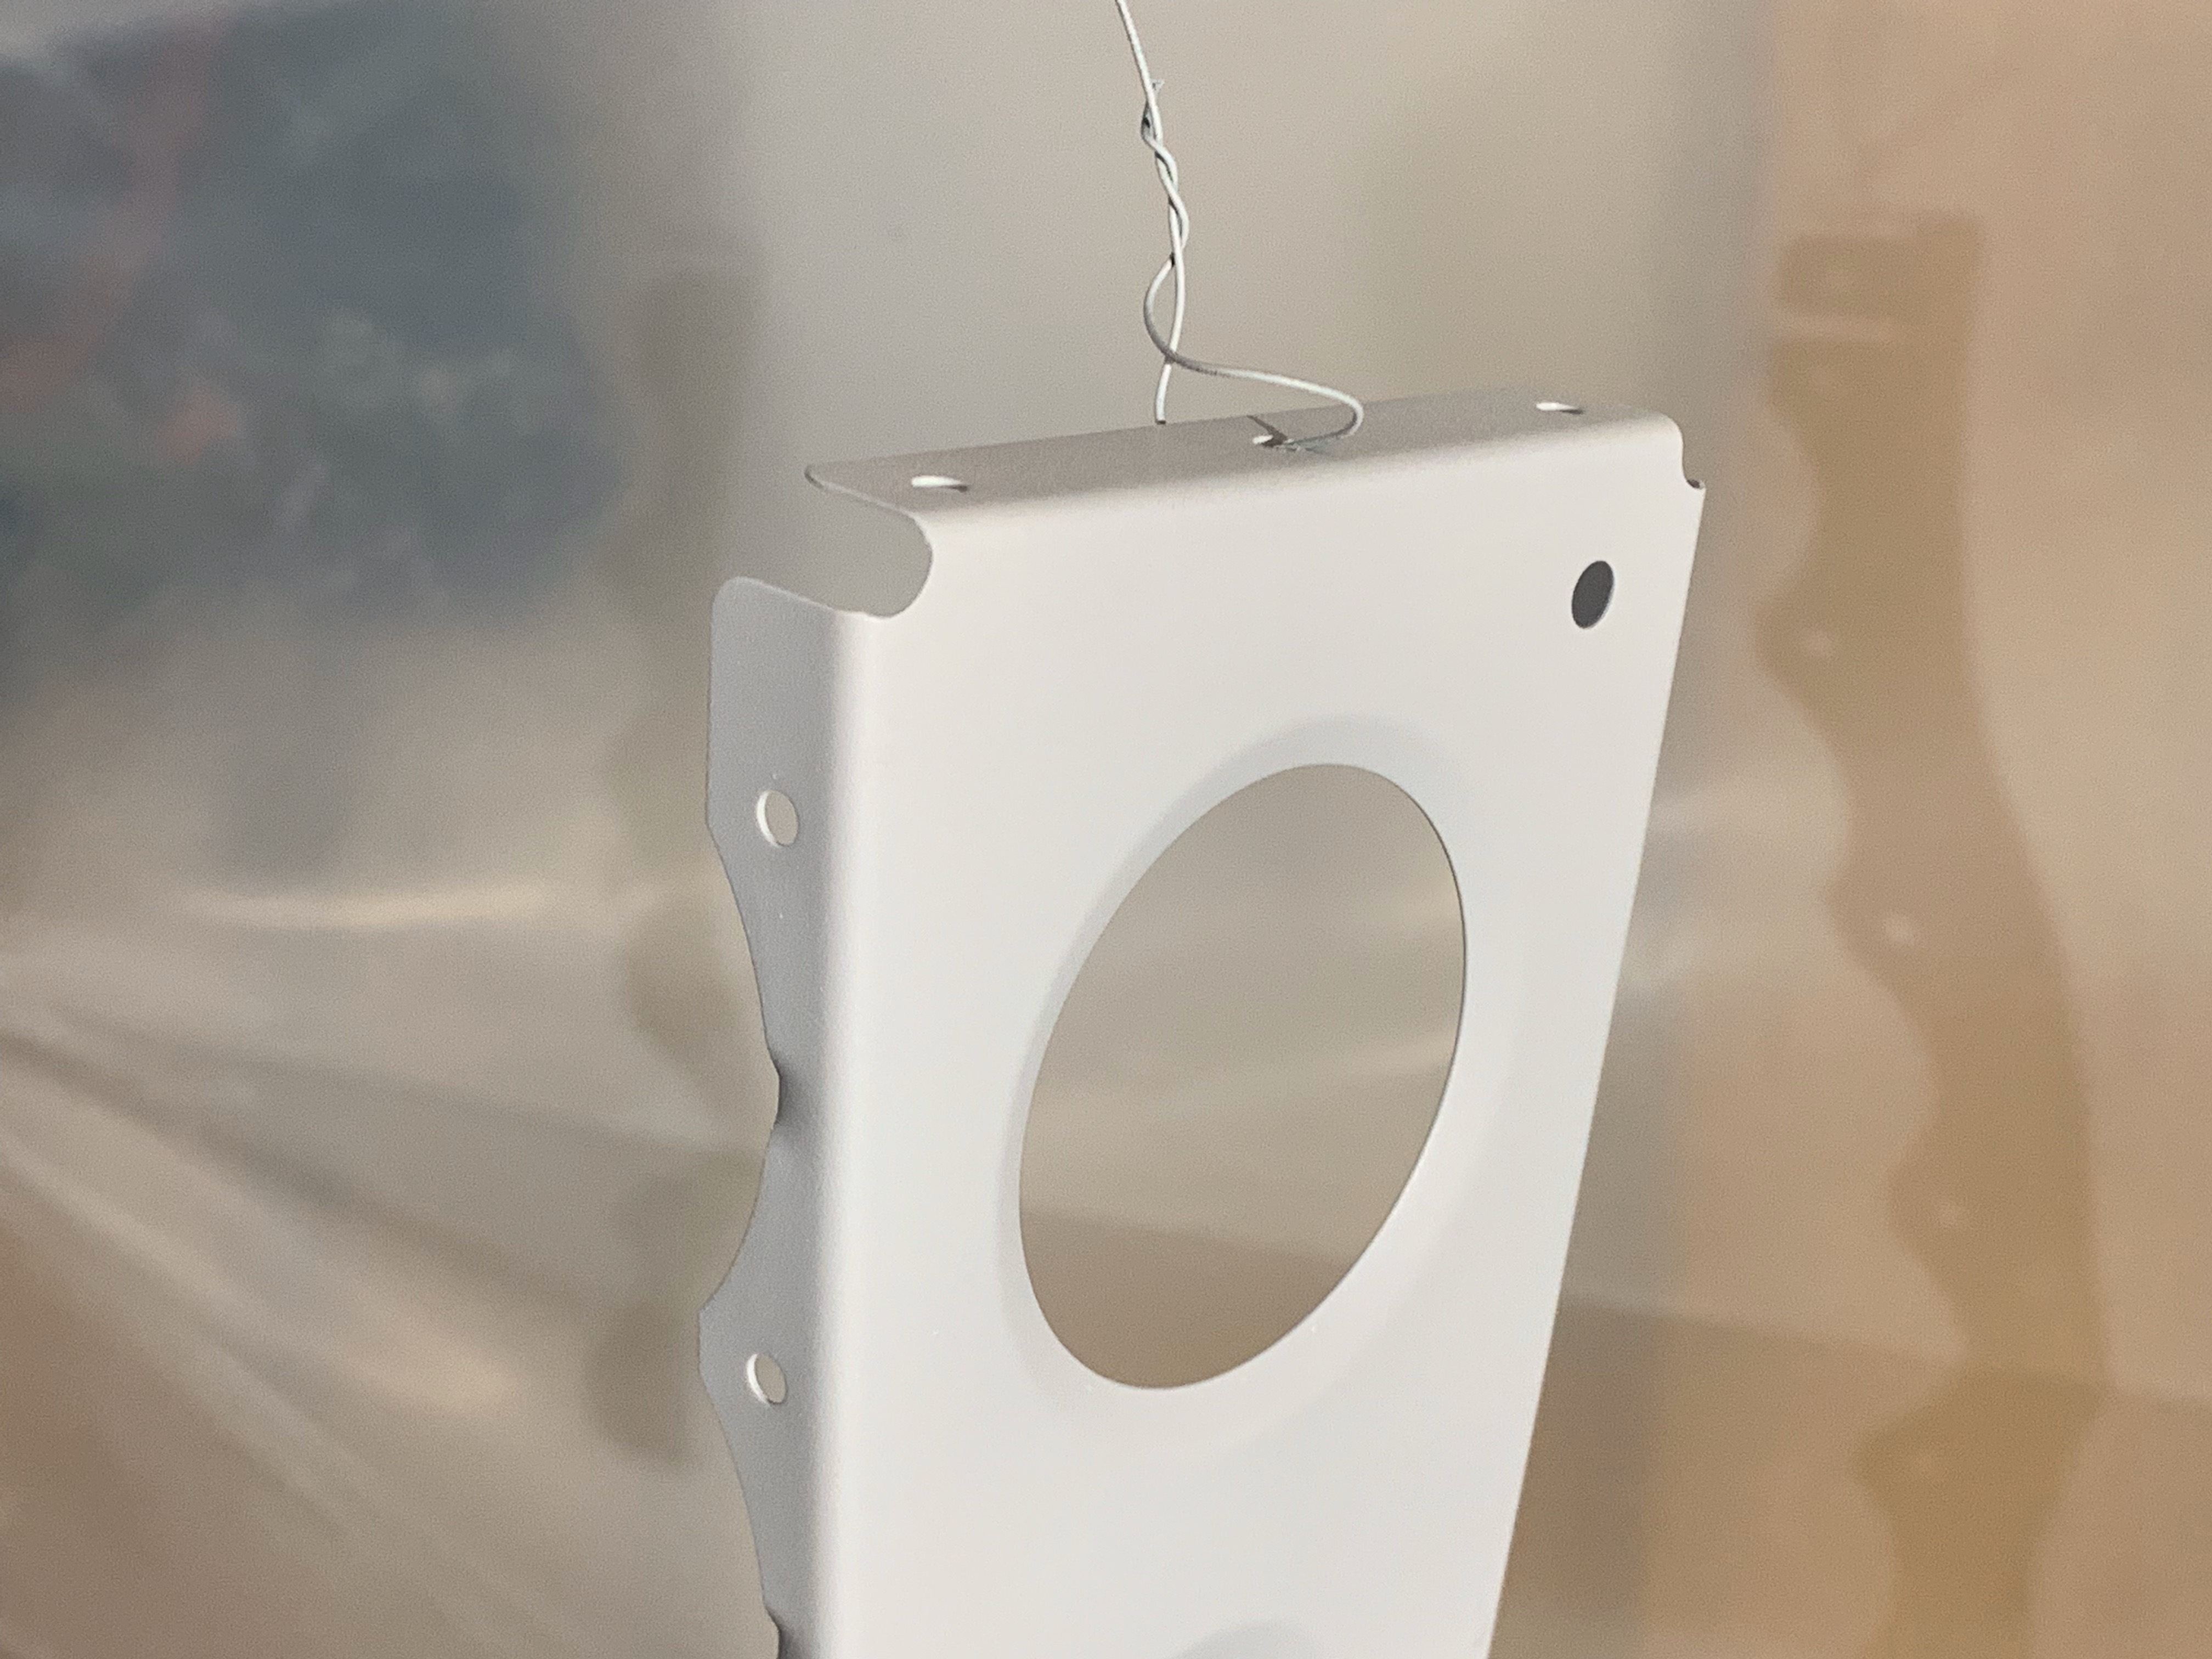
Honestly, other than the additional prep work this primer requires, I didn’t find the application process much more difficult. It was a little easier to generate “runs” with this stuff if sprayed on too thick – but I’m still new to spray applications in general.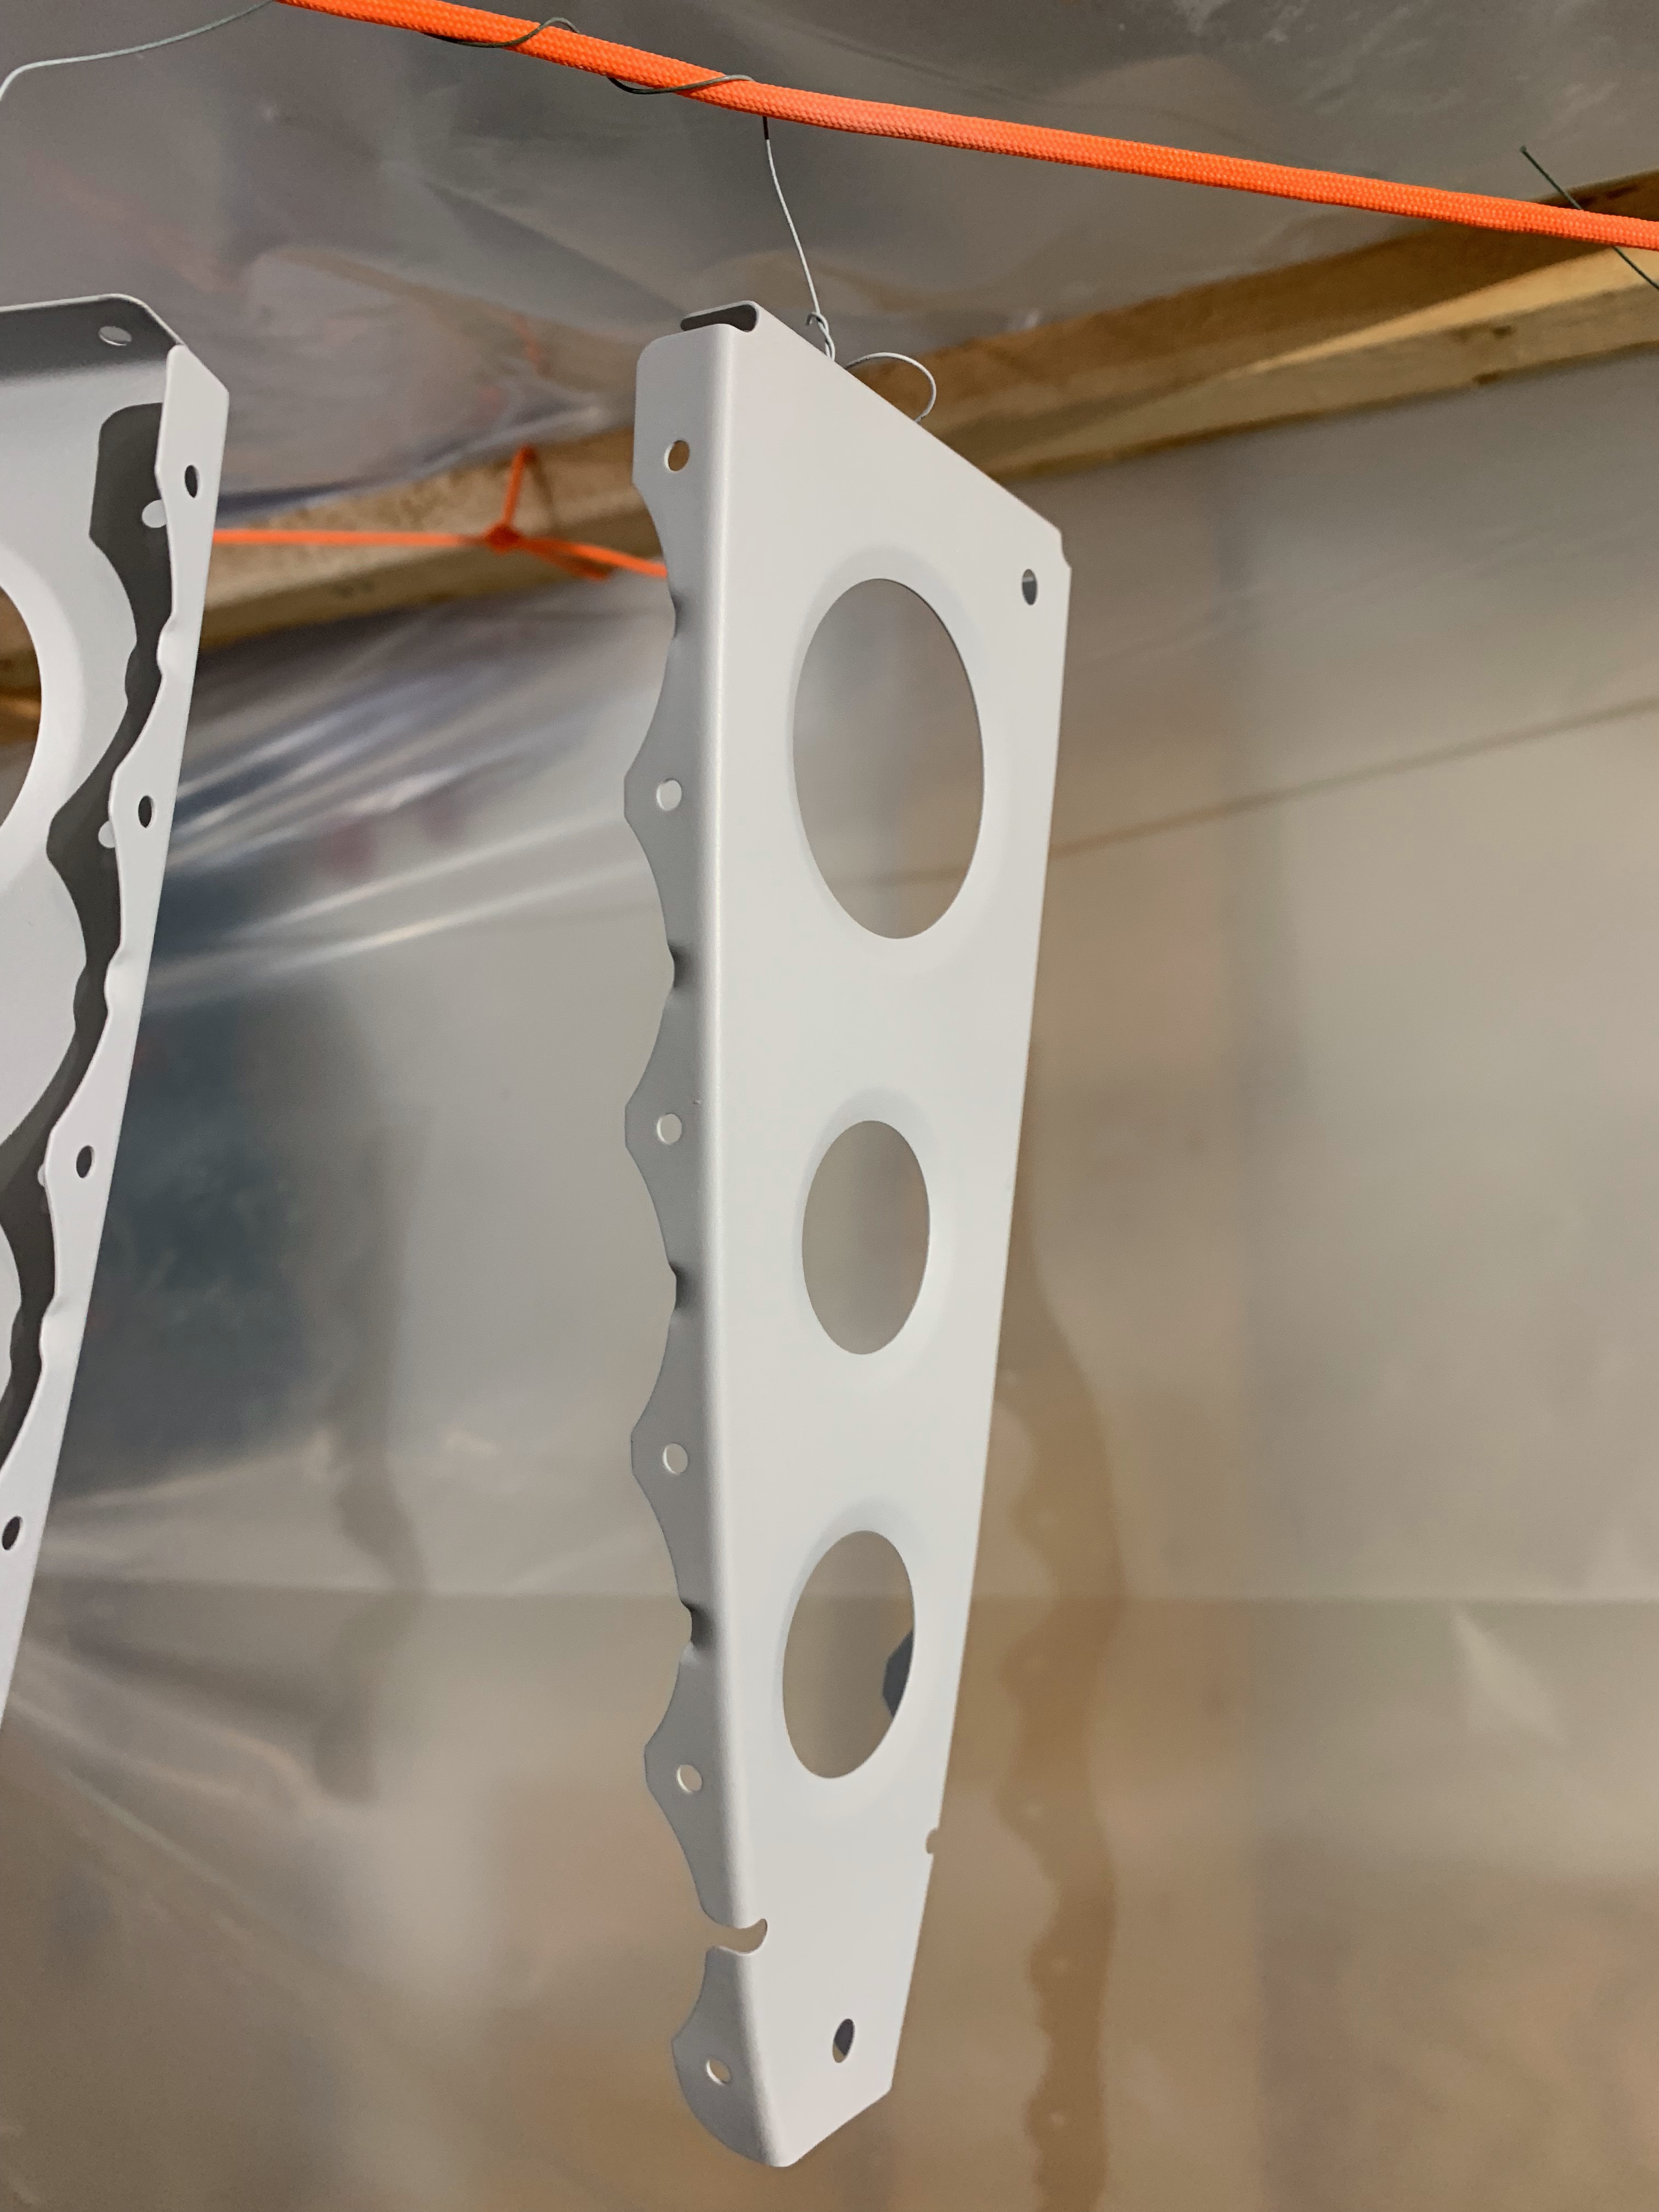
Priming the ribs was a big step forward! A few weeks later I moved on to deburring the large horizontal stabilator skins.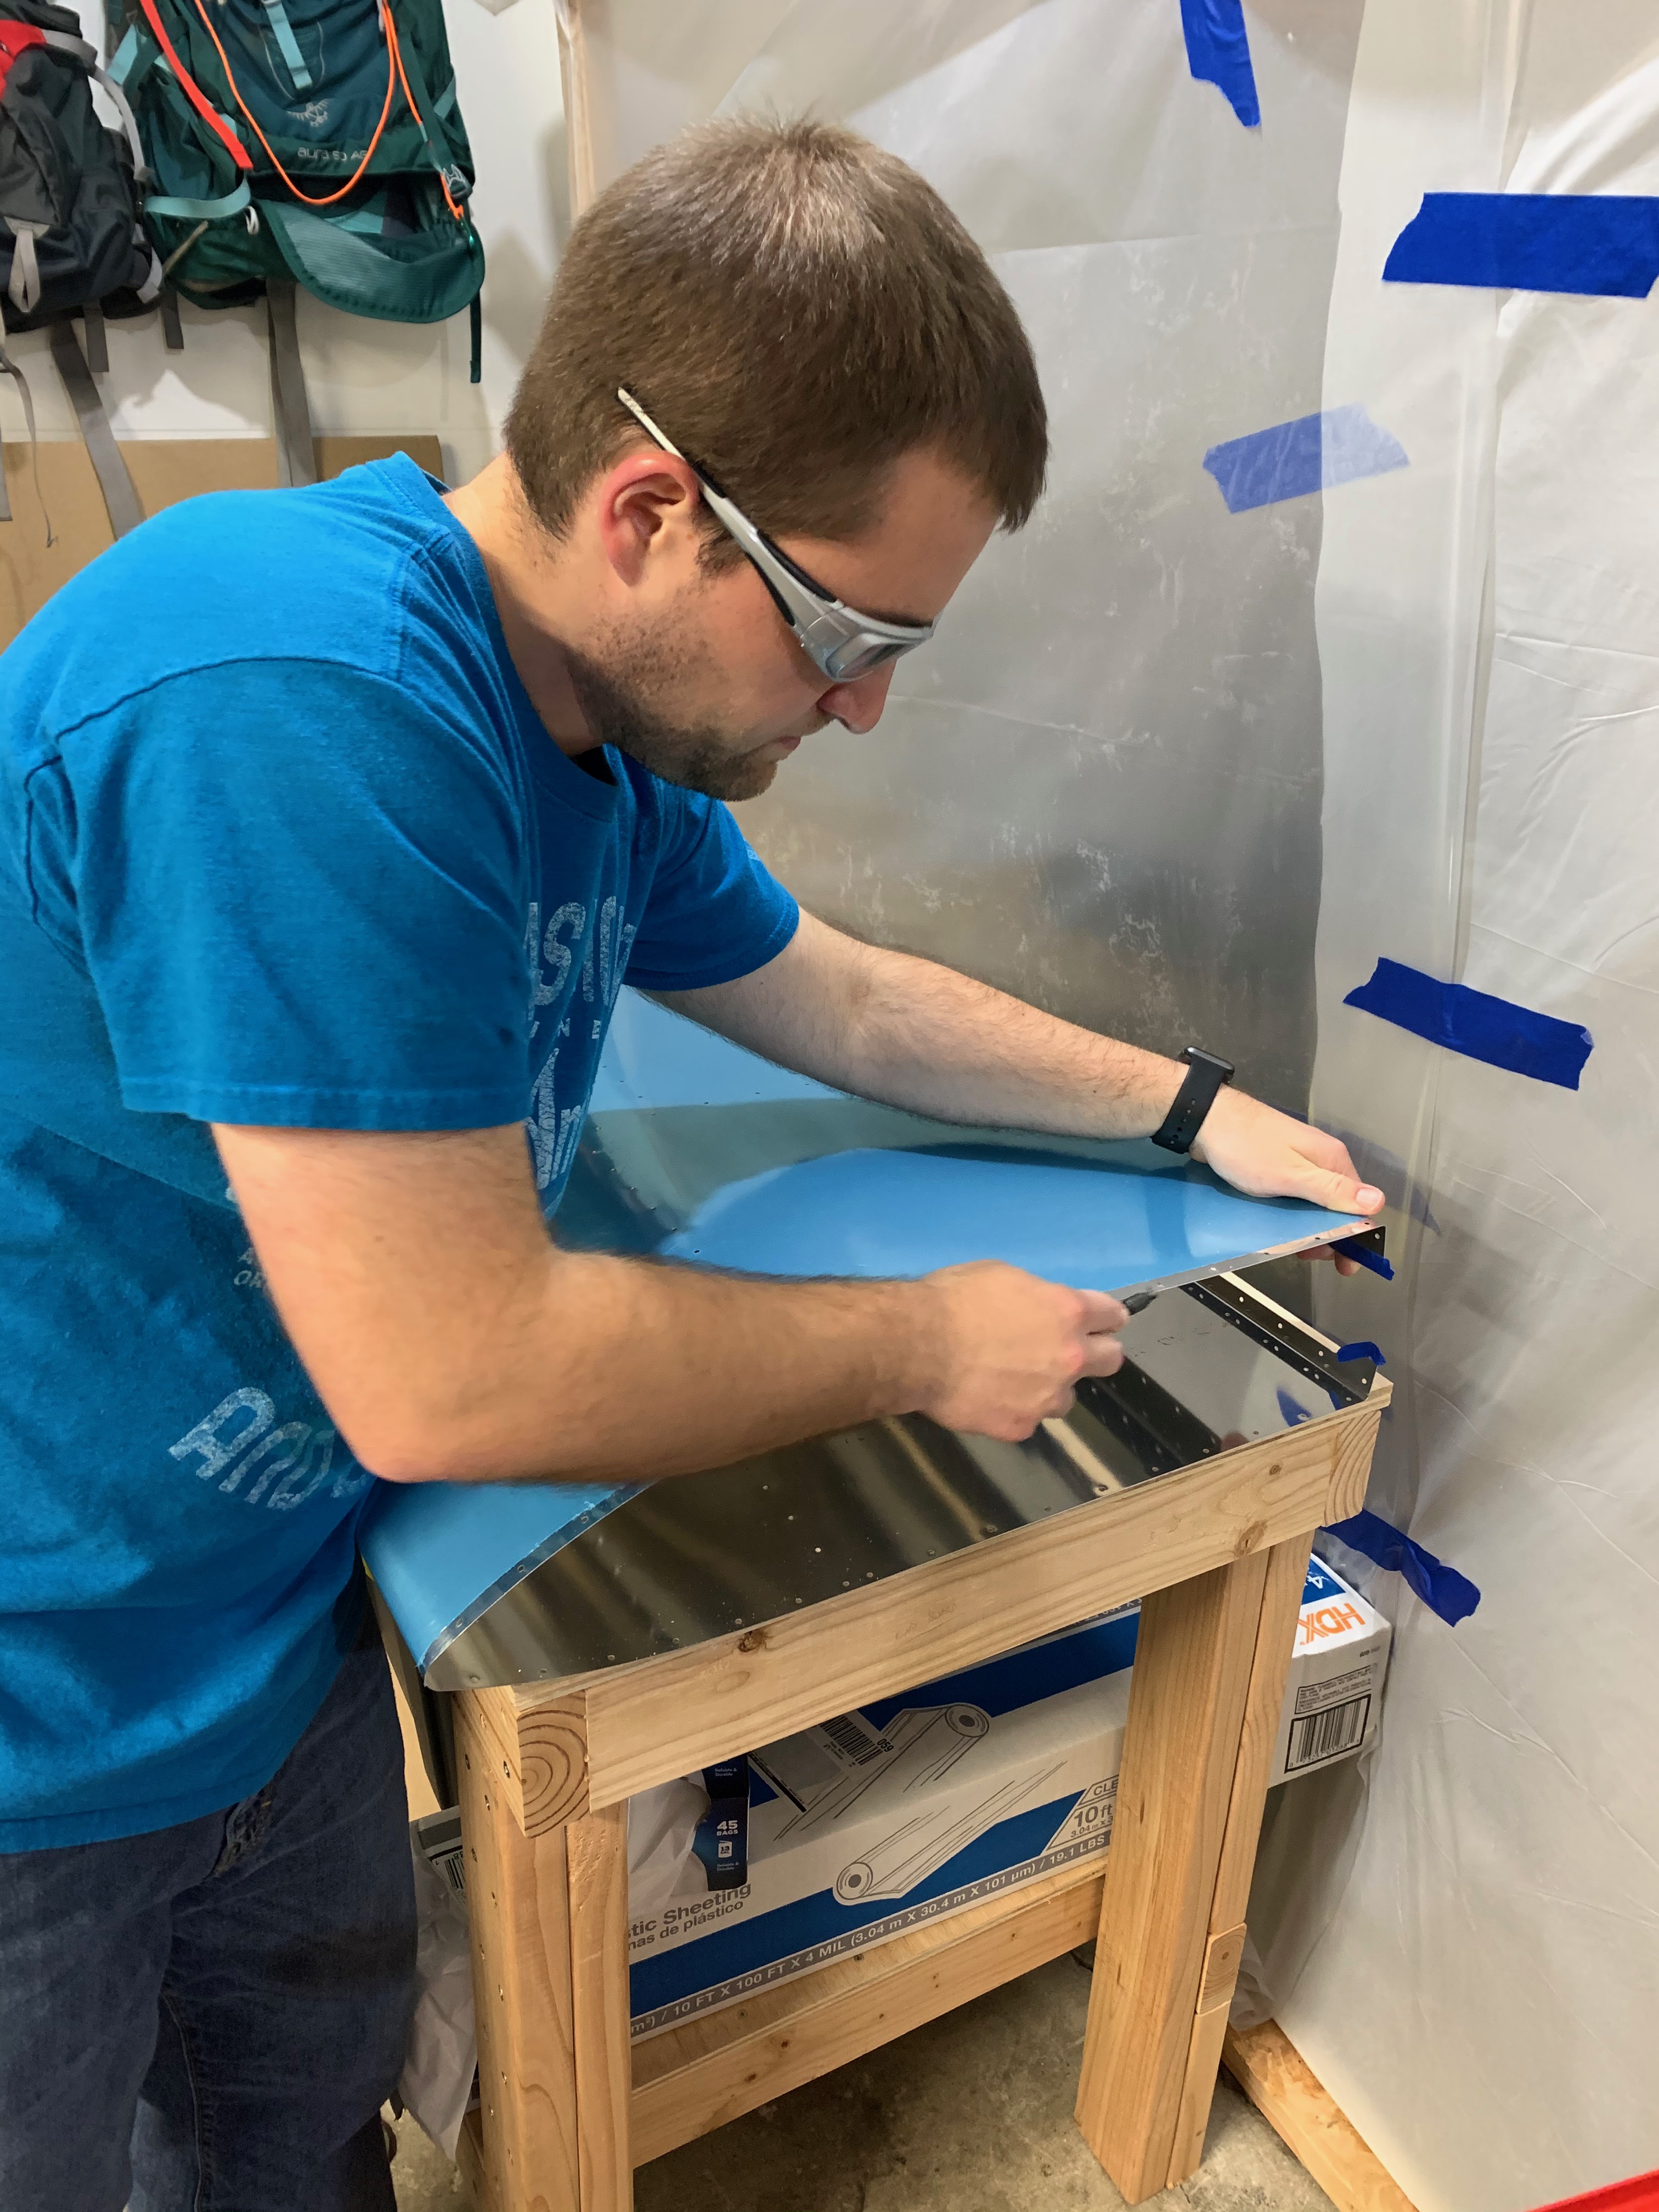
And really – that was it for 2019.
Now, here’s to building momentum in 2020! As I write this, it’s mid-April and I just cleaned out the garage. Had to catch up on the blog, re-read some plans, and refresh myself on some building material before I felt comfortable working on the parts again. Now the weather is shaping up, work has slowed down (partially due to the pandemic), and it is time to get building! Let’s go!

 The rudder skin and a few other lagging parts were finished a few days after with a friend who was priming the final bits of his RV-14 vertical stabilizer. No pictures, as we were all too preoccupied with finding a local beer afterward (oops!)